Have you ever seen a video that naturally draws your attention to the center, making you focus intently? That’s the power of the vignette effect—a simple editing trick that can turn ordinary videos into visually stunning pieces. Whether you’re creating content with a cinematic feel, adding drama to your videos, or just enjoying video editing, this trick is for you!
This guide will show you how to use Animotica, a simple video editor for Windows 10/11. By the end, you’ll know how to quickly add a vignette effect to your videos, giving them a polished, professional touch. Get ready to dive into video editing like never before.
Contents
What is a Vignette Effect in Video Editing?

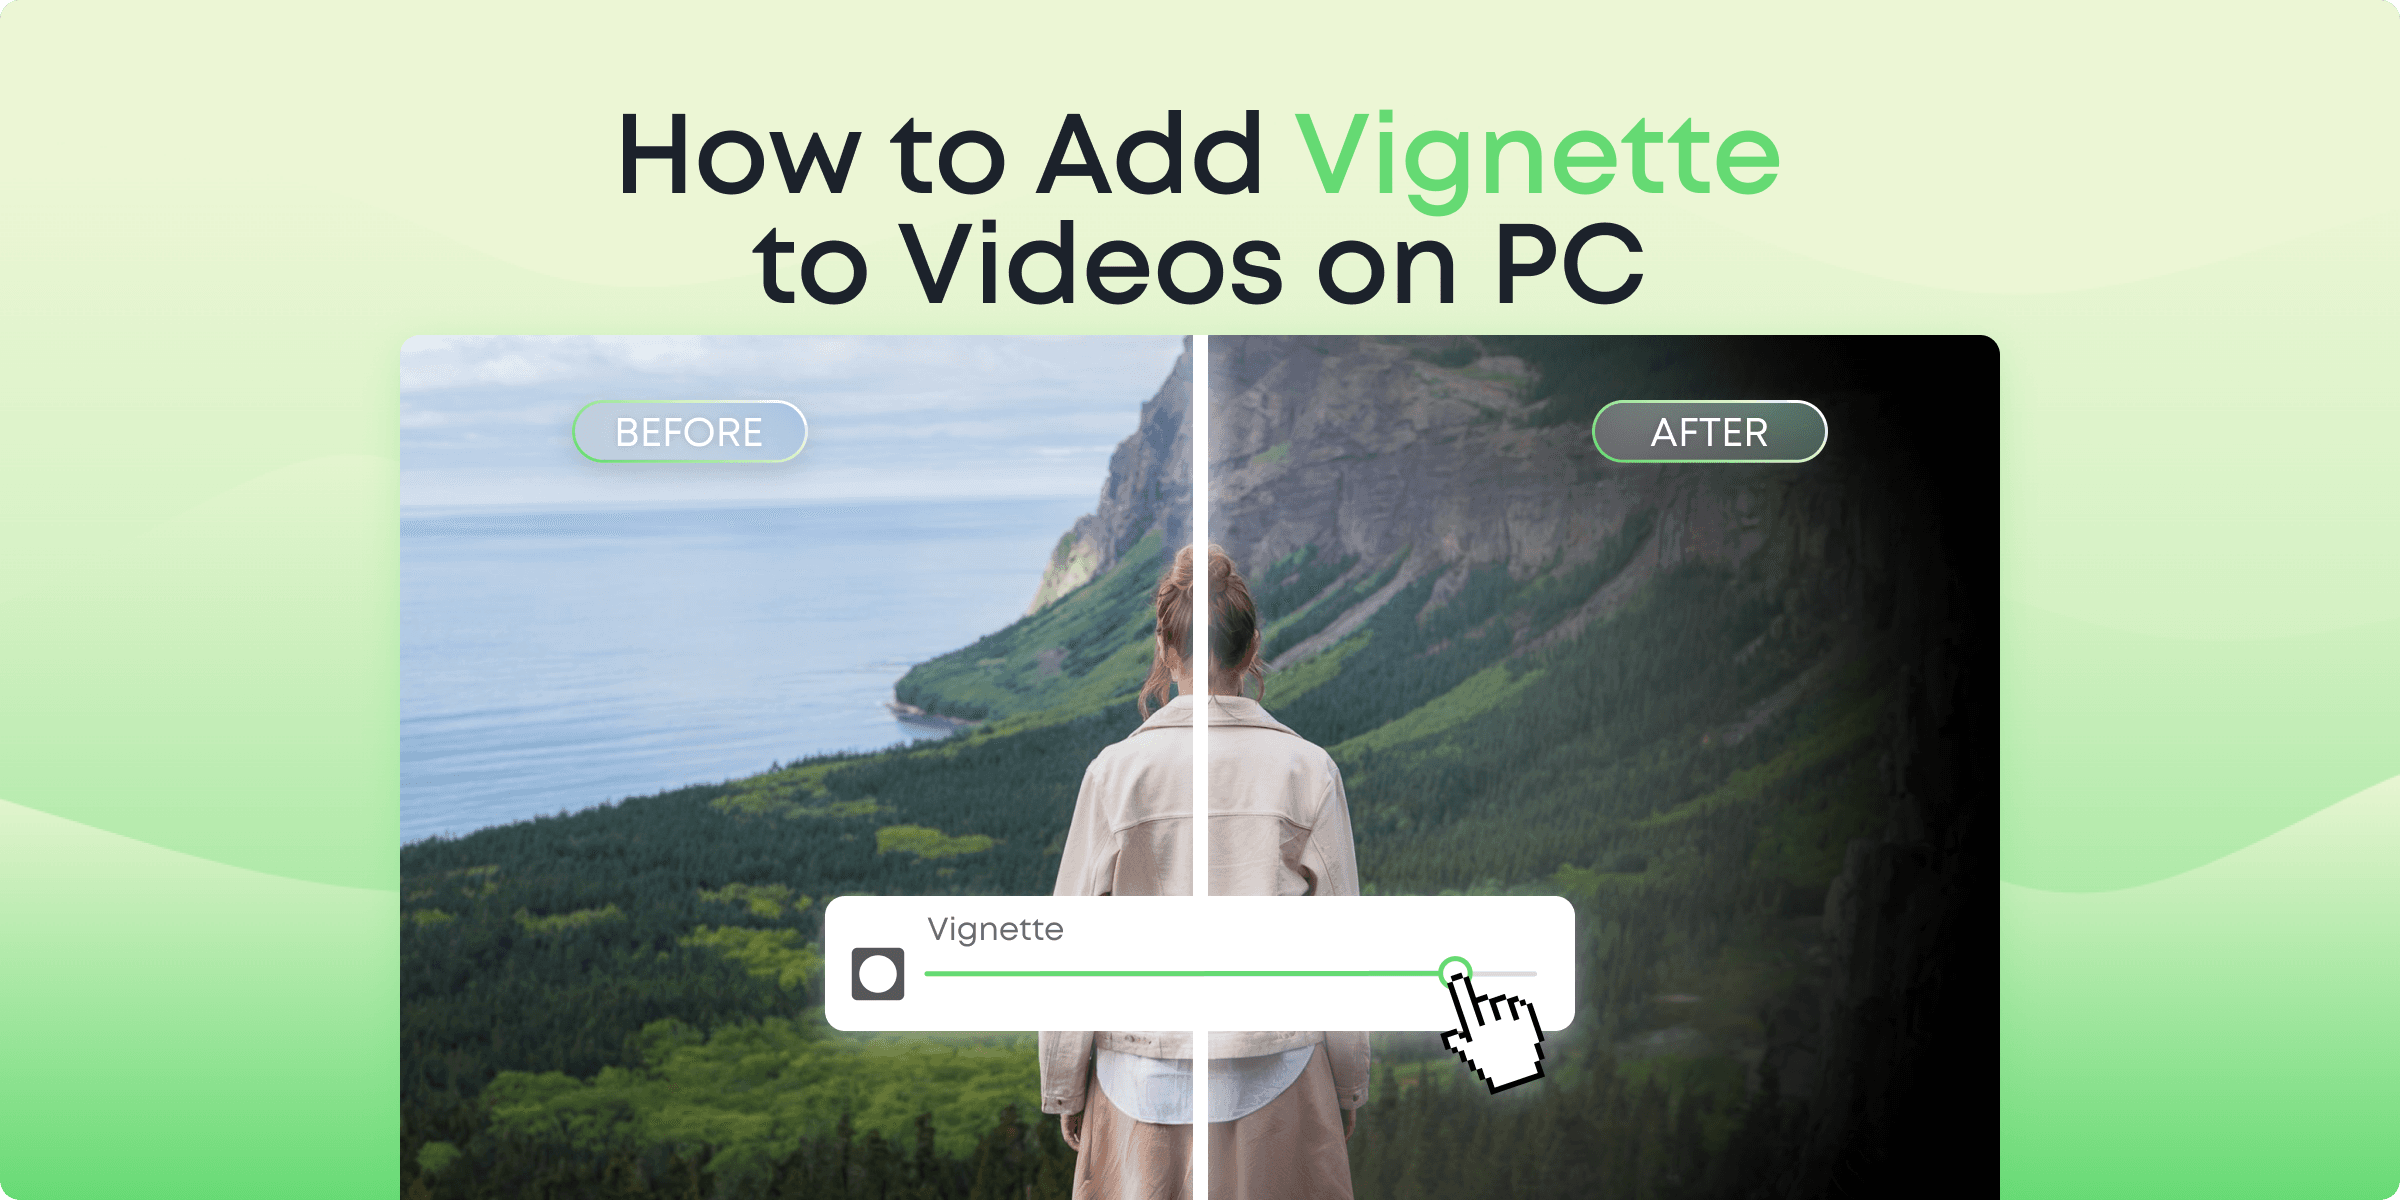
The vignette effect acts like a stylish border for your video. Imagine a scene where the corners gently fade to black, focusing your gaze on the center of the action. This effect adds a touch of drama and makes your video captivating and engaging.
But why do videographers and content creators love using it? It’s all about leading the viewer’s eye. A well-done vignette can turn your clips into cinematic gems, giving them a more polished and professional feel.
Vignettes are great for storytelling and for making things look good. By changing the light and focus, you can get viewers emotionally involved. The contrast between the bright center and the darkened edges can set the mood, highlight key details, or suggest themes in your story.
Previously, you’d need advanced skills and software to add a vignette effect. But now, with tools like Animotica, it’s easier than ever. This has opened up video effects to everyone, letting all creators experiment and add a bit of flair to their work.
How To Add Vignette Effect to Your Videos
Let’s explore the practical steps for adding a vignette effect to your videos using Animotica. This method is easy to achieve, whether you’re aiming for subtle enhancement or dramatic flair.
Step 1: Download and Launch Animotica
First, head to the Microsoft Store and search for “Animotica,” or just click the button below.

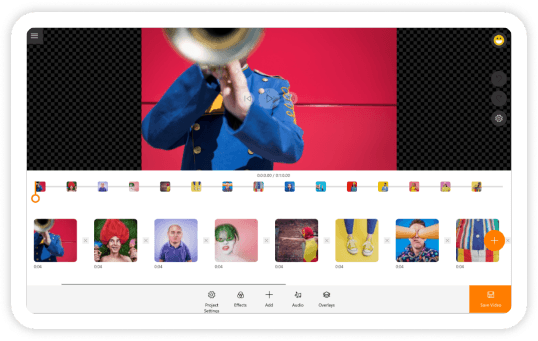
Hit that download button and let it work magic on your Windows PC. Once installed, open the app and navigate a user-friendly interface designed especially for beginners!
Step 2: Create a New Project and Add Video Files
Now that you’re in, it’s time to create your masterpiece. Click the “New Project” button to create a fresh canvas for your videos.

You can add files from your computer, and rest assured, Animotica supports various file types. From MP4 to MOV, you’re all set!

Step 3: Use the Adjust Tool to Add a Vignette
With your video files loaded, let’s dive into the editing powerhouse of Animotica. Select a clip from your video timeline to bring up the editing toolbar.

Look for the “Adjust” option, where you’ll find many tools, including brightness, contrast, and our star of the show—the Vignette tool.

Adjust the built-in slider to add that stunning vignette effect, dragging it from 0 (no vignette) to 1 (darkest vignette) until you achieve the perfect aesthetic. Feel free to play with different intensities to match your video’s mood and style.

Don’t forget about the “Presets” button, a handy feature that lets you save your vignette settings for future projects, saving you editing time!

Step 4: Export the Video
When you’re happy with the vignette effect on your video, it’s time to export! Click the “Export” button to go to export settings.

Pick the proper resolution and format based on where you plan to share your video—YouTube, Instagram, or a presentation setting.
Think about your audience: will they view it online or on a larger screen? Opt for 720p to keep uploads speedy, or choose 4K for those professional settings where high detail is key.
Pay close attention to export settings, which can influence the file size and video clarity. Higher-quality settings are perfect for intricate projects, while medium settings strike a good balance between quality and file size for everyday videos.
Before you hit export, review the bitrate and frame rate settings, tweaking them according to your audience’s viewing preferences. When all is set, click “Save As,” decide on the folder for your video, and let Animotica work its magic. Congratulations on improving your video editing skills! With Animotica, the process is straightforward, and the results are sure to impress.

Why Choose Animotica for Video Editing Magic?

Animotica isn’t just another video editing tool; it’s a real game-changer for anyone starting out. Imagine having professional editing tools without the steep learning curve. With Animotica, there’s no need to feel overwhelmed. Its easy-to-use interface makes finding what you need quick and straightforward in a world of editing choices.
Designed for beginners, Animotica offers many tools beyond just adding vignettes. The app has it all, whether you’re adjusting video brightness and contrast or playing with blur effects. This means you can polish every video detail to your liking, not just one part.
Additionally, Animotica works smoothly with Windows 10/11, making it accessible and ensuring that technical issues won’t stop your video editing ambitions. It supports various file types, so you can work with your favorite media without hassle.
So, why wait? Choose Animotica for making amazing videos that will impress and captivate your audience. By choosing Animotica, you’re not just editing—you’re starting a creative journey where stunning, professional results are just a few clicks away.

Final Thoughts on Adding Vignette Effect to Videos
Now, you can add a vignette effect to your videos with Animotica. Whether for a YouTube video, an Instagram story, or a presentation, a vignette effect is a great way to grab attention.
The vignette effect helps focus the viewer’s eye on what matters most, boosting your video’s impact. It’s a simple tool that can change your video’s mood and add a touch of cinema. With Animotica’s straightforward interface and powerful features, adding this effect to your videos is a breeze.
Remember, video editing is both an art and a skill. Feel free to experiment! Plus, Animotica has many other tools for you to explore, ensuring your videos can be as creative as you want them to be.
Use these tips to make your video projects shine. Ready to start? Let Animotica be your top choice for video editing. Your creative journey is just a download away!


