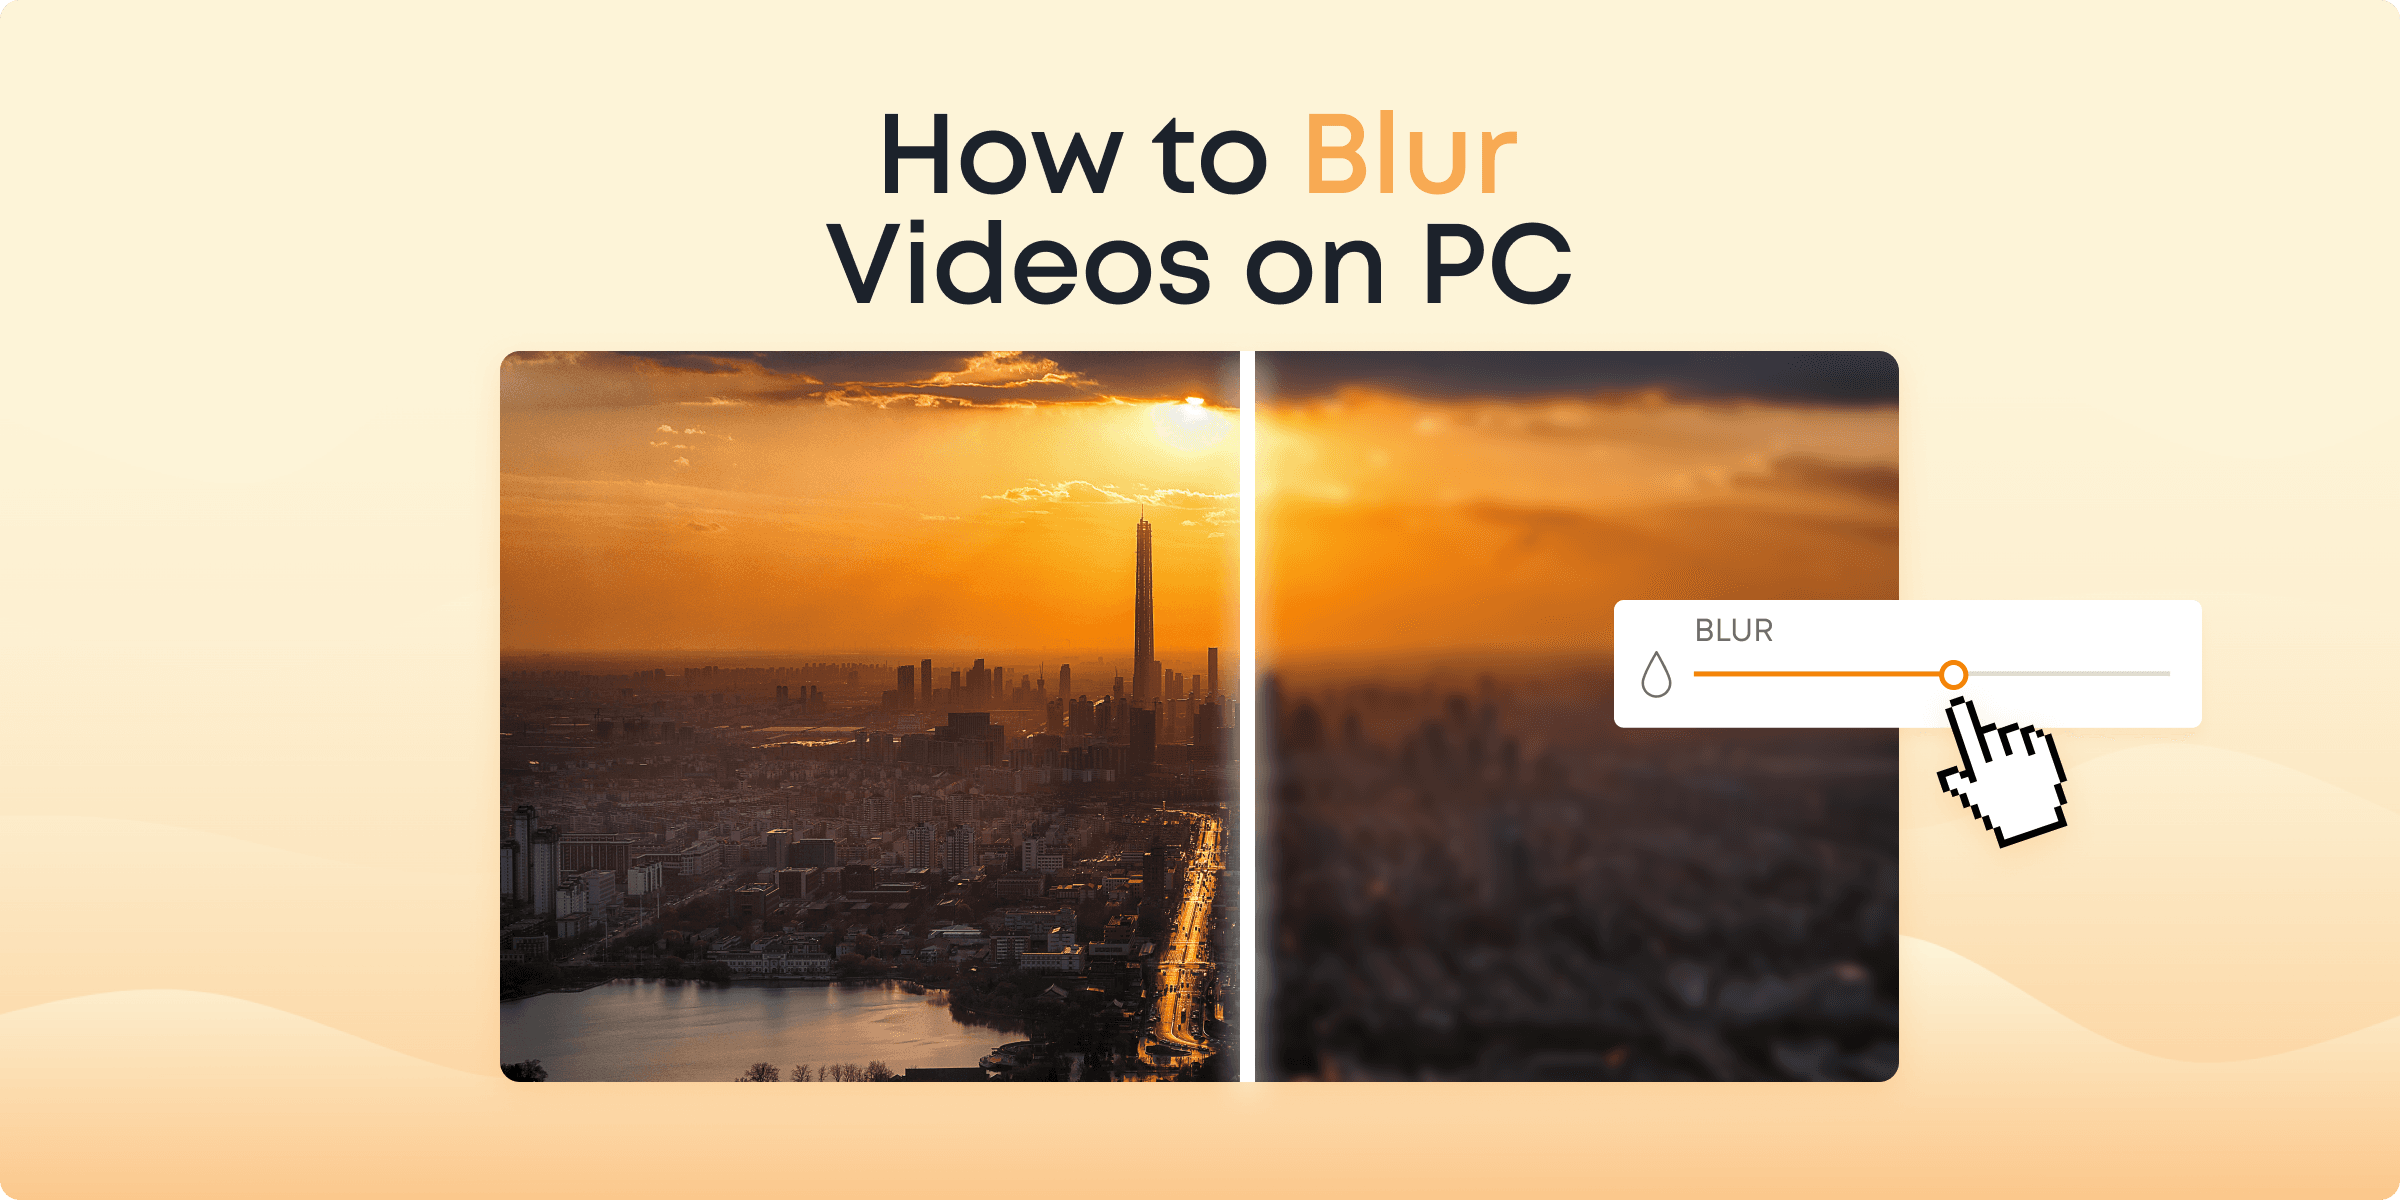
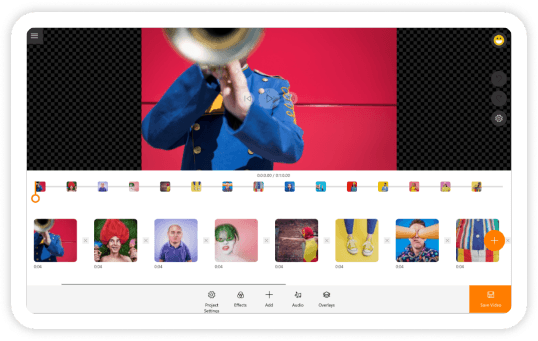
In today’s digital landscape, blurring a video can serve multiple purposes. Whether you’re aiming to protect someone’s identity or add an artistic touch, knowing how to effectively apply a blur effect is invaluable. In this guide, we’ll guide you through the process of blurring an entire video clip using Animotica — a user-friendly video editor tailored for Windows users. Rest assured, we’ll take you step-by-step through this, making it an effortless journey, even if you’re just starting out in video editing.
You’ll learn how to download and launch Animotica, create a project, utilize the blur tool, and export your final masterpiece. So, let’s dive in and transform your video content with just a few clicks!
Contents
Understanding the Need to Blur Videos
Blurring videos can be crucial for several reasons. Whether you’re a content creator looking to protect individuals’ privacy in your footage or an educator wanting to bring focus to key elements, the blur tool is a valuable asset. While complete blurring of a video can maintain confidentiality and enhance security, it also serves as a creative tool to add an artistic layer to your final cut, ensuring your video remains visually appealing.
If your video has a cluttered or distracting background, applying a full blur effect with Animotica can help emphasize critical sections of your content, keeping your audience’s attention on the message you aim to deliver. For bloggers and educators, the ability to blur an entire video scene ensures that the narrative remains sharp and clear.
How to Blur a Video on PC in 4 Easy Steps
Blurring a video might sound complex, but with Animotica, it’s a breeze! Whether you’re sprucing up a vlog or ensuring privacy in educational content, Animotica has all the tools you need right at your fingertips. Follow these simple steps, and you’ll be mastering the blur effect like a pro in no time!
1. Download and Launch Animotica
Before editing, you must install Animotica on your device. Head to the Microsoft Store, where you can find Animotica ready to download. Click Get to begin the process, and once it’s downloaded, a simple click on Install will set the video editor up on your Windows 10 or 11 PC.

Once installed, launch Animotica from your desktop or start menu. The application’s interface is intuitive and designed to help you effortlessly navigate through video editing tools. Look for prompts to update to the latest version if needed; this ensures you have access to the latest features and bug fixes.
2. Create a New Project and Add Video Clips
Once you’ve successfully launched Animotica, it’s time to create magic with your videos. Begin your project journey by hitting the New Project button prominently displayed on the main dashboard. This action sets the stage for you to bring your unique vision to life.

Next, you’ll want to incorporate the video clips that you plan to edit. Simply click on Add Video to start uploading your files. For a streamlined experience, you can drag and drop your desired video files directly into your project workspace. This user-friendly feature makes onboarding a breeze.

Animotica supports a wide range of video formats, so you can feel confident that your video files will likely be compatible. Supported formats include popular types such as MP4, MOV, WMV, and more, ensuring diverse media compatibility. Once your files are in, you’re ready to explore the extensive editing tools Animotica offers, with blurring being just one of the exciting options available.
3. Accessing the Blur Tool
Once you’ve uploaded your video to the timeline, the fun begins! Start by selecting the video clip you want to blur. This will open the editing toolbar, your gateway to transforming your content.

Look for the Adjust tools option. It’s like your video editing toolkit right on your screen. Click it, and you’ll find sliders for brightness, contrast, tint, and more. But what you’re looking for is the Blur tool.

Scroll down patiently if you need to, and soon enough, you’ll discover the magnificent blur slider. Here, you can play around and set your desired blur intensity. Whether you want a subtle effect or something dramatic, it’s all at your fingertips! Slide from 0 for no blur to 10 if you want it entirely blurred.
If you come across an ideal blend of blur and settings that you’d want to revisit later, just tap the presets button to save them. These presets streamline future projects by instantly applying your chosen adjustments. Enhance your videos efficiently while keeping a cohesive style throughout all your projects!

4, Export the Blurred Videos
Once you’ve finished your edits, it’s time to save your project by exporting your video. Animotica makes this step simple and flexible to meet your needs. Just click the Export Video button, usually located at the top right corner of the screen. This opens up different export options to customize the video output to your liking.

Consider where your video will be watched. Is it for online platforms or big displays? Choose 720p for quick uploads, or go for 4K if you want high-quality for professional settings or detailed viewing.

Quality settings can affect file size and video clarity. Higher quality is best for detailed work, while medium quality works well for regular projects, providing a nice balance between quality and size.
Before you finalize, check other settings, such as bitrate and frame rate, and adjust them based on your audience’s needs and viewing conditions.
Finally, click Save As, choose the folder to save your blurred video, and let Animotica do its job. Give yourself a pat on the back – you’ve improved your video editing skills! With Animotica, the process is easy, and the results are made to impress.

Why Choose Animotica for Video Editing on Windows
When it comes to video editing, simplicity and power go hand in hand, making Animotica an exceptional choice. Its user-friendly interface welcomes both newcomers and seasoned editors looking to breeze through their video projects without the daunting learning curve linked to complex software.

- Simplicity Meets Functionality: Animotica delivers a comprehensive set of editing tools with an easy-to-navigate design. Unlike other editors that often overwhelm users with numerous tabs and unnecessary features, Animotica provides exactly what you need in a straightforward format. From blurring effects to color adjustments, every feature is accessible and intuitive.
- Cost-Effective: While premium editing software can be pricy, Animotica stands out by offering a budget-friendly alternative. With powerful features that match up to highly-priced competitors, Animotica is an excellent choice for creators who want to do more without stretching their wallets.
- Versatility: Whether you’re editing a short clip for social media or a full-length tutorial, Animotica supports a wide range of resolutions and formats, ensuring your projects are export-ready for any platform. Its capability to render videos at high resolutions like 1080p or 4K makes it ideal for professional presentations and online content.
Overall, Animotica not only meets your video editing needs but also enhances the experience with ease of use and effective results, empowering you to bring your creative visions to life effortlessly.
The Bottom Line on Video Blurring
Blurring videos can serve multiple purposes, from protecting privacy by concealing identities to enhancing creative storytelling through visual effects. With Animotica, this task is not only straightforward but also enjoyable, thanks to its user-centric design and intuitive toolset.
Whether you’re a content creator looking to amplify focus on the main subject, an educator wishing to anonymize students’ faces, or a casual user experimenting with effects, Animotica provides you with the resources to do so effortlessly. Its capabilities extend beyond just blurring, offering a comprehensive suite of editing tools that cater to both novice and experienced editors.
Ready to integrate these powerful features into your editing workflow? With Animotica, you’re just a few clicks away from transforming your videos with creativity and precision. Try it today and discover how easy and exciting video blurring and editing can be!

Don’t miss out on our latest insights and tips! Check out our blog for more valuable content, and be sure to scroll to the bottom of the page to subscribe to our newsletter. Stay informed and get our newest posts delivered straight to your inbox!


