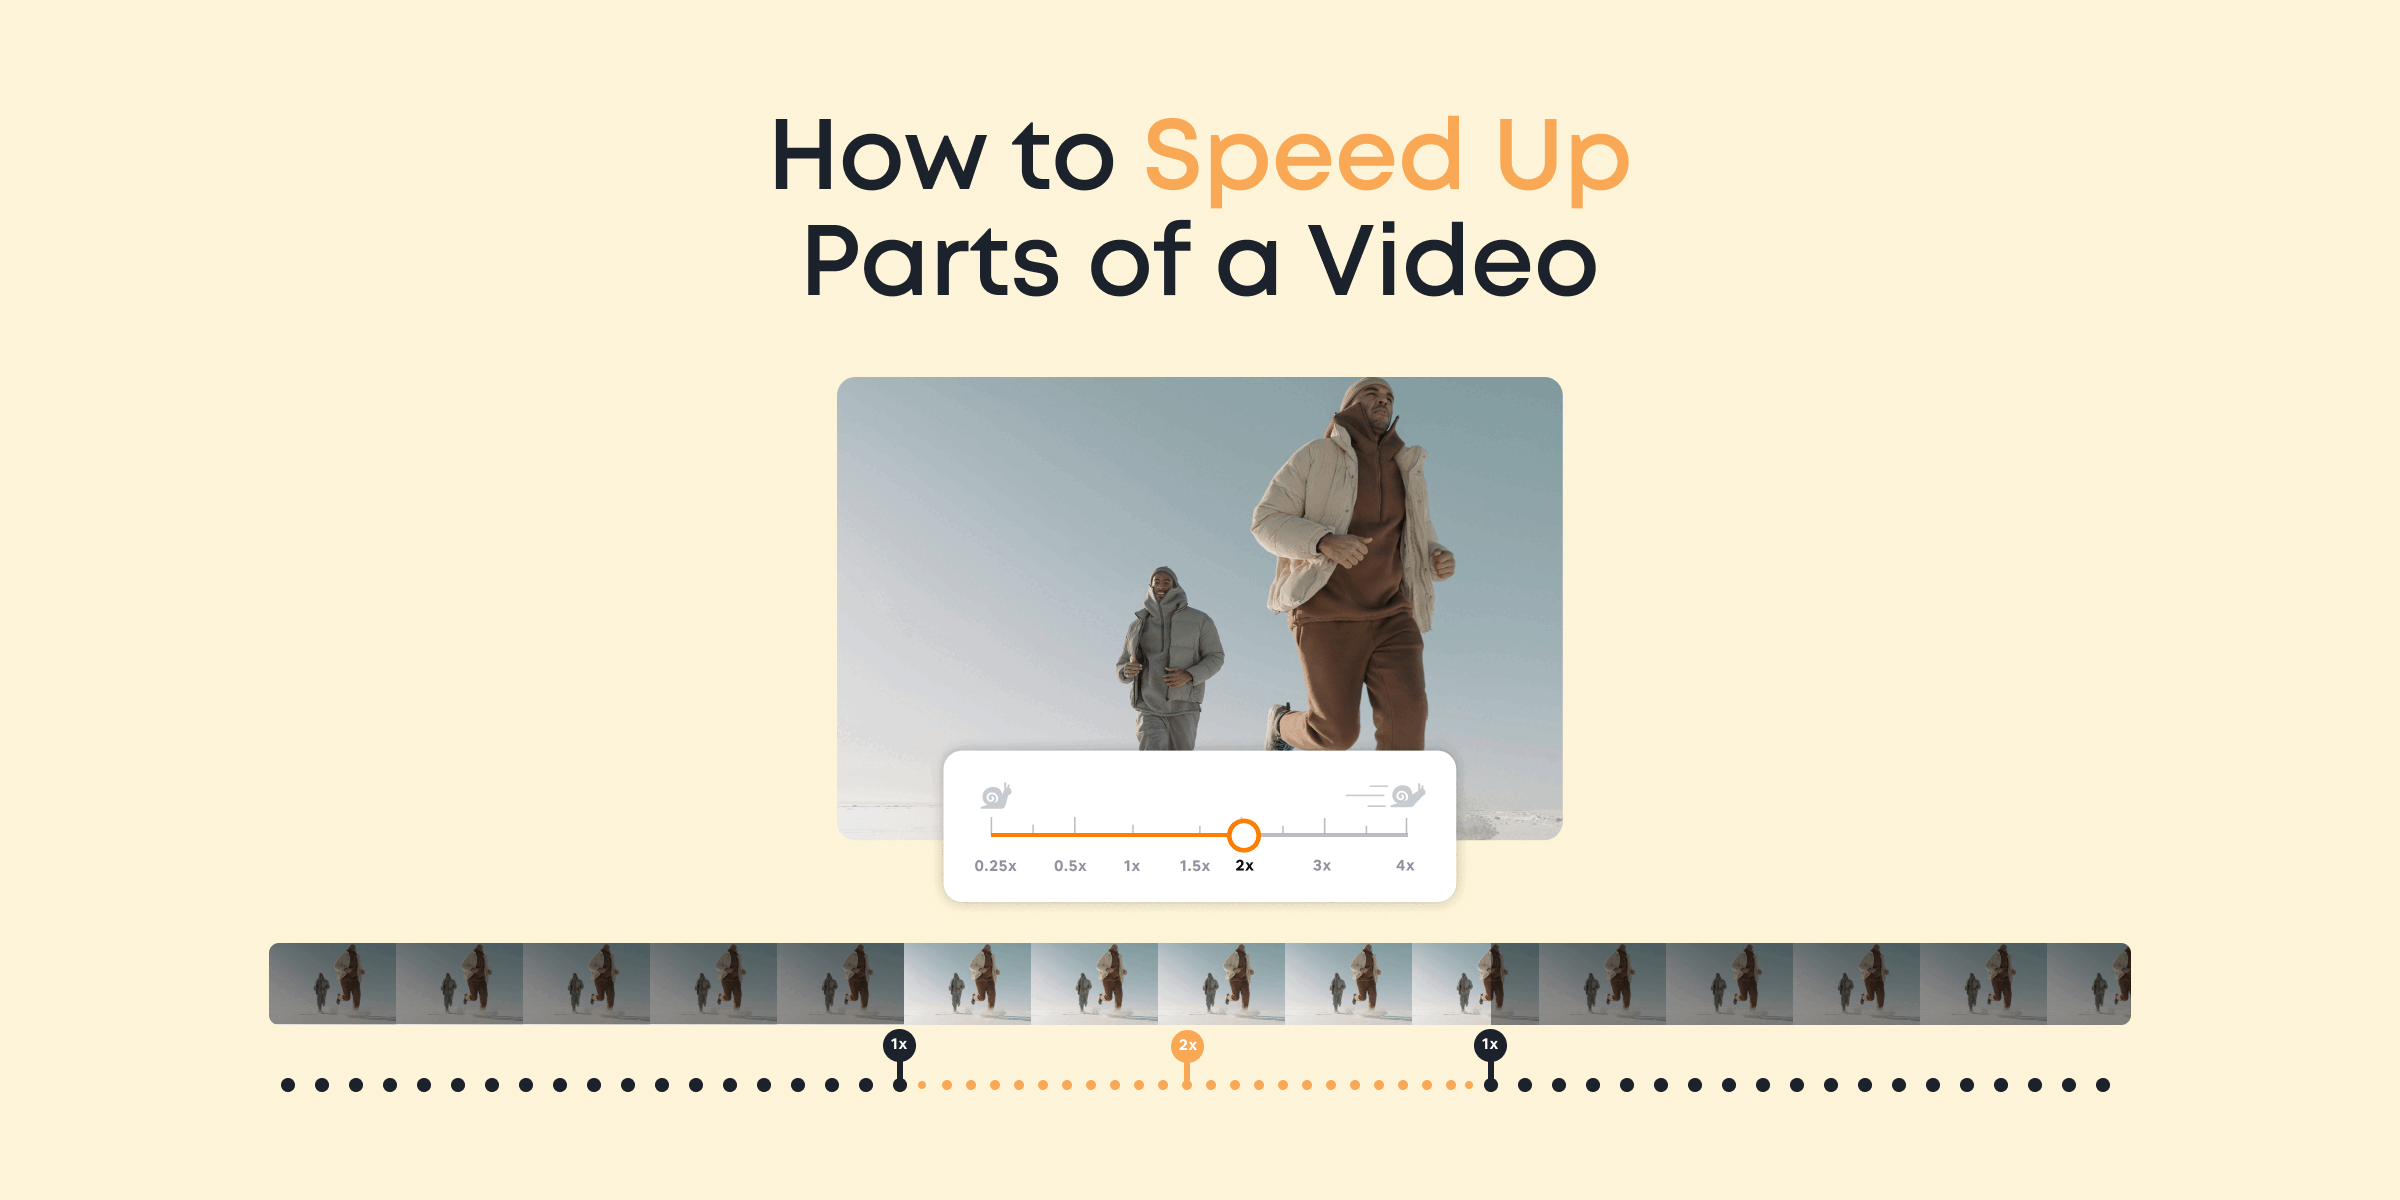
Almost everybody knows how to fast forward a video in Windows 10. But you’d be surprised by the number of people who barely know how to speed up parts of a video.
So, let’s say you’re making a cooking tutorial, and you don’t want to bore your viewers with long footage of food simmering in the oven. You can just speed up the part where the food is cooking so you can focus on the results!
Moreover, you can also speed up parts of your video sometimes just for cool effects!
In a nutshell, the steps below basically shows how to speed up parts of a video on most video editors:
- Import your video file
- Separate the part you want to speed up
- Speed it up
- Add some finishing touches
- And Save!
In this guide, we’ll show you a straightforward process to speeding up a section of any video in Windows 10. Without further Ado, let’s get to it!
Contents
Top 5 Tools for Speeding up Parts of a Video
There are several tools that can let you fast forward a part of your video conveniently. Some of the best ones are discussed below. Let’s take a look at them.
Animotica

Animotica is easily our favorite on the list because of its versatility, efficiency, and reliability as a video editor.
When it comes to speeding up a section of your video, Animotica makes the process more straightforward than ever!
Pros:
- Beginner-friendly interface
- Wide range of editing features
Cons
- Only available on Windows 10 PCs
The following entries on our list are great alternatives, but we will just list their pros and cons to save time.
EaseUS

Pros:
- Straightforward
- Supports a variety of video formats
Cons:
- Dated interface
- Limited features
Camtasia

Pros:
- Supports a variety of video formats
- Comes with a screen recorder
Cons:
- Expensive
- Consumes a large amount of RAM
VSDC

Pros:
- Free to use
- Has plenty of extra features
Cons
- Not so easy to use
- Crowded interface
Flixier

Pros:
- Completely used online
- Easy to use
Cons:
- Depends on the strength of the internet connection
- Requires users to go through a signup process
How to Speed Up Parts of a Video
In this section, we will go into the exact steps you can take to speed up certain parts of a video.
We will be demonstrating this using Animotica, our easy-to-use, powerful video editor!
Hit the button below to download it for free.
Step 1: Launch Animotica and Create a Project
Having installed the software, launch it and hit on New Project. This will take you to a blank project window where you’ll be able to carry out any editing task!
Step 2: Upload Your Video Clip
Hit on Add Photo/Video Clips to begin. From the pop-up tray, select Video or Photo Clips.

This will take you to your local storage so you can navigate to your desired video clip, select and upload it. Don’t freak out when you see a pop-up generating a proxy file from your clip. This is usually quick and enables you to edit your videos much more efficiently.

Learn more about proxy files here.
Step 3: Isolate the Part you want to Speed Up.
This is where the magic begins! Select the video clip’s thumbnail to reveal the main editing options.
Next, drag the time slider to the starting point of the part you want to isolate. Now, select Split (or hit K).

Again, drag the slider to the ending point of the part you want to isolate and hit Split again.

From the above screenshot, you can see that there are now three clips. The one in the middle is the isolated clip. Feel free to play it to make sure it is the correct one!
Step 4: Speed up the Clip
At this point, you can now edit any of the isolated clips individually. To speed up your selected clip, tap on the thumbnail to reveal the editing options and then select Speed.

You can now adjust the speed by dragging the slider to the right.
Note that changing the clip’s speed will alter the sound of the video. So it’s always advisable to mute that part and replace it with background music. You can mute the video right away by clicking on the mute icon, as shown below.

Step 5: Final Touches
Okay, fine, you’ve sped up a section of your video. Mission completed. But then, it would be a lot nicer if you can add some finishing touches to make the video ‘pop.’
For example, you can add transitions, background music, special effect layers, and more to the isolated clip.
Be sure to preview your video to ensure everything checks out.
Step 6: Save your Video
To save your video, hit on Export Video or CTRL+E.

You will get to the export window. This window allows you to set parameters for video resolution, bitrate, etc. But since Animotica chooses the best balance for both quality and size, feel free to leave the parameters the way they are.

Next, hit Save As, add your filename, and hit Save again!
Conclusion
Now that you’ve learned how to speed up parts of a video, you can rest assured knowing that your video editing skills have gotten to a new level.
Just like it is with everything else, you get perfect with constant practice. Just make sure you have fun while at it.
Cheers!


