Ever needed to blur a face, hide sensitive details, or add a cool retro pixelated effect to your video? Whether for privacy, censorship, or creative editing, pixelation is an easy and effective way to obscure parts of a video while keeping the rest clear.
The good news? You don’t need expensive software or advanced editing skills.
With Animotica, you can pixelate videos quickly and easily on your Windows PC—no confusing settings, no complicated tools, just a simple, step-by-step process that gets the job done.
✅ Want to blur out private details? Animotica can do that.
✅ Looking to create a pixelated gaming aesthetic? Covered.
✅ Need to censor parts of a video for professional use? No problem.
This guide will walk you through:
✔ Why you might need to pixelate a video.
✔ How to pixelate videos on PC using Animotica in just a few clicks.
✔ Pro tips to make your pixelation look natural, stylish, or seamlessly blended.
Ready? Let’s dive in! 🚀
Contents
Why Pixelate Videos? (Spoiler: It’s More Than Just Privacy!)
Pixelation isn’t just for censorship—it’s also a great tool for enhancing creativity, improving security, and making videos look more polished.
🎭 For Privacy & Security:
- Blur faces, personal details, or sensitive information in videos.
- Hide license plates, documents, or ID numbers to protect identities.
- Censor inappropriate or restricted content while keeping the video usable.
🎮 For Creative & Artistic Effects:
- Add a glitch or retro pixel effect for a gaming or cyberpunk aesthetic.
- Use pixelation for transition effects to create a smooth fade-in/out.
- Pixelate sections of a video to highlight other details and make them pop.
📚 For Educational & Professional Use:
- Censor sensitive details in corporate presentations or training videos.
- Hide confidential data in tutorials, software demos, or legal footage.
- Obscure private information in medical or research-related videos.
Bottom line? Pixelation is a versatile tool that serves both practical and creative purposes.
What You Need to Pixelate Videos on PC (Hint: Not Much!)
To pixelate videos with Animotica, you only need:
✅ A Windows PC running Windows 10 or 11.
✅ Animotica (Free Video Editor) – Available from the Microsoft Store.
✅ A video file (MP4, MOV, AVI, WMV—Animotica supports them all).
✅ Two minutes of your time.
🚀 No need for professional editing skills—Animotica makes pixelating effortless
How to Pixelate Videos on PC with Animotica (Step-by-Step Guide)
Want to explore the fun world of video pixelation? Pixelating your videos can turn regular footage into cool digital art, all without losing that easy-to-use magic you love. Whether it’s for privacy, creativity, or just some fun, Animotica makes it super simple. Let’s go through it step-by-step—because who said pixelating can’t be easy?
Step 1: Download Animotica from Microsoft Store
💻 Start by installing the right tool.
Open the Microsoft Store on your Windows PC. You can find it in your start menu or by searching for “Store” in the search bar.
In the search box, type “Animotica – Video Editor” and hit enter. You’ll see an app with a bright, colorful icon—click on it to proceed. Alternatively, you can click the button below that will take you directly to Animotica’s Microsoft Store page.

Click the Download button to begin downloading the app. Once the download is complete, follow the on-screen instructions to install Animotica onto your PC.
When the installation is finished, launch Animotica either from the Store page itself or from your newly installed apps list.
Step 2: Launch Animotica & Create a New Project
📂 Get your video ready.
To begin your pixelation journey, Open Animotica and look for the “New Project” button on your home screen. Clicking it will set the stage for your video project!

🎬 Pro Tip: Take a moment to rename your project to something memorable. This small step will save you a whirlwind of time when you’re searching for it later amidst a sea of video edits! Trust us, future you will be grateful!

Step 3: Add the Video You Want to Pixelate
📥 Import your video in seconds.
Click on the “Add Video/Photo Clips” button. You’ll find it prominently displayed on the interface, waiting to be your gateway to creative possibilities.

Browse through your files and select the video you want to work with. Don’t worry about format issues—Animotica plays nice with many types, including MP4, MOV, AVI, and other popular formats that keep your editing journey frustration-free.
💡 Got multiple clips? Fantastic! You can throw them all into your project. Edit them together seamlessly in just one timeline and say goodbye to the hassle of managing separate files.
Step 4: Apply the Pixelation Effect
🎨 Now, let’s pixelate your video like a pro!
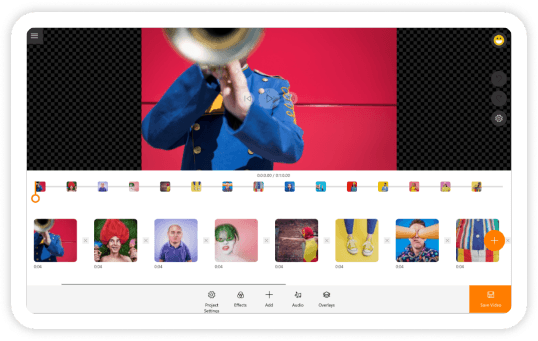
First things first, click on your video clip in the timeline. This is your canvas — let’s get creative!

Next, head over to the toolbar and select the vibrant “Effects” button. It’s like opening a treasure chest of visual magic!

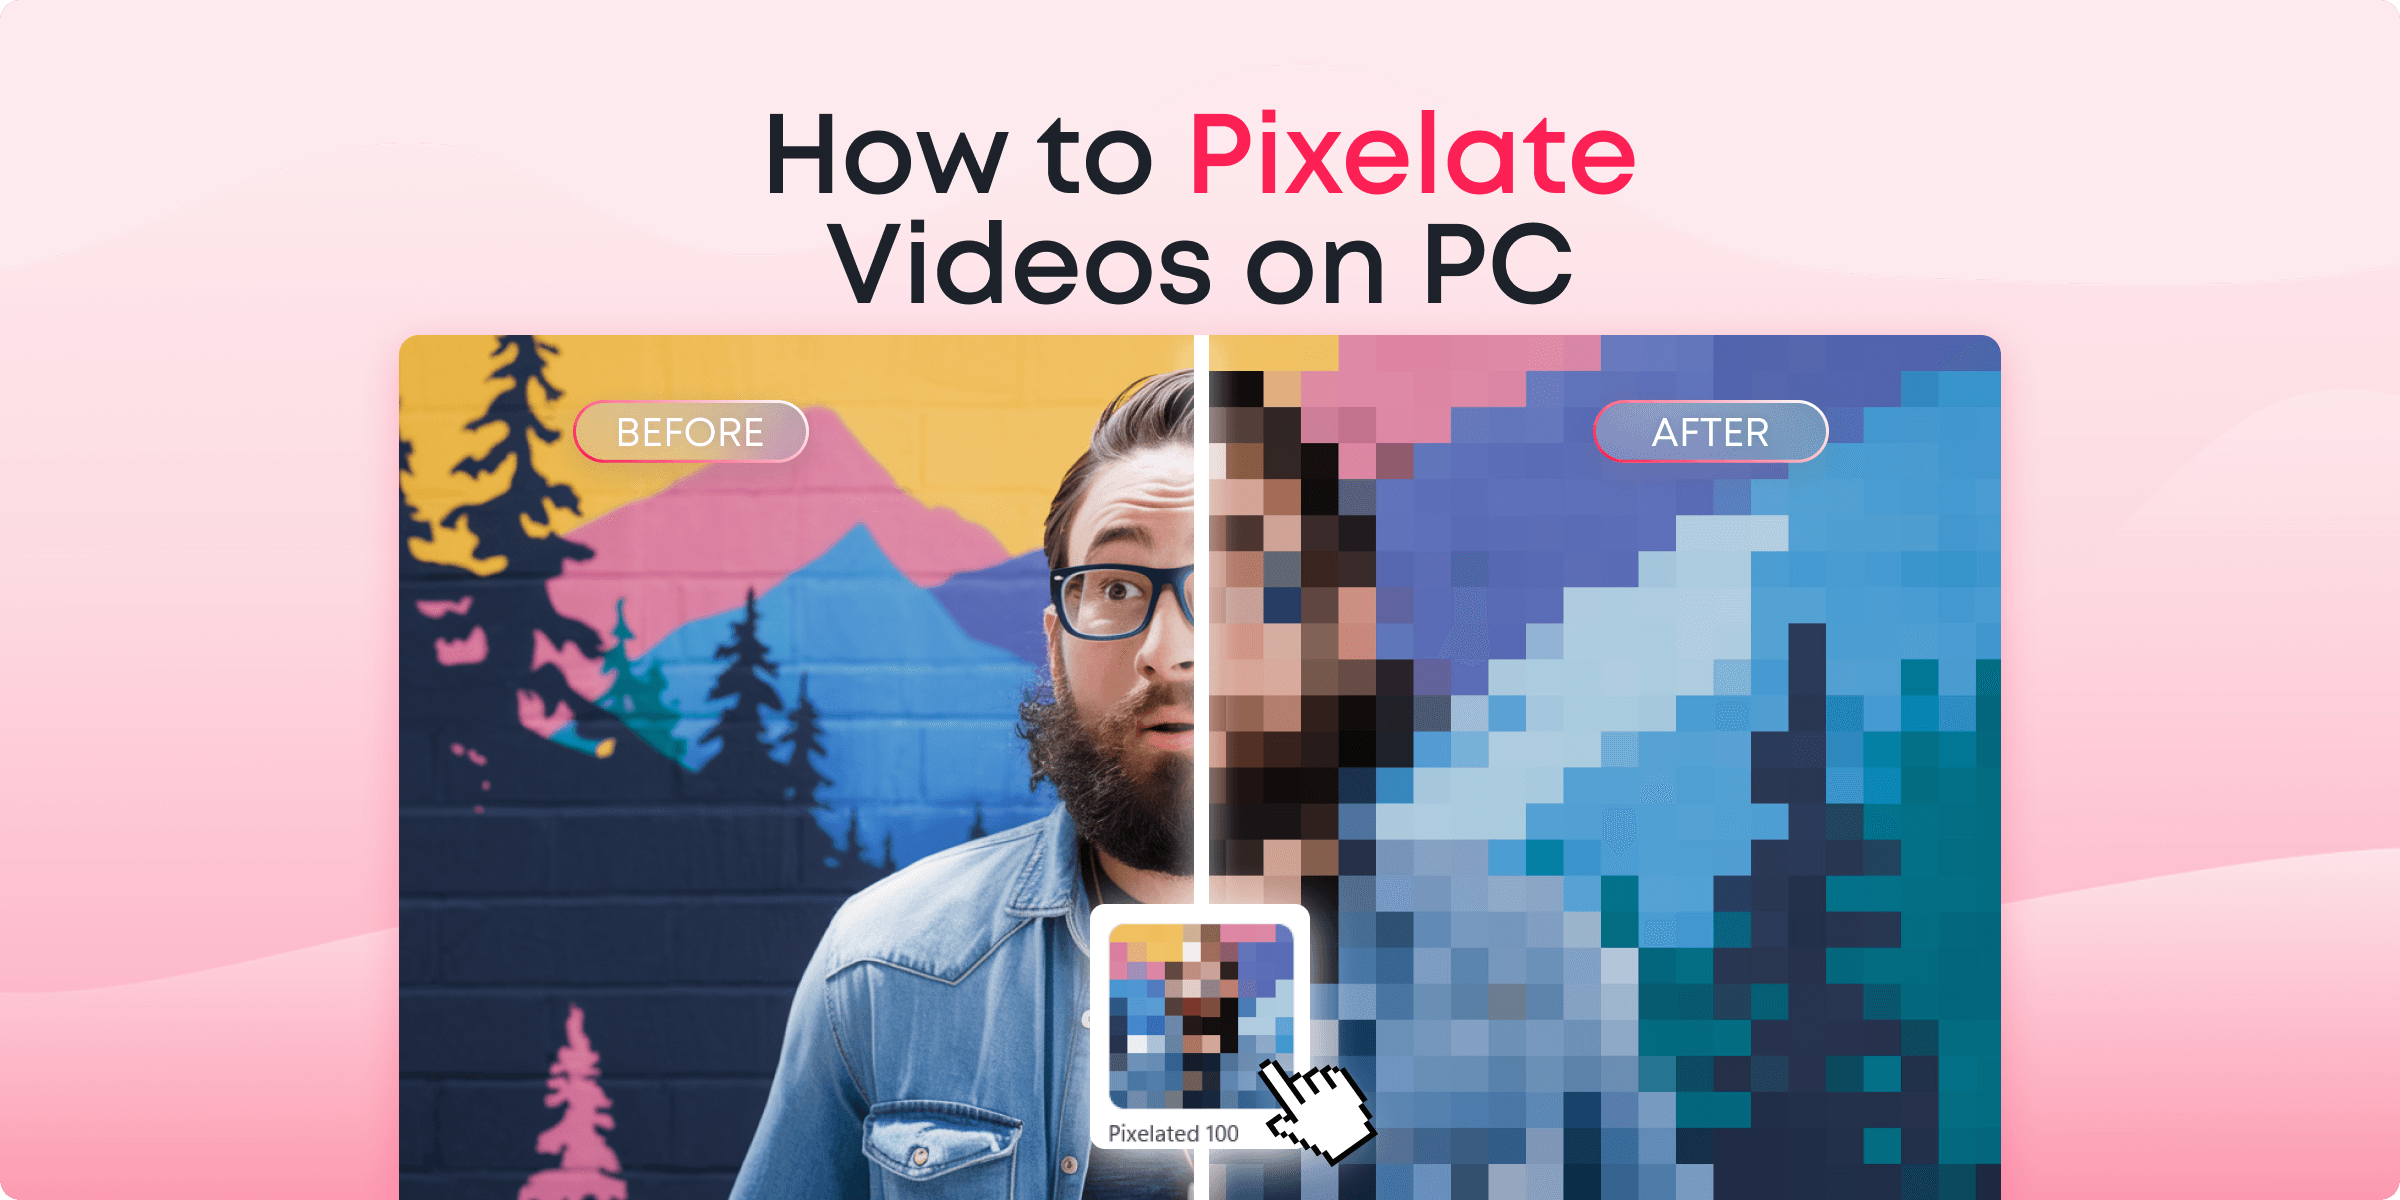
As you scroll through the effects, keep an eye out for “Pixelated 100”. This is your ticket to creating a chic, pixelated look. Channel your inner retro artist!

Once you find it, the fun part begins—click on it! Instantly, your video is transformed with a delightful pixelation effect. It’s like your video just traveled back to the 8-bit era!

Step 5: Customize & Enhance (Optional)
🎵 Make your video stand out with eye-catching enhancements.

Add text overlays for captions, labels, or instructions. Whether it’s identifying key scenes or providing context, text overlays can make your message crystal clear. Experiment with different fonts and colors to match your video’s theme.
Insert background music to enhance the video experience. Music can set the tone and rhythm of your video. Choose tracks that align with your video’s mood, whether it’s upbeat, suspenseful, or laid-back, ensuring it complements the visual content effectively.
Mix pixelation with other effects for a cool, cinematic look. By combining pixelation with color grading or transitions, you can achieve a striking and dynamic style that captures your audience’s attention, giving your video that professional edge.
💡 Combining pixelation with glitch effects can create a futuristic feel! This combo is perfect for tech-themed stories, trailers, or anything that aims to give a modern and edgy vibe. Let your imagination run wild and craft a visual masterpiece that truly dazzles.
Step 6: Export Your Pixelated Video
📤 Save and share your work.
Once you’re satisfied with how your video looks, click the “Export Video” button. It’s your golden ticket to preserving your masterpiece.

Before your video flies off to its destination, choose the resolution (HD, Full HD, or 4K) that best suits your project’s needs. Want to upload quickly? Go for HD. Looking to impress with stunning visuals? 4K is your friend. Check out our blog post on what 4K in video editing is to learn more.

Hit the “Save” button, and let Animotica do the heavy lifting. It’ll efficiently package your video, ready for the world to admire.
🚀 Congratulations! Your pixelated video is now ready to enchant your audience on platforms like YouTube, TikTok, Instagram, or any other digital stage you choose to grace!
Final Thoughts on Pixelating Videos
Pixelating videos is a handy trick! It’s great for keeping things private or adding a creative touch. Whether you’re a content creator, filmmaker, or just playing around with video editing for fun, pixelation can make your videos stand out.
Animotica makes this even easier. It’s simple to use and perfect for anyone, no matter your editing experience. With Animotica, pixelating becomes a fun way to make your videos more personal and creative.
Plus, Animotica offers lots of other tools to improve your pixelated videos. You can adjust brightness, change aspect ratio, or speed videos up or down for the perfect scene. These features ensure your videos look professional while meeting your privacy or artistic needs.
As you get better at editing, remember that pixelation is just one tool you can use. Try different things, play with settings, and, most importantly, have fun making videos that people will love. Happy editing!
FAQ on Pixelating Videos
What is the pixelation effect in video editing?
Pixelation is a video effect that replaces fine details with large, blocky pixels, making parts of the video blurred, censored, or stylized. It’s often used to hide sensitive information, obscure faces, or create a retro, 8-bit gaming aesthetic. With Animotica, applying pixelation is as easy as selecting your clip and adding the Pixelated 100 effect.
Can I pixelate videos on Windows 10 & 11?
Yes! Animotica is fully compatible with Windows 10 and Windows 11. Just download it from the Microsoft Store, and you’re good to go!
What’s the difference between pixelation and blurring in video editing?
Both effects hide details, but they work differently:
🟣 Blurring smooths and blends pixels together, creating a soft, foggy effect.
🟡 Pixelation replaces fine details with square blocks, making things look more digital or censored.
If you’re hiding faces or information, pixelation is better because it ensures nothing is readable. If you want a subtle disguise, blurring might be a better choice.