Gamers like to record gameplay for several reasons. One is to be able to look back at their performance and improve their strategies. Another popular reason is to show off their adventures and skills to their friends and followers.
In today’s guide, we’ll show you how to record gaming videos for YouTube, Vimeo, Facebook, and more. Not only that, but you’ll also discover some of the best screen recording software to record your game streaming.
Let’s get to it!
Contents
The Best Game Recording Software in 2024
There are thousands of video game recording software across the internet. Here, we will be focusing on game recorders that give you the best bang for your buck.
These tools provide more flexibility and allow you to record in superb video and audio quality.
Without further ado, let’s dive into it!
ScreenMi

ScreenMix prides itself on its simplicity. The recorder looks very easy on the eye but has proven to be quite powerful in the way that it performs. It can be used for a variety of other stuff, like product demos, webcam sessions, tutorials, etc.
Here are some of the best things about this screen recorder:
- Very easy to use.
- Allows you to record in 120 fps, the optimal frame rate for high-resolution games.
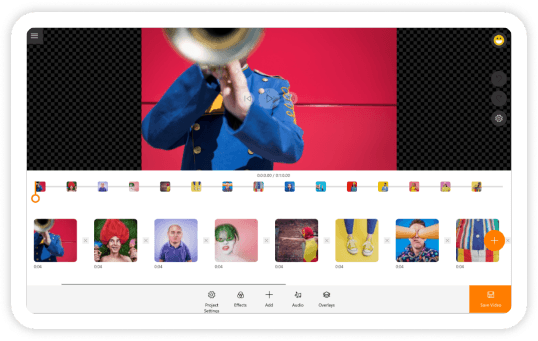
- Allows you to edit your recorded sessions for free using its video editor, Animotica.
- Has access to window recording, which allows you to record ONLY your gaming window.
- You can monitor and control the quality and size of your recorded clips in real-time.
Price: $9.99 with free trial.
Action
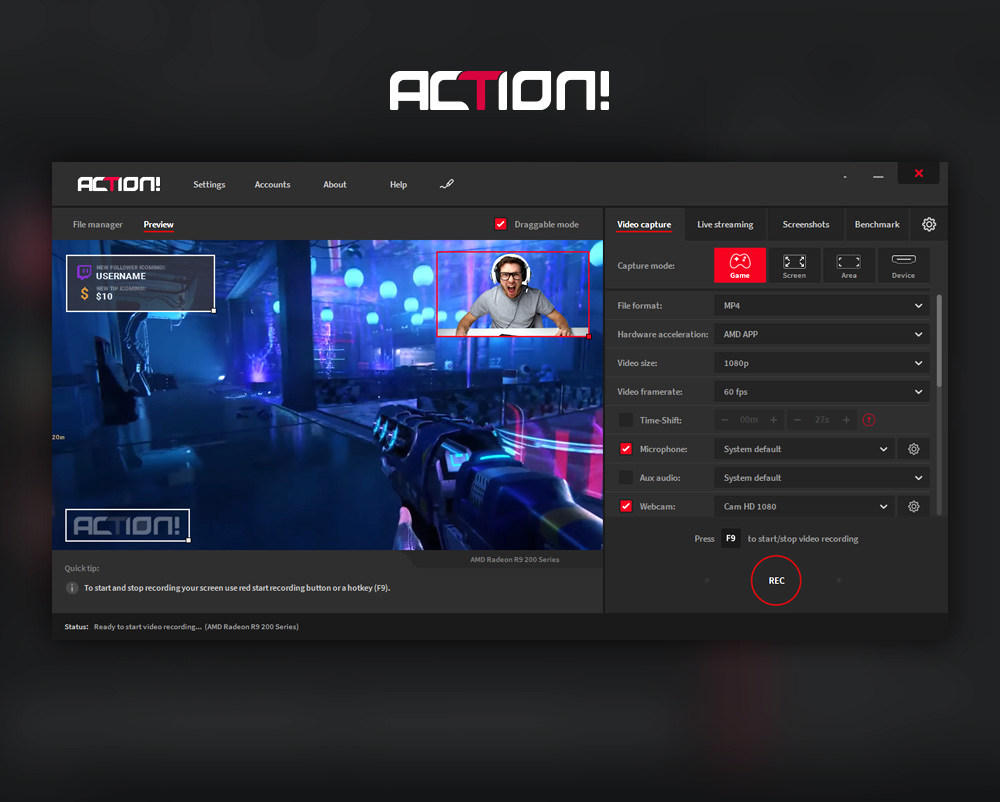
Action is a robust game recording software that allows you to record gameplays in 4K and even add live commentaries. Action allows you to do live gaming on platforms like Ustream, YouTube, Livestream, and Twitch.
Impressive Features:
- Rich in features
- Supports several file formats
- Allows you to take screenshots while gaming
Price: $29.95 plus free trial
Bandicam

Bandicam is a lightweight but impressive screen recorder suitable for gamers. It also allows users to record specific parts of their screen for privacy purposes.
Impressive Features:
- Allows recording in high definition—up to 4K.
- It has a built-in compression feature to help optimize file sizes.
- Allows recording for up to 24 hours non-stop.
- Supports several codecs and video formats.
Price: Starts at $39.95
Gecarta by Movavi
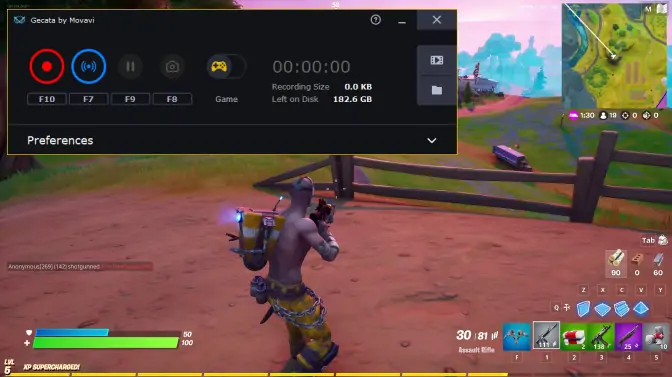
Gercarta Screen Recorder comes with a modern interface, which makes it fun to use. It also lets users record gaming sessions in 4K resolution, and on top of that, it comes with a post-recording tool for basic editing tasks.
Impressive Features:
- Supports multiple formats.
- Easy to use.
- Allows users to stream and record simultaneously.
Price: Starts at $25.95 plus free trial.
D3D Gear

D3D Gear is a lightweight software that allows you to record your gameplays without any need for special setups. It also has a compression system that compresses all recorded videos in real-time. DED Gear is tailored chiefly for game recording and is excellent at helping you record your games without slowing them down.
Impressive Features:
- Has a simple UI and is easy to use.
- Allows live streaming.
- Has a game screenshot capture functionality
- Can record Oculus VR Games.
Price: $29.85 plus free trial.
Things to look out for in a Game Recorder
With the list we’ve compiled above, it might be a little tough to make a decision. So, right here, we’ll discuss some of the main things to consider before choosing your go-to game recorder. Let’s take a look!
FPS
The standard frame rate for gaming is 60 frames per second (fps). If your game recorder can meet this requirement, it’s legit! But the best ones capture up to 120 fps for a buttery-smooth recording experience.
Price
Unless you’re making a ton of money recording games, you sure don’t want to get an overpriced game recorder. A great recorder will give you all you need without creating holes in your pocket.
Some people do opt for free tools. These are good, but their features can be limited and frustrating sometimes.
Usability
Nobody wants a game recorder that has the interface of a spaceship system. A good recorder should have a user-friendly outlook and easily accessible features.
Features
A great game recorder should have out-of-the-box features that make it super fun to use. One of the most popular functionalities among top game recorders is the Green Screen/Chroma Key feature.
This tool allows you to completely change your background while recording your gameplays.

It allows you to take up minimal screen space and also makes your game streams more professional.
Now with all that said, I strongly suggest that you give ScreenMix a try. It has all the qualities mentioned above, including the Chroma Key feature!

In fact, for this guide, we will be showing you how to record your gameplays using this software so that you can see how easy it is!
Click the button below to try it for free.
How to Record your Gameplay on Windows 10/11
Now that you’ve downloaded ScreenMix, let’s put it to test! Here, we’ll show you the simple steps you can take to start recording your gameplays immediately.
Let’s get to it!
Step 1: Launch the Screen Recorder
You can simply search for ScreenMix using your PC’s search box, or you can find it in the Windows app menu. Tap on it to launch it.
Step 2: Set it Up
Before you begin recording your gameplay, you might want to ensure the recorder is prepped with the right parameters.
Set video quality
Tap on the wheel icon at the extreme right side of the home screen and select Video. For Output Video Resolution, select Full HD.

For Frames Per Second (FPS), select 120. For video quality, you can leave it at 75% or drag the slider all the way to 100%. You can also take the audio bitrate to 192 kb/s.
If you’d like to record the sound from the game, here’s how to do it.
Adjust settings to record playback audio or microphone
From the settings sidebars, select Audio. Now, turn on the Record Playback Audio button. If you’d like to record your own voice while gaming, turn on Record Microphone Audio.

Set your preferred Capture Mode
Next, exit the settings window and click on Capture Mode. From the capture mode options, select Window.

This will dim your screen and reveal a + sign, tap on your game window and select the checkmark (✓) icon.

Recording in Window mode will ensure that the screen recorder will only record the gaming window and nothing else.
Step 3: Start Recording
Now that you’ve set everything up, you can just hit the large red dot to begin recording. Alternatively, you can use the hotkeys Alt+R to start the recording.
You can also set up delay of your recording by pressing the bottom right corner of the red button and selecting the delay time.

Step 4: End Recording
When you’re done recording your gameplay, you can hit the button again or hit the hotkey Alt+S. This will bring up a window showing your recorded video along with the option to edit the video in Animotica video editor.

With the video editor, you can add effects, trim, add stickers, and do much more to your recorded video. That way, it will be more fun to watch.
That’s all! As you can see, it isn’t that hard at all.
Conclusion
Recording your gameplay is just as easy as recording any type of content. All it takes is just a few settings, and you’ll be good to go.
I hope that this guide was helpful. Be sure to let us know if you encounter any difficulties recording your first gameplay. But in the meantime, have fun!
If you’ve found this guide useful and want to further enhance your content production skills, why not explore the world of explainer videos? They can help you transfer your thoughts and storyline to your audience in a more effective and engaging way. Check out Mixilab’s informative blog on explainer videos to learn more. It’s a fantastic resource that will help you elevate your content to the next level!
You might also like:
How to Add a Video on Top of Another Video
107 Vlogging Tools and Resources for Amazing Results in 2021
