Maybe you’ve seen a video clip where a basketballer leaps and hangs in the air for a few seconds before landing an explosive slam dunk. Or perhaps you’ve seen the scene from Matrix where Neo froze over a hundred bullets with one hand, and you find yourself gasping in awe at how skillful some video editors are.
“How do these badass video makers create such amazing dramatic effects?”
Indeed, the freeze effect brings a different type of energy to not just a particular scene or frame, but to an entire video clip. It highlights the moments you want to emphasize on, allowing your audience to get the clearest picture.
The freeze effect is extensively used virtually everywhere, from regular marketing ads to blockbuster action movies. And while it may appear a little too sophisticated, it isn’t!
Of course, you want to learn how to freeze video frames like a pro.
In that case, this blog will be teaching you how to freeze video frames using a simple, yet superb video editor.
Contents
Let’s Get Freezing
For this tutorial, we will be using Animotica. Animotica is a simple video editor with fantastic features that will make life easy for you. To be able to participate seamlessly, you can get it for free right here.
It takes only a couple of minutes to install, and once you’re done, you can jump into the steps below.
Step 1: Creating your Project
Open your video editor and hit Create a New Project to begin. Select Empty Project, give a name to your project, and hit the Create a New project button.

Step 2: Adding the Video you wish to Freeze
Click on Add Video/ Photo Clips. Go ahead and select Add Video or Photo Clips.

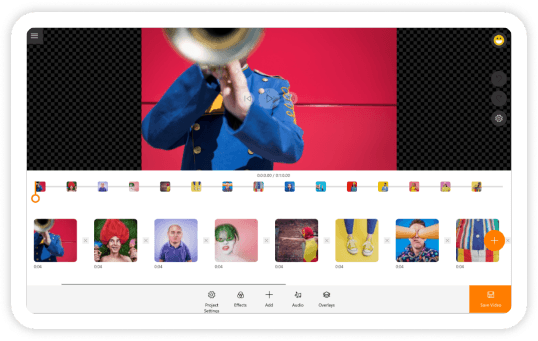
Navigate to where you’ve stored your video clip, select it, and hit open. Now you’ll be taken back to the project window with your video loaded on the screen. Tap on the video clip with your mouse to activate a wide array of enhancement options you can apply.

You can make the video clip slower or faster, trim it, or do several other stuff, depending on your needs. Try out the options to see what you can do with them. When you’re all set, we can proceed to the main act.
Step 3: The Freeze Effect
Tap on the video clip to activate your options. Now you need to determine what part of the video you’d like to freeze. To make it easier for you, just hit the play button and also hit pause once you get to that part you’d like to freeze.

With the video paused right at the spot you want to freeze, drag your cursor down to the camera icon, and hit it to take a snapshot. When you do that, you’ll get a pop up of three options, choose Take Snapshots and Insert in the Current Position. This option will split the video into two and insert the scene you just captured in-between, creating the freeze effect. You can hit play to see how it works.
Basic Enhancement (Optional)
At this point, you have successfully frozen your video frame. However, unless you have no high expectations, you know that your video clip can get a lot better. You can make your snapshot a little bit livelier on the screen by using the motion effect.
Additionally, you can spice up the freeze effect by using overlays, transitions, audio, and much more. Also, know that you can freeze your video at multiple places!
Be sure to try out these effects and have fun while getting yourself acquainted with the software.
So let’s say you’ve done the best you can. You’re pretty much happy with your work and have decided to save your masterpiece. In that case, let’s move to the last step!
Saving your Work
Simply hit Save Video.
If you want to learn more about Bitrate and Video Resolution, you can do that here. However, at this stage, it’s best to leave the bitrate and video resolution as they are since Animotica automatically chooses the best balance between size and quality for your videos.

That said, go ahead and click Save As. Type in the name you wish to save the video as, and ensure it is at the desired storage location. Then, hit Save or just Enter.
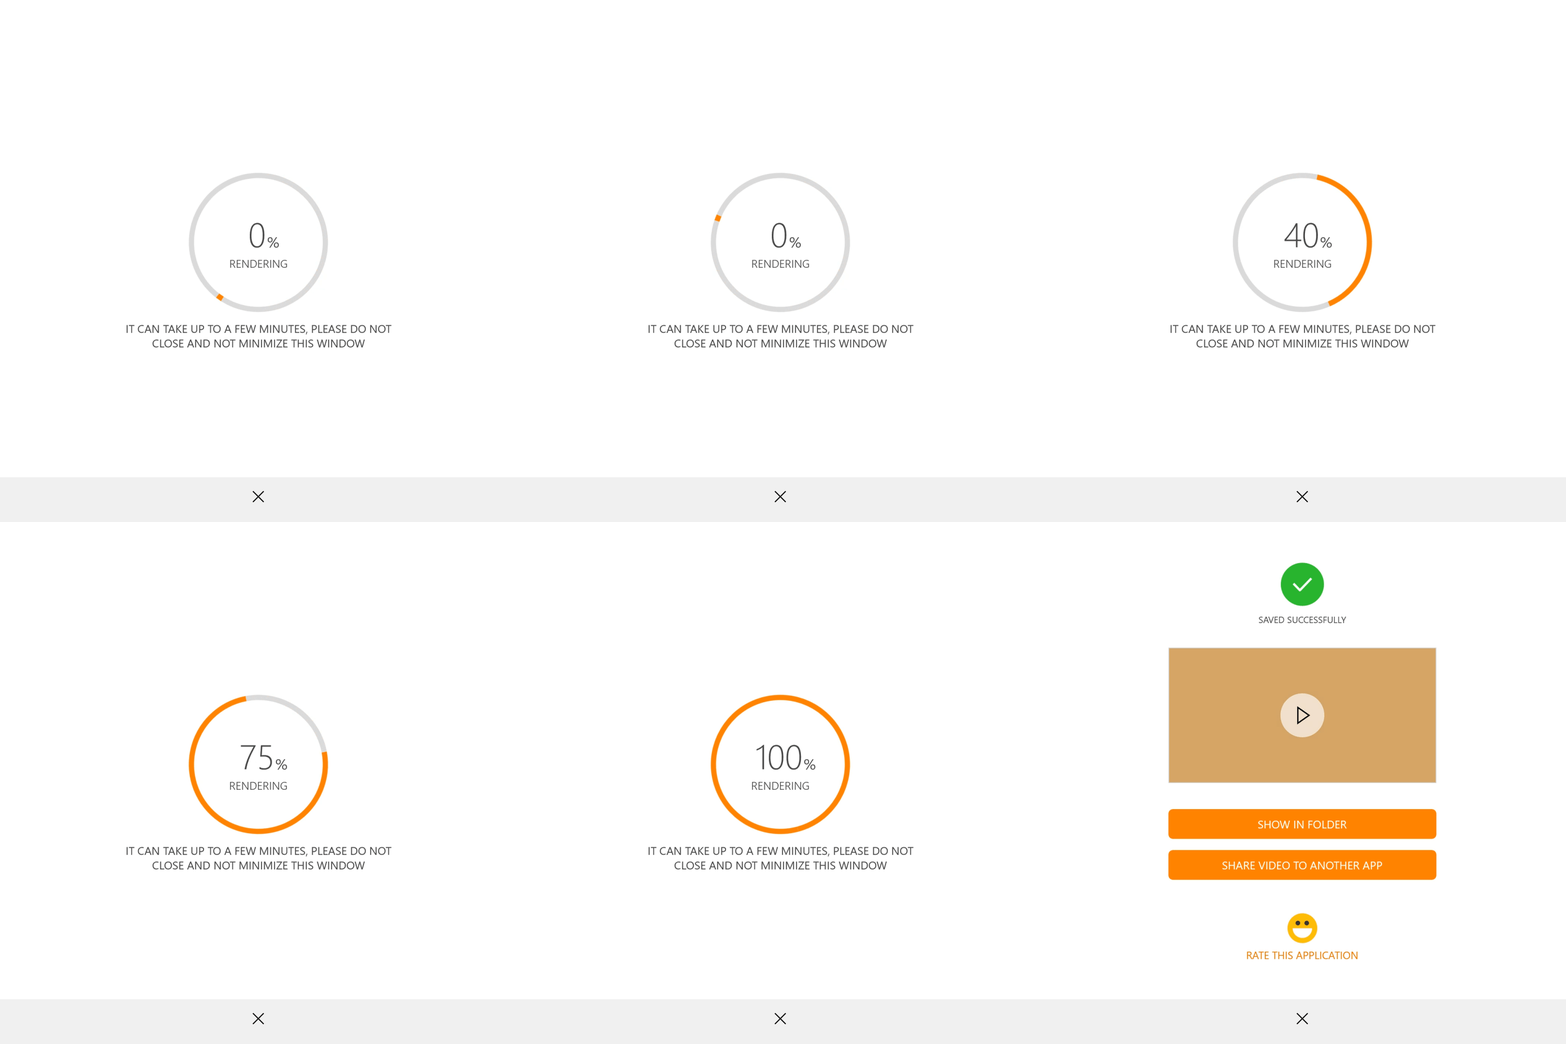
After that, you can do a few stretches or grab a bottle of water while Animotica renders your project for you. When it is done, you can share it with friends, or upload it directly to YouTube!

Conclusion
By now, you should have mastered how to add a simple freeze effect in your video. Indeed, it takes practice and a good amount of experimenting to get to the pro-level. Animotica packs more punch than you can imagine, so get yourself busy by trying out every single feature and keep visiting our blog for awesome tutorials that will make you a better creator.
Feel free to share your queries and thoughts in the comments. I can’t wait to have a chat with you!


