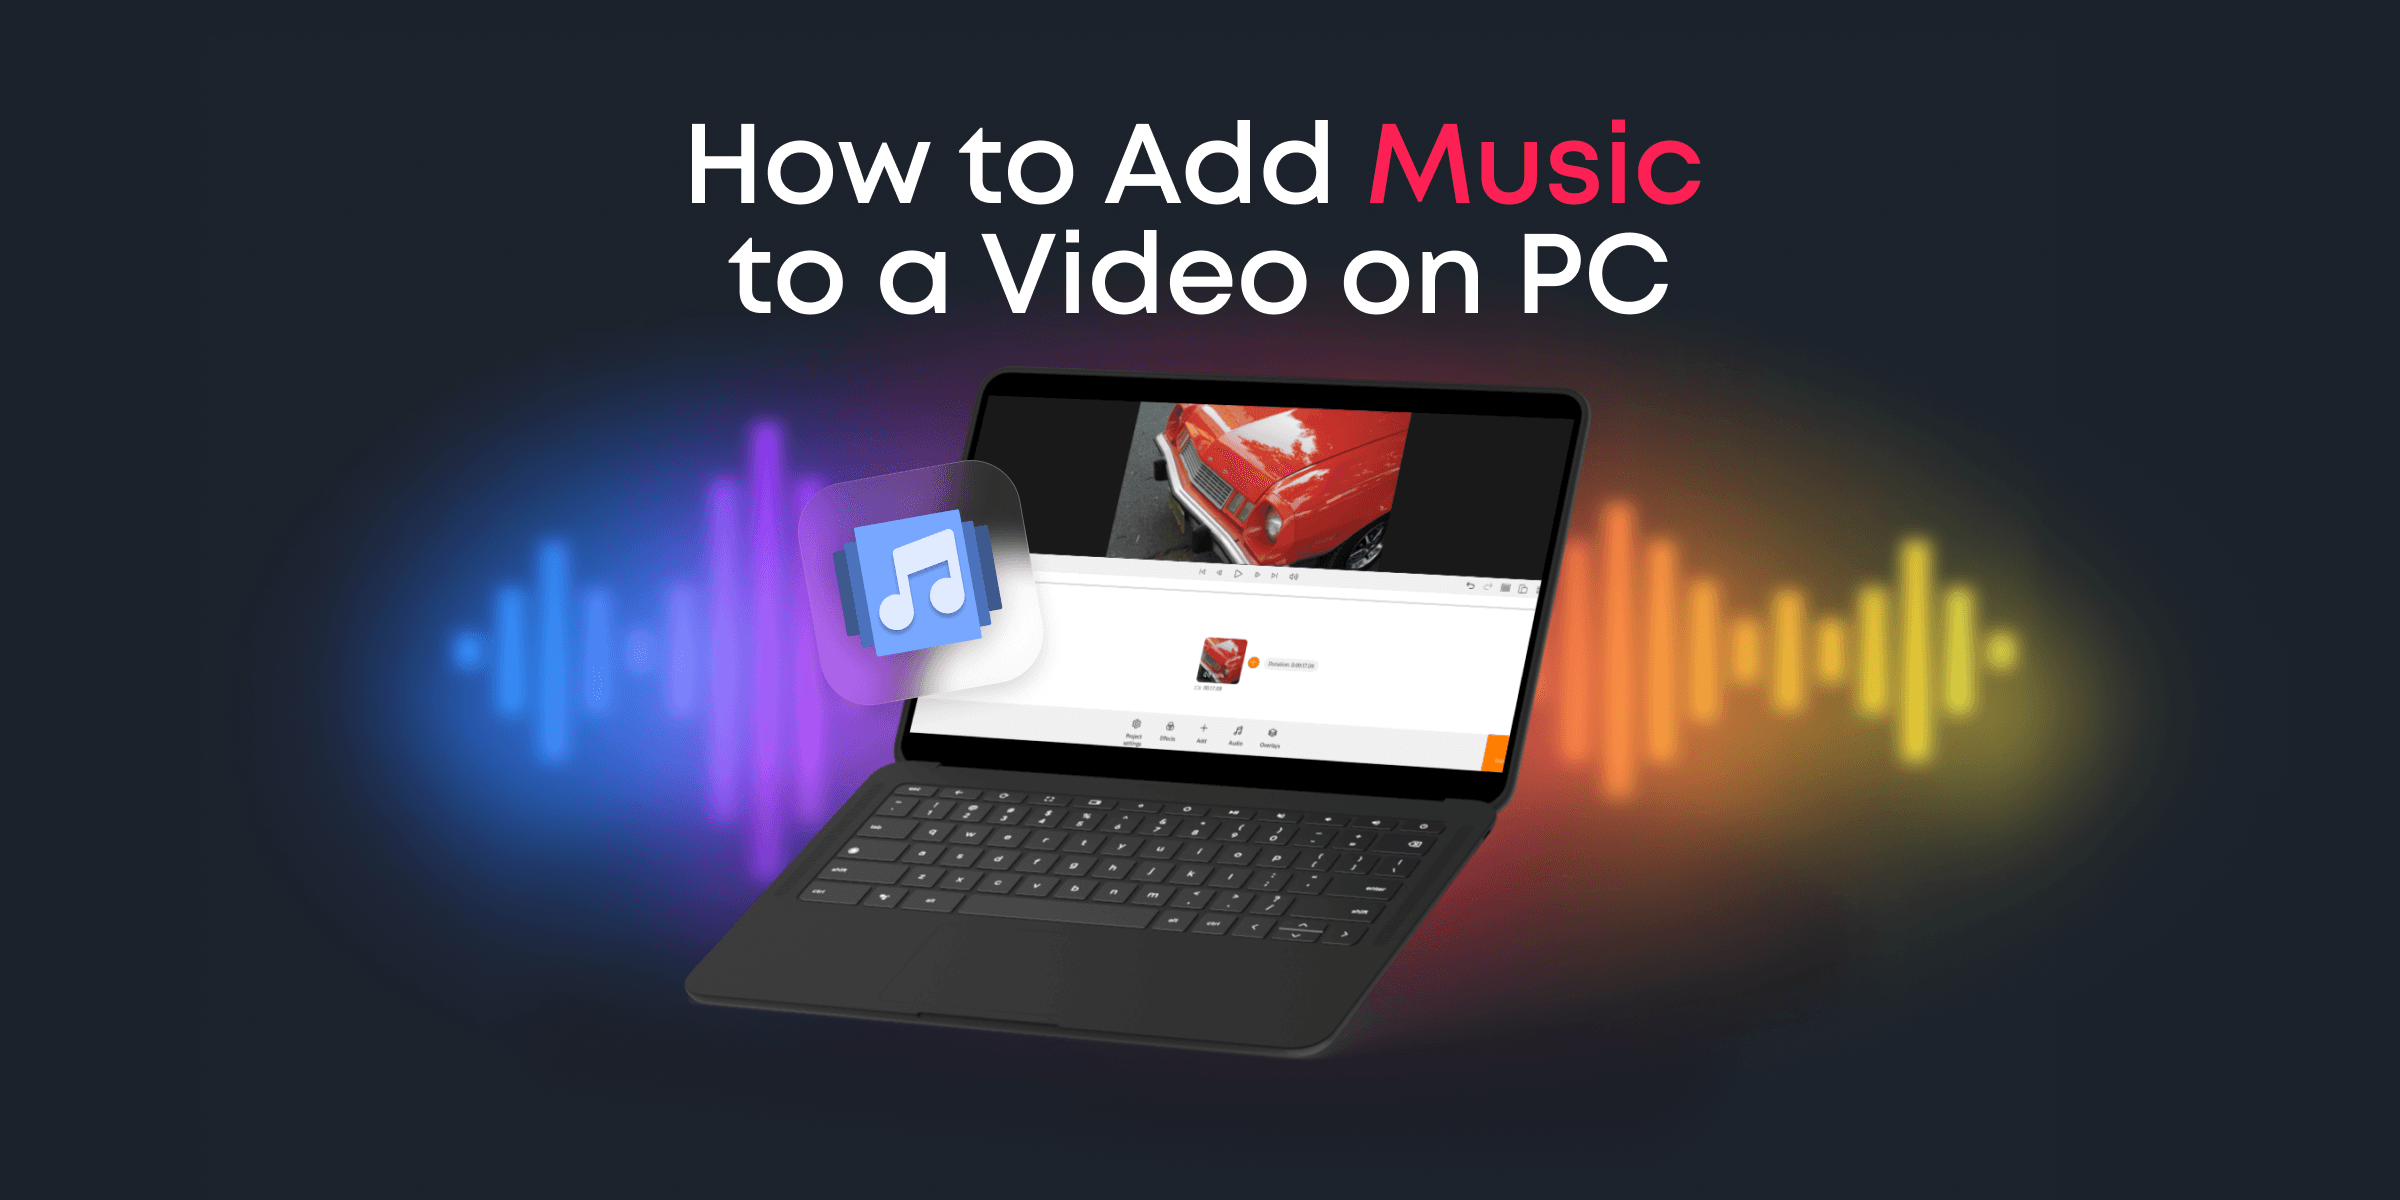
Ever wanted to spice up your videos with the perfect soundtrack but felt overwhelmed by complicated editing software? Look no further! Animotica, our free and incredibly user-friendly video editor for Windows, is here to help. In this easy-to-follow guide, we’ll walk you through adding music to your videos, ensuring your content sounds as good as it looks.
Whether you’re creating content for social media, a personal project, or a presentation, this tutorial will cover everything you need to know:
- How to import video and audio files into Animotica
- Basic steps for adding music to the timeline and aligning it with the video
- Trimming audio and creating smooth transitions between tracks
- Tips for selecting music that enhances the mood and flow of the video
By the end of this post, you’ll feel confident adding that perfect musical touch to any video. Ready to get started? Let’s dive in!
Contents
Why Adding Music Enhances Your Videos
Adding music is not just about filling silence; it’s a powerful tool that can set the tone, evoke emotions, and enhance the storytelling aspect of your video. Imagine your favorite movie scenes without their iconic soundtracks—the impact wouldn’t be quite the same, would it? That’s because music has the unique ability to amplify your audience’s emotional response, making your content more engaging and memorable. In fact, 81% of marketers agree that videos with music can increase engagement.
Music helps create atmosphere and can subtly guide the viewer’s emotional journey. Whether you’re crafting a sentimental montage, an exciting travel vlog, or a professional presentation, the right music can underscore your video’s theme and enhance its narrative. It also plays a crucial role in maintaining viewer interest; a well-chosen track can hold attention and make your video more enjoyable to watch.
Moreover, background music can help mask audio imperfections, like wind noise in outdoor recordings or minor echoes in indoor settings. It adds a layer of polish to your final product, making your video look and sound more professional. This is particularly beneficial for creators who are just starting out and may not have access to high-end recording equipment.
In summary, adding music to your videos is an easy yet effective way to captivate your audience, evoke the right emotions, and give your content a professional edge. And with Animotica, incorporating music into your videos is simpler than ever.
How to Add Music to a Video in 5 Easy Steps
Adding music to your video can significantly elevate its emotional impact. With Animotica, this process is a breeze. Follow these straightforward steps to incorporate music into your video project seamlessly.
1. Install and Launch Animotica
First, you’ll want to download Animotica from the Microsoft Store. Once downloaded, proceed with the installation by following the on-screen instructions. Animotica’s setup is straightforward and user-friendly, so the process should only take a few minutes.

Now that Animotica is up and running, you’re ready to start your music-adding journey. Let’s create a new project and import your video files.
2. Create a New Project and Import Your Video Files
Once Animotica is up and running, you’re ready to start a new project. Here’s how:
- Open Animotica: Click on the New Project button on the main screen. This will create a blank canvas for your video editing work.

- Import Your Video: Click on the + Add Video/Photo Clips option to bring in your video files. You can browse through your computer to find the video clips you want to use. Select them and click Open to import.

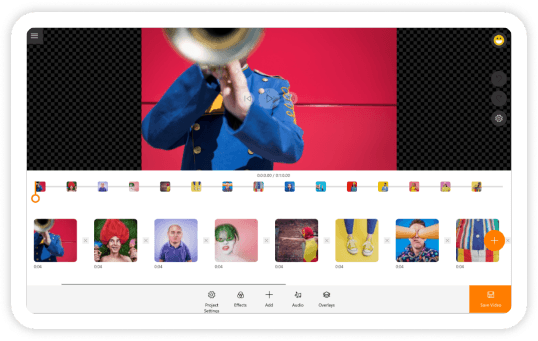
Now, you should see your video files in the media library and the timeline at the bottom of the screen. This makes it easy to get an overview of your project and start adding your personal touches.
With your video files successfully imported, you’re all set to move on to the fun part – adding music! In the next section, we’ll guide you through the simple steps of incorporating a soundtrack that will elevate your video to the next level.
3. Add Music to Your Video
Now that your video files are nested snugly in your project, it’s time to infuse them with some auditory magic. Adding music to your video with Animotica is as easy as pie!
First, look for the Add Audio button in the editing toolbar at the bottom of your screen.

Clicking this button opens a list of Animotica’s royalty-free tracks, allowing you to select from high-quality options. Additionally, you can add your own audio track. Simply click on the button, and if you choose to use your track, a file explorer window will open, enabling you to browse your computer and select your desired audio.

Once you’ve found the perfect piece, click on it, then click Open to import it into your project.
The chosen audio file will automatically be added to your timeline below the video tracks. This visual representation makes it simple to manage and adjust the placement of your music. You can click and drag your audio track along the timeline to align it perfectly with your video.

4. Edit Your Music Track and Video
Once your music track is placed in the timeline, it’s time to fine-tune your audio and video to perfection.
- Trim Your Audio: Sometimes, the music track is longer than your video. To trim the audio, click the audio file and look for the Trim button. Then, drag to shorten the track as needed. You can also use the split tool to cut the audio track at specific points, giving you more control over where the music starts and stops.

- Creating Smooth Transitions: Smooth transitions can make your video look more professional. Click on your music track and select the Sound option. Adjust the fade duration to create a seamless audio transition that enhances your video without drawing attention to abrupt changes. For more details on how to utilize this feature, check out our guide on using fade effects.

Remember to use the real-time preview feature to replay your video and ensure everything sounds right. This allows you to catch discrepancies and tweak to your heart’s content.
You’re ready to export your masterpiece once satisfied with your edits!
5. Export Your Video
Congratulations on editing your video! The final step is to export your masterpiece. Animotica makes this process incredibly simple:
- Click on the Export Button: Once satisfied with your video, navigate to the top right corner of the screen and click on the Export button.

- Select Export Settings: A menu will appear, allowing you to choose your export settings. You can adjust your video’s resolution, frame rate, and quality. We recommend selecting a higher resolution for the best quality.
- Start the Export: Click the ‘Save As’ button at the bottom of the settings menu and a desirable destination. Animotica will then process your video. The time it takes to export will depend on the length and quality of the video.

- Review Your Video: Once the export is complete, review your video to ensure everything has been saved correctly. If there are any issues, you can make necessary adjustments before re-exporting.
And that’s it! Your video is now ready to be shared with the world. With Animotica, exporting your video is quick, straightforward, and user-friendly, ensuring you spend less time worrying about technical details and more time enjoying your creation.
Ready to get started on your next project? Download Animotica for free today and see how easy video editing can be!
Best Practices for Adding Music to Your Videos
Adding music to your video isn’t just about plopping in your favorite track; it’s an art that can dramatically influence your content’s storytelling and emotional impact. Here are some best practices to follow:
Select Music That Matches the Mood
Selecting the right music for your video is like finding the perfect soundtrack for a movie scene. The music sets the tone, evokes emotions, and enhances the overall experience for your audience.
- Identify the Purpose of Your Video: Is it to entertain, inform, inspire, or all three? An upbeat track works for promotions, while a serene melody suits meditation.
- Understand Your Audience: Tailor music to your viewers. Younger audiences might prefer trendy pop, while older audiences may enjoy classics.
- Match Music to Visual Content: Sync music with visuals. Fast action needs a high tempo; slow motion calls for softer tracks.
Animotica’s built-in music library helps you find tracks that align with your video’s theme and tone. Choose wisely to create a captivating video that resonates with your viewers.
Pay Attention to Timing and Pacing
Aligning audio with your visual content is crucial. Start by listening to the music track and identifying key moments that can enhance specific scenes in your video. For instance, sync a dramatic beat drop with a significant action to make it more impactful.
Utilize Animotica’s real-time preview feature to play the video and music simultaneously, making immediate timeline adjustments to ensure the music complements the video perfectly.
Trim and split your audio files to strategically place different segments of your music track, maintaining the video’s pace and keeping the viewer engaged. Experiment with timing and pacing using drag-and-drop functionality to move music segments around the timeline for the perfect fit.
Adjust Volume Levels Appropriately
When adding music to your video, adjusting the volume levels to ensure a balanced audio experience is essential. Start by listening to your video’s original audio. If it includes dialogue or natural sounds, providing the background music does not drown out these elements. Animotica’s built-in audio tools make this process straightforward.
First, select the music track on your timeline. Click on the speaker icon to access the volume controls. You can adjust the music volume by moving the slider until it complements your video’s audio without overpowering it. A lower volume often works best for background music to clear speech and important sound effects.
Remember to preview your video after adjusting the volume. Use Animotica’s real-time preview feature to check how the music blends with other audio elements. Make final tweaks if necessary to achieve a harmonious mix. Proper volume adjustments can significantly enhance your video’s overall impact, ensuring a pleasant auditory experience for your viewers.
Use Fades and Crossfades
Fades gradually increase or decrease the volume of a track, allowing for a smoother transition at the start or end of a song. This can help you avoid abrupt starts or stops in your audio.
Crossfades blend two audio tracks, creating a seamless transition from one song to another, perfect for maintaining a continuous flow of music.
In Animotica, applying these effects is a breeze. Select the audio track you want to adjust, then navigate to the audio tools to find options for adding fades and crossfades. Drag the sliders to set the duration and intensity of these effects.
Incorporating fades and crossfades will ensure a polished and enjoyable viewing experience, enhancing your video’s overall quality.
Consider Copyright and Licensing
When adding music to your videos, it’s crucial to consider copyright and licensing. Using copyrighted music without permission can lead to your videos being taken down or even legal repercussions. Make sure you own the music rights or have obtained the necessary licenses.
One way to legally find music you can use is to look for royalty-free music libraries. These libraries offer a wide range of tracks, often for a one-time fee or no cost at all. Examples include YouTube Audio Library, Free Music Archive, and AudioJungle.
Another option is to use Creative Commons-licensed music. Many artists release their music under Creative Commons licenses, which allow you to use their work for free, provided you give proper attribution and adhere to certain conditions.
Always read and understand the terms of any license agreement before using the music. This ensures you are fully compliant and can safely use the music in your videos without legal worries.
By taking these steps, you can focus on creating great content while respecting musicians’ work and ensuring your videos stay online and accessible.
Test Your Audio on Multiple Devices
After you have finished editing your video, it’s good practice to test how the audio sounds across different devices. The way audio is perceived can vary significantly due to differences in speakers, headphones, and audio settings.
Start by listening to your video on a desktop or laptop computer. Notice if the audio is clear and check for any distortions. Next, try playing your video on a smartphone or tablet. Mobile devices sometimes emphasize different frequencies, revealing issues unnoticed on a computer.
Using headphones is another critical step, as they can reveal subtle background noises or inconsistencies. Additionally, test the video on external speakers if available. This helps ensure the audio remains balanced and sounds good regardless of the playback method.
By taking these extra steps, you can ensure that your video’s audio will be enjoyable and professional-sounding on any device your audience chooses to use.
Wrapping Up
And there you have it! With just a few straightforward steps, you can add the perfect soundtrack to your videos using Animotica. Whether you’re creating content for social media, a personal project, or a professional presentation, the right music can transform your video and make it truly memorable.
We hope this guide has demystified the process and shown how easy it is to start. Animotica’s intuitive interface and powerful features make it the ideal tool for video editing novices and experienced creators alike. So why wait?
Ready to enhance your videos with amazing music? Download Animotica for free today and start creating! Your perfect soundtrack is just a few clicks away.
Remember to share this guide with friends and fellow creators if you found it helpful. We’re excited to see what you create with Animotica!
Happy editing!
FAQ
Is it legal to use any music in my videos?
It’s legal to use music in your videos if you have the proper permissions. Using copyrighted music without authorization can result in your videos being taken down or, worse, legal action. To avoid this, you should consider using royalty-free music or licensing tracks from legitimate sources.
There are many resources available online where you can find music that is free to use or requires a one-time license fee. Websites like YouTube’s Audio Library, Epidemic Sound, and Artlist offer extensive music collections that you can legally use in your projects. Always read the licensing terms carefully to ensure you’re in compliance.
Does adding music affect a video’s file size or quality?
Adding music to your video can increase its file size since you’re integrating extra data, but the effect on quality is minimal. The larger size depends on the music track’s length and quality; higher-quality files like WAV or high-bitrate MP3s will increase the file size more than lower-quality ones.
Despite this, the video quality remains unchanged. Animotica preserves your video’s original quality during editing and uses efficient encoding to manage file sizes. You can adjust the audio settings or use compressed audio formats to keep the file size manageable.
Additionally, Animotica’s real-time preview feature allows you to tweak and balance your video’s visual and audio elements perfectly before exporting.

![40+ Tips from Successful Filmmakers to Beginners [Interview with PROs]](/_next/image?url=https%3A%2F%2Fanimotica-blog.azurewebsites.net%2Fwp-content%2Fuploads%2F2020%2F09%2F40tipsfromtips.gif&w=3840&q=75)