From the captivating opening sections of your favorite YouTube videos to the colorful ads dancing on giant digital billboards, animated logos are everywhere!
While static logos give your brand an identity, animated logos bring a good dose of excitement to the mix, boosting consumer awareness. This ultimately helps your marketing and helps put your business in good shape.
Indeed, with all the flashy, sophisticated animated logos crawling all over the vast media space, you must have considered getting one for yourself. Now, here’s the good news, it is not as hard as it seems!
With a great animated logo maker, you will have a swell time making one for yourself in just four detailed steps, which we will show you in no time.
Contents
What Logo Animation Software should you Use?
As a beginner, you have a lot going on in your mind: “What software would be perfect for me?” “Should I just get a paid software, or do I start with one of these free logo animation software?” It goes on and on.
Indeed, there are several pieces of software on the internet, which you can use for animating logos. Some of these apps can be used free of charge, while others require a fee.
Obviously, using free software will give you some basic functionalities to flex your creative muscles. Still, premium ones will provide you with unlimited flexibility and access to more advanced libraries of special effects.
For Mac users, Keynote, Aurora 3D Animation Maker, and iMovie are top apps you can use.
For Windows users, there are several amazing software out there. These include Adobe After Effects, Animotica, among several others. With Adobe After Effects, you get a free trial version for seven days, after which you’ll be required to pay a fee of 20 dollars per month if you want to continue using the software.
However, Animotica allows you to use its features for free while you get acquainted with the art. When you feel comfortable enough, you can easily upgrade to the premium version for a one-time fee of 3 dollars.
For Android users, here’s a bunch of software you can check out.
For this tutorial, we will be showing you how to make use of Animotica to animate a logo in a few simple beginner-friendly steps. Animotica is specifically designed for Windows 10 users. If you’re using other versions of windows, Aurora 3D Animation Maker or Intro Maker should work just fine.
With all that said, let’s get down to it!
The Real Deal: Animating your Logo
First things first, before we proceed, we need to ensure you have everything ready. You do not need a bunch of items to get started. You simply need:
- Your Logo: In simple terms, your logo could be an emblem, a text, or a combination of both. You can learn more about the types of logos here.
- Your Software: As already stated, we’ll be using Animotica for this tutorial. If you don’t have it yet, get yours for free here or click the button below. You can install the software in just a few minutes.
Step 1: Create a New Project
When you open your Animotica software, hit Create a New Project.

This will open a window with a few options, hit Empty Project, set a name for your project, for the sake of this tutorial, let’s just call ours Animated Logo. Leave the Aspect Ratios at Widescreen and hit Create a New Project!
Step 2: Adding your Logo Element
By now, you should have decided whether your logo should be text-based, emblem-based, or a combination of both. In this tutorial, we will adopt a combination of both!
So, to do this, let us first add a background.
- Hit Add Video/Photo Clips.
- Click on Add Color Clips, tap on the small purple box to reveal a bunch of color backgrounds.

- Select your desired color. For this tutorial, I’m selecting white. Just ensure that the color rhymes with the logo you plan to use!

Having set your background, hit back.
Now it is time to add your emblem—or brand icon. We will be doing this with a nice feature called Overlay. Overlays allow you to add pictures, color clips, videos, text, or stickers over an existing clip, and that’s exactly what we’re going to do. Learn a little bit more about overlays here.
So, to add your emblem:
- Click on Overlays, a popup with an orange-colored plus ‘+’ sign appears. Click on the plus sign.
- On the new popup, select Add Video or Photo.

- Navigate to where you’ve stored your emblem, select it and hit open.

- The emblem gets imported to your background.

- You can adjust the size of the emblem by dragging one of the two rings at the edge of the emblem, from my end, it is the one at the top. To rotate it, you also need to drag one of the two rings in your desired direction. Just experiment a little to find out yourself. Also, you can drag the emblem to your desired position against the background.
Alternatively, you can adjust the parameters in Location. Play around with it and see how the image moves around the screen. Done? Good.
Pro-Tip
If your emblem is not matching with the background, you can take care of this by one of these methods.
1. Ensure you’ve clicked on the emblem to activate the options. Select Opacity and Blending. From the array of options you’ll see, try each of them until you’ve found the effect that makes your emblem blend into the background.

2. You can also take care of this by adjusting your color clip/background. Click on the color clip, then hit color. Just like the initial process, click the colored box to reveal all the colors. However, this time, you should click on RGB/HEX. Then drag the ring until you arrive at a color mix that suits your emblem.

If this doesn’t solve your problem, drop us a line in the comments, and we’ll help you out ASAP.
Now it’s time to add a text to complete our logo!
- Hit the Add button, from the popup, scroll down to Add Text.

- Type your desired text and hit the X button.

- Adjust the size and location of the text by dragging either of the orange rings at the edge of the text box.
Looking good yet? You might want to format your text, though. To do this, click on the text box to activate the options. You should be able to view all the things you can do to format your text now. Experiment with each of the options to get a feel of what you can do.
However, the most common text formatting includes font, motion, and shadow.
Now, I believe we have a basic logo. It’s time for the magic we’ve all been waiting for!
Step 3: Animating your Logo
To make our logo dance, we will be using the motion effect. Here’s how:
For the Emblem
- Click on the emblem to activate the options. Scroll down and hit Motion.

- Select your desired motion effect. For this tutorial, I’m selecting Comic Rotation. I do not like it fast, so to slow things down, I’ll hit settings just under the effect. Then, I’ll drag both intro and outro all the way up. This will slow it down by 10 seconds. You can do the same if you wish to.

To see what you’ve done, just hit the play button. Impressed? Good!
For your Text
- Click on the text to activate the options. Repeat everything described above. You can choose a different motion effect for your text and adjust the speed as you like. Hit play to see what you’ve done!
Pro-Tip
While animating your logo, you may notice that the text vanishes just a few seconds after dancing into the screen. What we want is for the text to waltz in and STAY on the screen. This is not an error from you. You just need to do a simple trick.
- First, ensure that the Outro Animation Duration for the text is set at the extreme (10 seconds.) To do this, click on the text and navigate back to motion.
- Hit Overlay. It shows you two horizontal time-bars (orange and blue bars) for each overlay, like the ones in the picture below.

3. To work on the text, adjust the orange bar from the left-hand side, and each time you do, replay the animation until you get to a point where the text no longer disappears. You should also adjust the emblem’s time bar a little, so the animation would not appear to barge into the screen too soon.

If you have any questions about this, drop in a comment, and it will be taken care of ASAP.
At this point, you’re pretty much done with the animated logo. I hope you like what you have right now. You can experiment with the other several features of Animotica to give your animated logo an extra touch of creativity. When you’re done, then we can proceed to the last step.
Step 4: Saving your Masterpiece
To save your Animated Logo, simply hit Save.

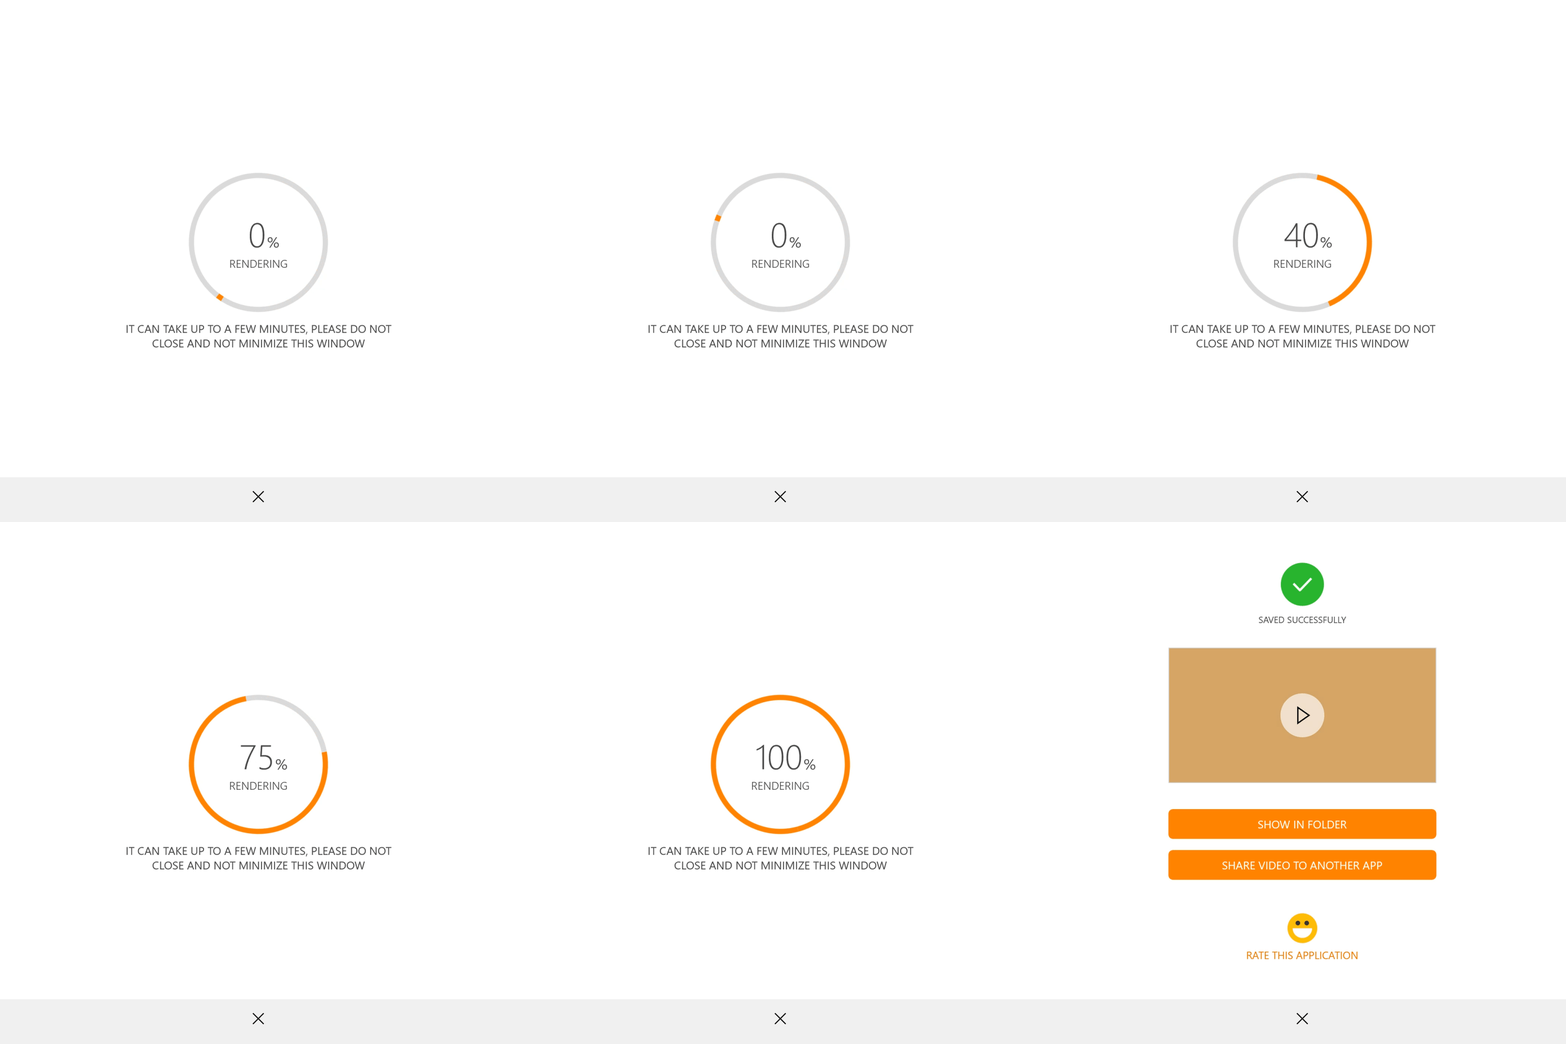
At this level, it’s best to leave everything the way it is and hit Save As. However, you can learn more about Video Resolution and Bitrate here. After clicking Save As, you will need to save your project with the desired name, sit back and relax while Animotica puts some finishing touches.

This is a simple example that you can get in just a few minutes:
In case if you’re searching for more complex animation, where you want to animate particular elements of the logo, we would recommend you to use Adobe After Effects and you can learn about 25 ideas on how to do that.
Last Words
At this juncture, you should have learned how to make a simple animated logo for your brand. Indeed, your first try might come off a little sloppy, but that’s how it should be. Keep on experimenting and ensure you have fun while at it. Check out other people’s animated logos and find out what you can do to improve yours, overtime.
Also, feel free to show us what you’ve come up with, and we will let you know what we think!
Don’t forget to relay your questions and ideas in the comment section.
Happy creating!


