Happy Holidays, everyone! Holidays are upon us, and with 2020 chilling around the corner, the holiday season is slowly getting wrapped up.
Over here, we have decided to make the season a little more special for you with animated snow that you can add to any video!
This is how you can make your New Year video more special. Please check up this video guide and if you need to learn steps more specifically, they’re all described below. ?
Contents
6 Easy Steps to Add Falling Snow to Your Video
1. Prepare all resources for your video.
Download snow overlays.
Just open your search engine and search for ‘Snow video overlay download’ or go to YouTube and search for ‘Snow video overlay’. Download the file to your computer. Alternatively, you can download the one we used in the video guide below.
Prepare video files you want to add snow to.
If you already made some video to which you’re going to add snow, good for you. If you don’t have one, just go to one of the royalty free video website and download one from there.
Prepare some music in case if you want to make your video more special. You might want to download it from one of royalty free music websites for free or use one free audios from the Animotica Holiday Pack.
2. Launch Animotica and upload the video you want to add snow to.
If you don’t have Animotica yet, you can download and install it for free from Microsoft Store.
In case if you’re Animotica user, launch the app.
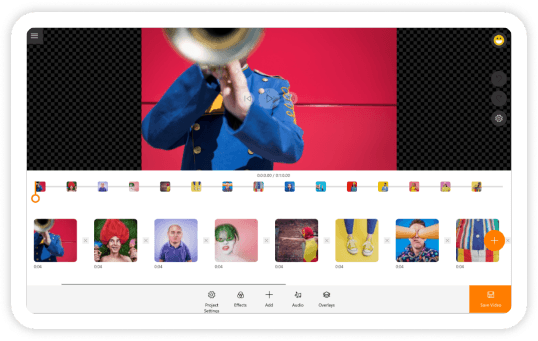
Click on ‘New Project’ from the home screen. Pick the right aspect ratio and click ‘+’, select ‘Upload Photo and Video’.

3. Add snow overlay
Click ‘+’ and ‘Add overlay’. Pick the snow overlay video you prepare in step #1.

4. Adjust overlay position
To make sure your overlay fit your original video, click on it and select ‘Transform’. You can select either Fit or Fill, depending on how close your video’s and overlay’s aspect ratios related to each other. If they’re about the same proportions, just click Fit, otherwise, you might want to go with ‘Fill’.

5. Add blending effect
To make sure your snow overlay covers your video keeping some special color behind and being a bit transparent, you should click on the overlay and select ‘Opacity&Blending’. From the effects list, select any effect you like and adjust the color the way you want from the ‘Adjust’ menu.

6. Make it sound great
In case if you want to add some audio file that you prepared in Step #1, click ‘Audio’ then ‘+’ and select one of the Animotica royalty-free audio files or upload one from your computer.

Adjust the audio file length to make it sound away smooth. In case if your original video file and audio file sizes are different, you need to trim your audio first before applying ‘Fade out’ effect.
To do so, select your audio and click ‘Trim’, trim it to the right length. Now, you’re ready to go with the Fade out effect. Click ‘Volume’ and select Fade out length. This way, your audio sound will be slowly going down at the end of the video. Learn more about that here. You can also check out step 11 of this guide.

That’s it. 10 minutes and you got an amazing Holiday card, video ad or any other video you wish.
Check up how to add sparkles to your video or animated holiday stickers.


