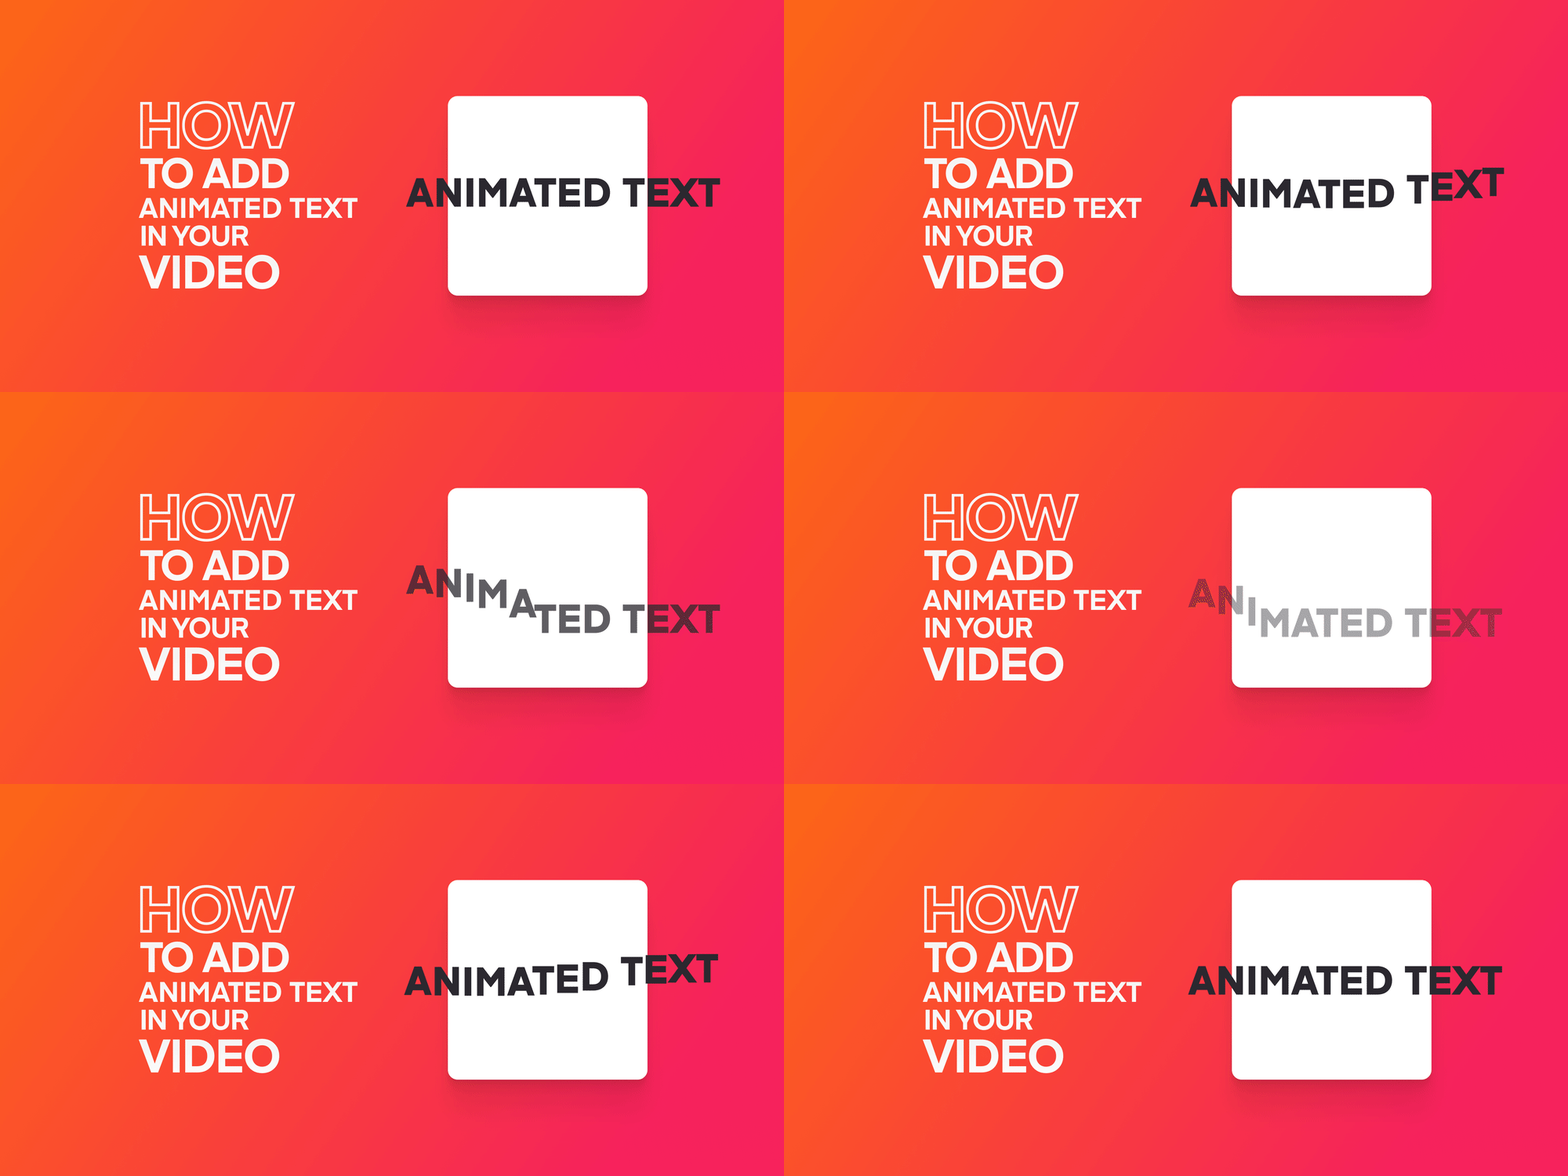
Whether you’re creating content for a social media ad, a TV commercial or a vlog, animated texts are simple, yet magical ways of taking the quality of your content several notches higher. Heck, who wouldn’t fancy the professional, yet creative flair it gives your videos along with its ability to boost engagement?
Well, if you’d like to know how to add animated texts to your videos, we will be walking you through how to achieve that in less than five minutes!
Any decent video editor can help you create animated texts with just a click of the button. But we will show you not only how to make your texts move, but also how to design them to move with elegance!
Let’s hop into it.
Contents
How to Add Text to Your Video and Make it Move
Step 1: Download or launch your Video Editor
If you don’t yet know how to add animated texts to your videos, chances are you’re still a beginner in the world of video editing.
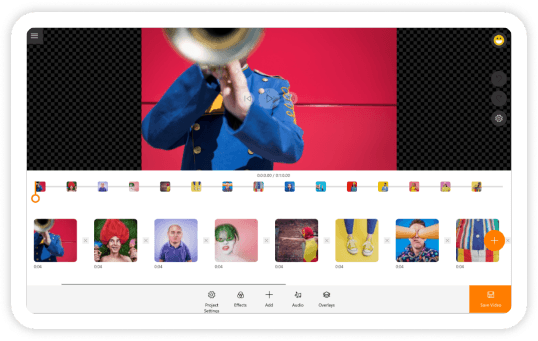
In that case, you need a highly efficient, easy-to-use software, so you can start making amazing content right away. This is why we recommend Animotica, a simple, yet magical video editor. It takes just a couple minutes to download and install, so go on and try it for free or launch it by clicking the button.?
Step 2: Create a New Project
When you launch the software, you should see the New Project button. Click on the button to move into the project window.

Step 3: Add Video Files
Click on Add Video/Photo Clips, on the tray that pops up, click on Add Video or Photo Clips. This will take you to your storage area. Navigate to where you have stored your video files. To select multiple files at once, hold down the control button while clicking on each of them!

Once you’ve selected your files, hit Open. You will be taken back to the project window with your files ready to get edited!
Step 4: Add Text to Your Video
To add texts to your videos, click on the Add button. If you had uploaded two or more videos, you should select the video you wish to add your text to before hitting the Add button.
Once you’ve done that, a popup will appear. Scroll down to the Overlay section and select Add Text.

On the text input window, feel free to type what you want.

Done? Good. Hit X! Feel free to drag your text to your desired position, or even rotate and adjust its size using the two white balls at the edge of the box.
Step 5: Add Motion (Animate Text)
Now that you’ve added the text, it looks pretty basic at this point. But not if you add some motion to it!
To add motion, simply click on Motion. Yes, it’s that simple!
Animotica packs over 30 motion effects, and you can experiment with each of them using the preview screen until you find which works for you.

You can adjust your motion intro and outro duration by hitting Settings under your chosen motion effect. Dragging the slider to the right will result in longer intros and outros.
Also, you can add multiple texts with different motion effects.
Once you’re done, hit the Go Back button.
Step 6: Save your Video
To save your video, hit on Save Video. On the new window, you should see Resolution and Bitrate options. Animotica supports video resolutions up to 4K! But at this level, you can just move on and save your video because Animotica automatically chooses the best balance between quality and size so you can export faster and still retain high-quality.

Hit Save As. On the new window, input your desired file name and click Save.
Now you can just chill while Animotica renders it for you.

Done? It’s all yours now! You can also share your video directly to YouTube by clicking the Upload to YouTube button!
FAQs about Adding Texts to Video
At this point, you have successfully added a simple animated text to your video. But if you’d like to take things to another level, there are things you can do! We’ve addressed them in this section.
How do you create your Custom Font Style?
You can create a custom font style in Animotica by simply clicking on Fonts.

The menu that appears will show you a bunch of things you can do to your text’s font. You can:
- Change Fonts
- Adjust Font Size
- Change Font Color
- Set Alignment
- Change the Stroke Width
- Change Outline Color, etc.
How do you change the Text Color in your Video?
You can do this within your Font settings. Click on Fonts, on the menu that appears, select Font Color. A tray of colors will show by the side. You can select colors from Color, Gradient, or RGB/Hex trays. When you choose your color, you can adjust the Angle and Opacity.

How do you change the location of the Text in your Video?
It’s simple, you only need to position your cursor on the text box and drag it to you desired location!

You can also adjust the size by dragging the first knob at the edge of the box. Furthermore, you can rotate your text by dragging the second knob at the edge of the box!
How do you Change Font Background in your Video?
Simply tap on Background. Hit Background type and choose a background of your choice.

Once you make a choice, a list of background editing options will emerge. Here you can:
- Change Background Color
- Adjust Background Offset
- Set Background Stroke Color, etc.
Feel free to experiment with the options and see what works for you.
How do you add/remove Shadow to the Text in your Video?
Simply click on Shadow. If it’s off, turn it on by clicking on the switch button. You can set the Blur Amount, Horizontal/ Vertical Offset, and Intensity.

Some of Animotica text styles are coming with Shadow on by default. In case if you use one of these font styles, simple click ‘Shadow’ and turn it off.
How do you add Style to your Text?
Animotica has several cool text styles you can choose. You only need to click on Style, and the options will show up!

Conclusion
Now, we hope you’ve been able to create animated texts for your video. Remember, there are several things you can do to your video, in general, to make it more aesthetic and professional. From sleek transitions to blockbuster-level green-screen effects, Animotica has got them all! Feel free to visit our blog to learn all the cool stuff you can do with Animotica.


