
A green screen video effect is one of the most powerful tools in a filmmaker’s toolbox. It’s simple, easy to set up, and undeniably potent when cleverly paired with the ever so handy Chroma Key (amazing feature for the Green screen video editing).
At least in theory.
In practice, however, green screen video effects of professional quality are barely achievable without rigorous training, deep understanding of camera work, a fair share of hands-on experience, and you’ll need a decent green screen editor.
Yes, there’s no easy way to the top. You won’t be cutting any corners if you really want to be on top of your editing game, but hey, practice makes perfect, and these super-effective tips are as good a place to start as any.
Contents
Watch the lights!
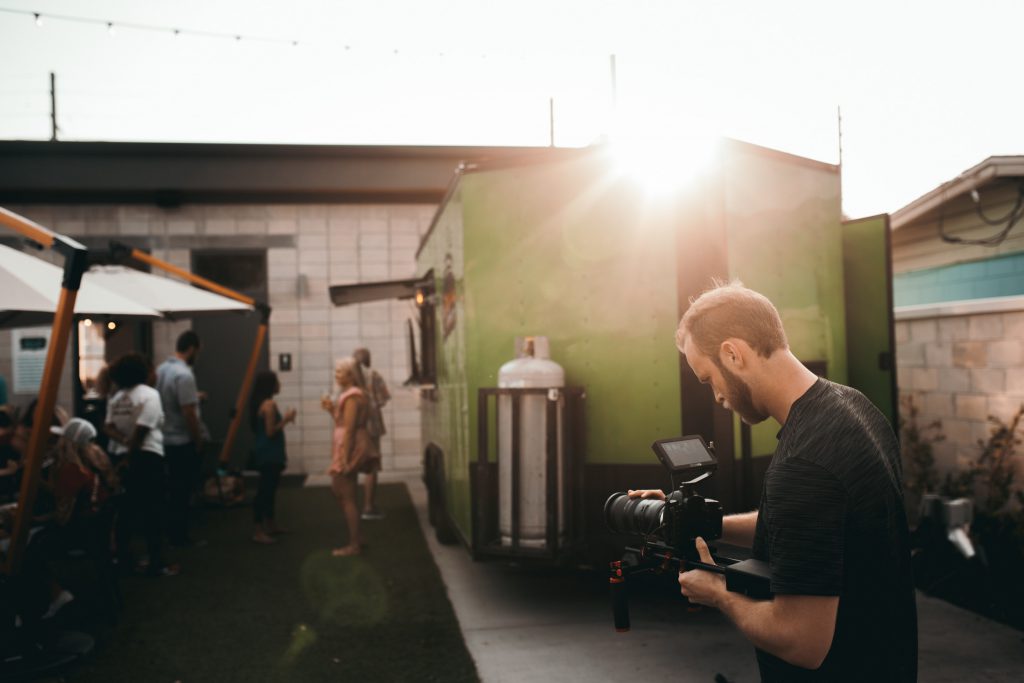
Decent lighting is an integral element of any shooting set. It can make or break an otherwise perfect shot with an unwanted bleak or an unflattering shadow.
Decent lighting is – and we can’t stress this enough – quintessential to shooting with a green screen, because even the slightest of shadows will ruin your key with undesirable artifacts. In simpler words, bad lighting leads to things that need to stay hidden visible and vice versa.
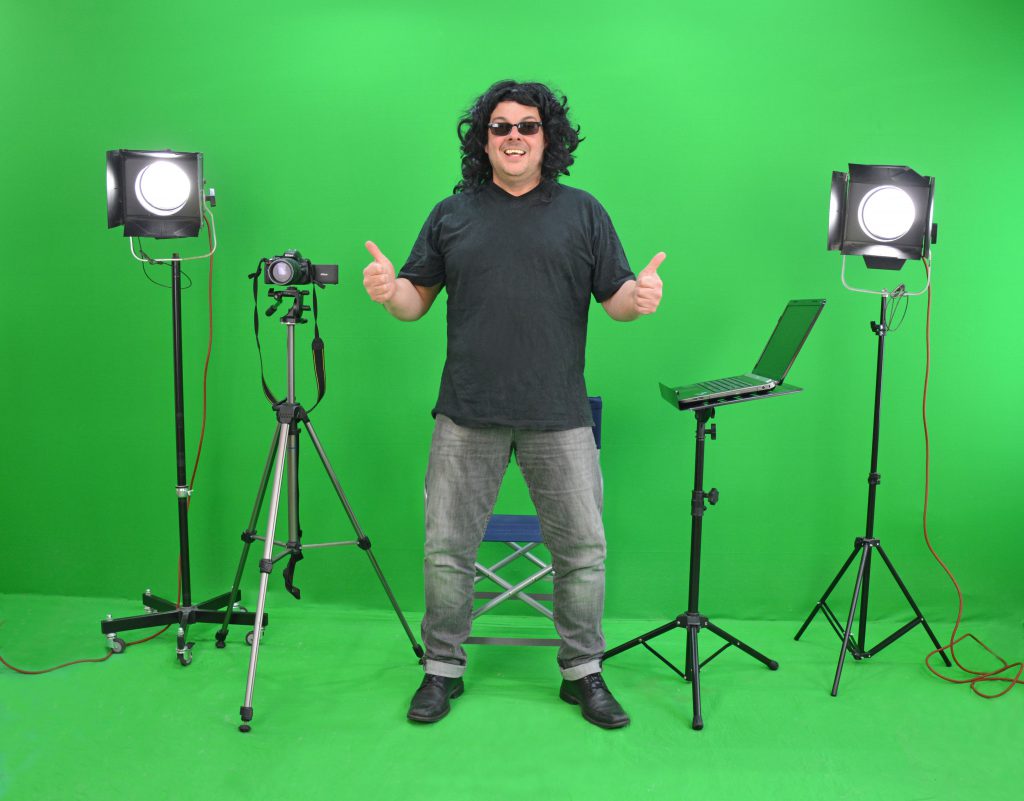
If you are looking to make a professional green screen / Chroma key video, pay attention to:
- The spread of light. It should evenly cover your screen.
- A matte box is an incredibly potent tool for dealing with flares.
- Make sure the light falls on the screen and not the object you are filming. It’s best if you were to keep some distance while shooting.
As for the tips:
- Use a selection of lights: Key, Fill, and Black.
- Your Key light is your go-to tool for making the actor look good. It’s best if you were to treat it as an alternative to natural lighting.
- Use the Fill light as a softener. Place it against the Key light to get rid of the pesky shadows.
- The Blacklight may not seem like much, but it is actually integral to green screening as it illuminates the edges of the screen giving the overall visual a polished look. Using it wisely will save you hours upon hours in post-production.
Use the right screen
There are actually several options for setting up a green screen, all with their unique benefits and disadvantages. Some of our craftier users have shared stories about building their perfect green screen wall from scratch. While that’s a viable option (and a pretty darn cool one), we certainly realize that most of us, mere mortals, don’t have the woodwork skills and craftsmanship to pull off a project like that.
Everyone can use paint though…
You can get a couple of gallons of Chroma key paint on Amazon. One jar is enough to cover 300 square feet. The rest is quite simple: find a flat surface and paint it.
On the Brightside, this is one of the simplest ways of creating a green screen from scratch (other than adding one in Animotica, of course). On the other, the paint is kinda permanent. As such, it has a series of limitations:
- You won’t be able to use any angles longer than a medium shot.
- You’ll be location locked.
- You’ll be static shot locked.
That said, if you are working on getting your YouTube channel or Instagram/Snapchat vlog off the ground, you probably won’t find these limitations as a challenge.
A portable green screen can solve almost all of these issues. Most of the models available on the market are portable. Setting them up is as simple as hanging a coat.
As for the cons:
- A decent portable green screen will cost you a pretty penny.
- You’ll have to adjust the lights every time you set the thing up thus increasing the risk of a lousy shot.
As for the tips:
- Every wrinkle is a pain in the neck to deal with during post-production. If you went with the paint, use a flat surface. If you are using a screen, invest in a Blacklight as well.
- Pay attention to the angles. If the wall turns into the floor abruptly, you’ll be dealing with an additional level of shadows that could have been avoided by setting a curve.
- Surfaces reflect light. Too much green will reflect the effect onto your actors making parts of their face or clothes disappear.
Use Chroma Key Feature in Your Video Editor
Now the final part of the process – choosing the right video editing software to use Chroma Key effect in your video. If you’re using Windows 10, we recommend picking the top video editor, Animotica.
Step #1. Launch a video editor.
If you don’t have one yet, download Animotica from Microsoft Store for free.

Step #2. Create your first project.
Launch the app and create a new project (on this step you can choose the right Aspect Ratio for your video).
Upload image or video that you want to use as a background.
Step #3. Add your green screen video as an overlay.
Select the Chroma Key Effect and turn it on.
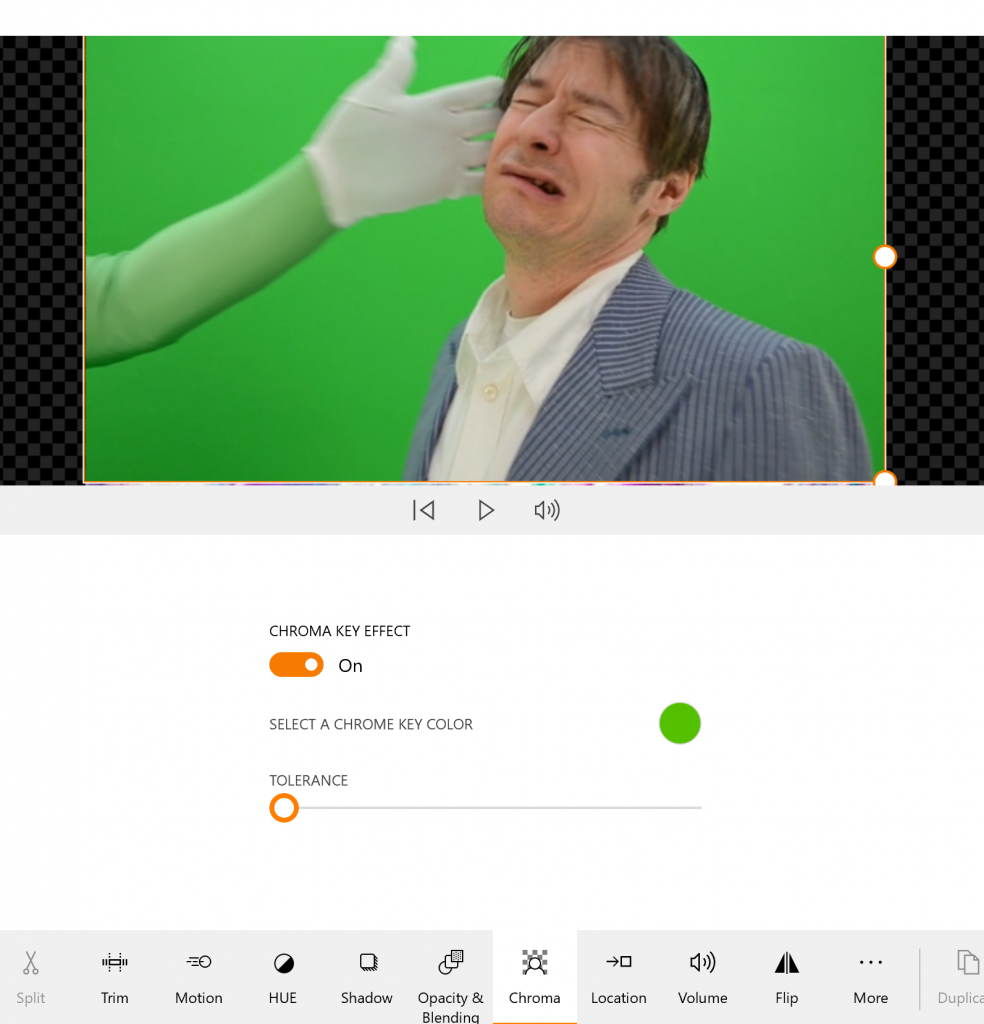
Adjust the tolerance.
Check up the detailed guide on how to apply Chroma Key effect to your video. (Applicable even if you use other than green background color)
Chroma Key Pro tips
The following tips don’t fall into any particular category but are definitely good to know if you are a beginner video editor.
- Use green screen Chroma key if there’s not a lot of natural greenery. If you are shooting in the woods, or the lion’s share of your background is green for any other reasons – opt for a different color, preferably a blue screen.
- Review early. Review often. Reshooting a scene because there’s a nasty shadow or some bits of the green are reflecting on the actor’s face is much simpler than dealing with them during post-processing.
- It’s hard to grasp this concept at first glance, but try keeping in mind the simple fact that your background won’t be in the finished product. The effects you are adding will have their own lighting and weather. You can make it rain in the shot, but what’s the point if the actor is dry? You can teleport to a fancy cafe in the middle of Paris, but what’s the point if your actor is lit like he is in the middle of a sunlit field? In simpler words, don’t start by asking how to use a green screen. Ask yourself why you are using it.
Master the basics
Sure, these 10 simple tips don’t seem like much at first glance. Partially that’s because they are not intended to be anything groundbreaking. Treat them as a solid foundation, a checklist of sorts, that’s tailored to teach you how to do green screen shoots right.
For everything else, you have the Animotica video editor; and in case if you need more visuals to help you understand Chroma Key feature, here you go!


3 Comments
Pingback: 107 Free and Paid Tools for Vlogging in 2020- ANIMOTICA Blog
Thanks! This is the only article I could seem to find that mentions using black light. Where would you place them? Is there another article or resource you could direct me to as I very much want to try this technique. I am working with puppets with green screen and I am trying to get good strong pulls, and I notice that I am still having some problems.
All my best, JooYoung
Hello! You may find some extra information in this article