
Movies, documentaries, sports, name them… the uniquely refreshing effect of slow motion can be seen in almost all aspects of videography!
The Matrix, for example, binged on the slow-mo technique so much that almost every action scene had some slow motion effects in it, and did you not just love it?! Indeed, Slow motion is very effective in highlighting specific actions and putting on some aesthetic emphasis to our scenes.
So, are you hoping to get some of those smooth, buttery effects into your next video? This article will be your guide on how to do just that in a few simple steps.
Let’s hop into it!
Contents
How Slow Motion Works
This is no rocket science. Firstly, you have to understand that videos are actually images—or frames— being shot in quick successions. This all boils down to what is called a frame rate. Typically, a video player plays videos at 24 frames per second. This means that in a regular video, we see about 24 images in 1 second. This phenomenon has been adapted in cinematography resulting in the birth of several techniques such as time lapsing and slow motion.
Slow motion works in two steps. First, a camera captures footages in a higher frame rate, like 60 frames per second. Then, this footage gets imported into a movie maker which plays it at a lower frame rate, like 24 frames per second. This difference in frame rates will result in the footage playing more slowly on the screen.
You can, however, shoot your videos at the regular 24 frames per second and just tune down the playback speed. However, your slow motion may not be as buttery smooth as when you shoot your footage at a higher frame rate. That’s the honest truth!
Things that look Cool in Slow Motion
Slow motion is very popular in modern filmmaking, and there is almost no limit to the type of stuff you can capture in slow motion. However, here are some of the most popular subjects of slow motion.
- Predators hunting down their prey.
- A basketballer doing a trick shot.
- A soccer player making a dribble or scoring a free-kick.
- Natural phenomena such as fruits falling off the tree.
What sort of stuff do you enjoy seeing in slow motion? Feel free to share in the comments!
How to Create Slow Motion Videos
No matter what OS you’re using, there is definitely a movie maker software for making slow motion videos on your computer.
You do, however, need to make use of software that best matches your skills and tastes. If you’re using Windows 10/11, Animotica is possibly the best for you especially if you’re a newbie in video editing. For Mac users, iMovie is a popular tool you can use.
In this article, you’ll be learning how to make a simple slow motion video in just a few steps, using our go-to software, Animotica. If you have not downloaded it yet, what are you waiting for?! Download it for free here. ?

Without further ado, let’s proceed!
Step 1: Create a New Project
Once you’ve downloaded and opened your software, hit New Project.
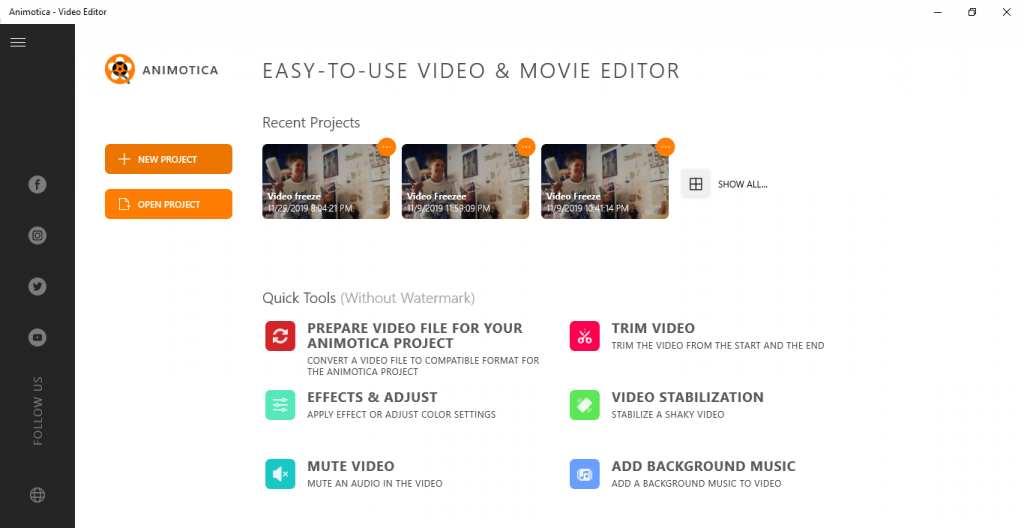
On the pop-up window, hit Edit Video to take you straight to the point. Next, follow the prompt and navigate to where you’ve stored your footage. Select the footage and hit Open. This opens up your footage in Animotica’s editing window. You’re now ready for some magic.
Step 2: The Slow Motion
If what you have is just a few seconds clip, you can simply go ahead and apply the slow motion by using the following steps.
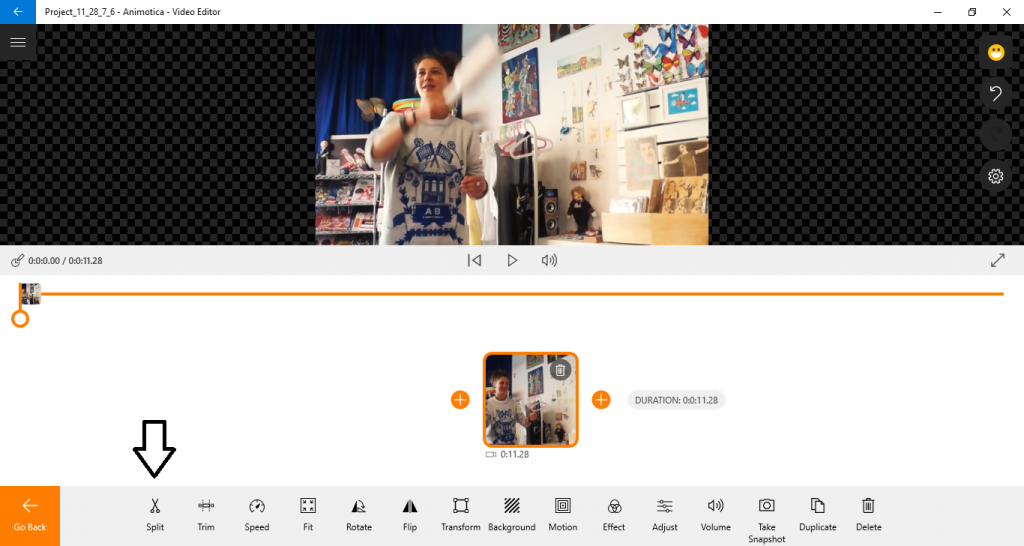
- Tap on the video icon to reveal a list of options.
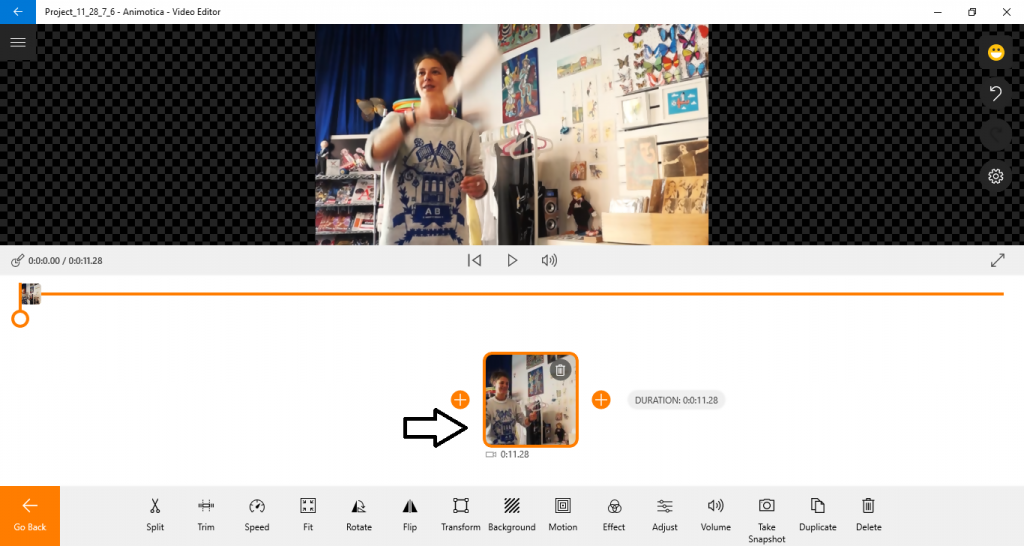
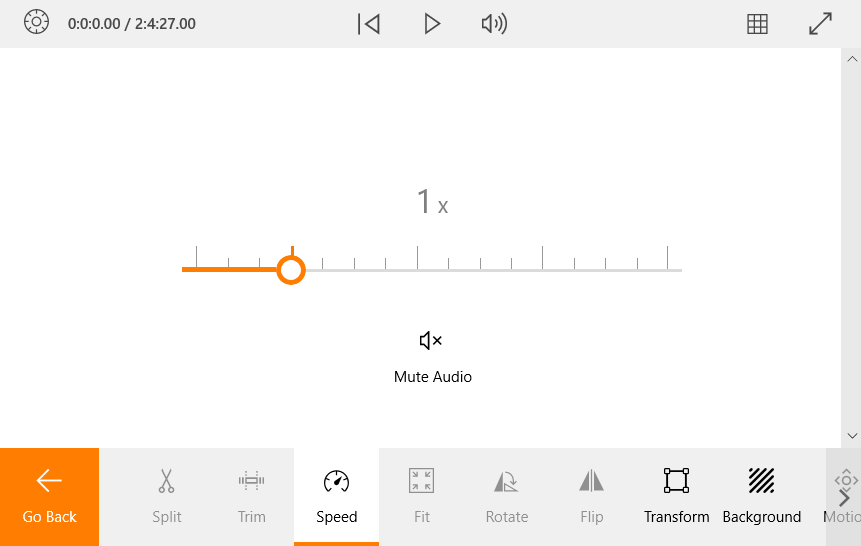
- Select Speed. A slider shows up revealing the default speed of the video (1x)
- Drag the slider backward to slow it down. You’d usually notice that the lowest speed is 0.25x. Once that is done, hit the play button to preview. Voila! You have your slow-mo!
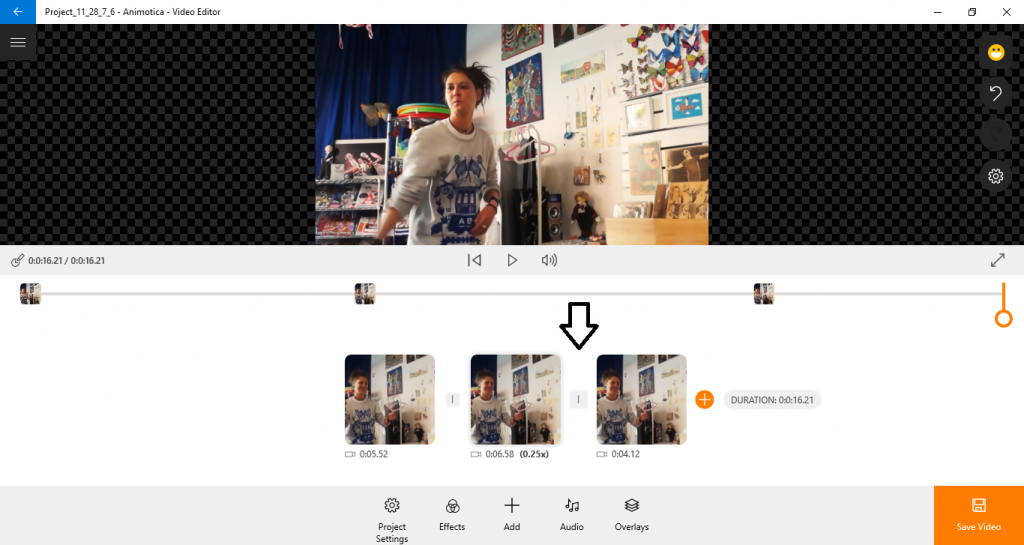
On the other hand, if what you imported was a full video clip, and you only want to slow down a section of the video, here’s what to do.
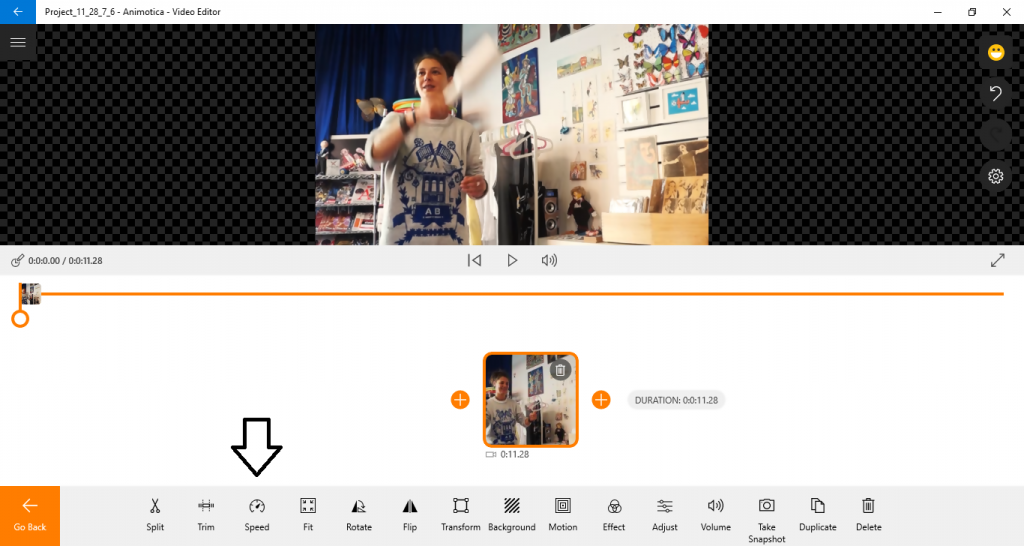
- Tap on the video icon to reveal the list of editing options.
- Navigate to the scene where you want to start the slowdown, then hit split. Navigate to the scene where the slow motion should end, then hit split again. This separates your clip into three different fragments. Repeat the same thing for any other scenes you’d like to apply slow motion. Hit back.
- Tap on the fragment you want to slow down to reveal the editing options again. Then, repeat the steps discussed above!
Pro tip:
Try your best to keep the timing tight and accurate, so the video can transit from slow-mo to normal speed without seeming choppy. However, if you find it hard getting that timing right, here’s a small hack:
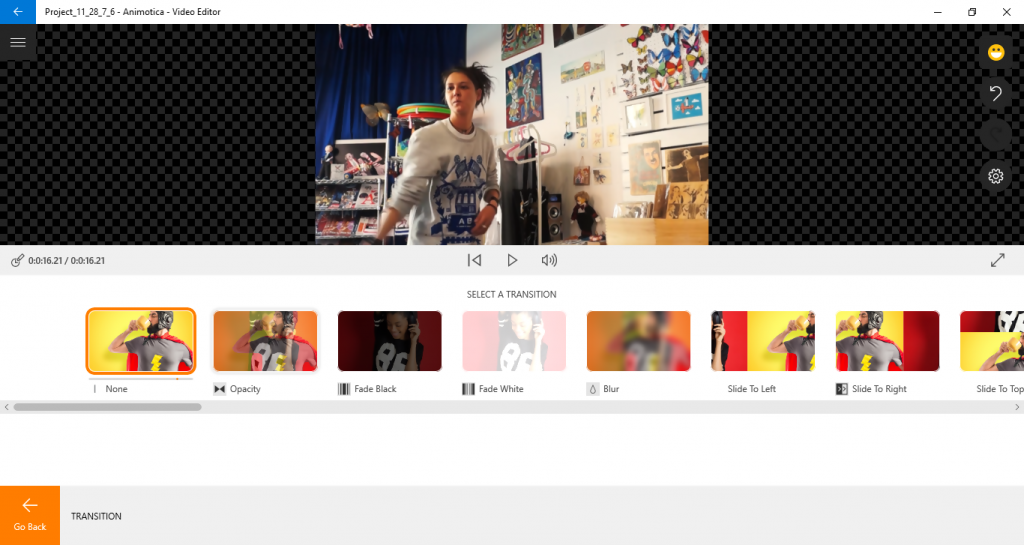
- Hit on the tiny box between your slow clip and the next clip that follows it. This reveals a bunch of transition options.
- The transition is currently set to None. You need to set a simple transition effect that matches what you’re looking for. From what I found out, Opacity and Fade White works best for this purpose. You might have to reduce the Duration of the Transition so it would flow more naturally.
Learn more about transitions here.
Drop a comment if you hit a wall.
Step 4: The Audio (Optional)
Perhaps, you already know that changing the speed of your video will affect the audio as well. Most times you’d want to get rid of the altered audio. To do so, you just have to follow these simple steps:
- For each of the fragments, reveal the video editing options as already described.
- Click on volume. Then, simply draw the volume button down the slider from 100 to 0.
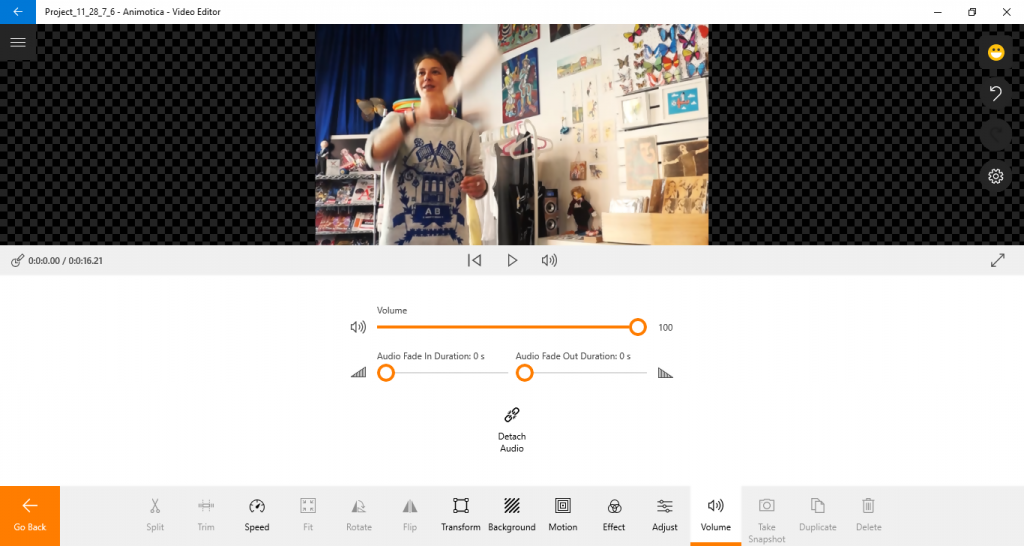
- Hit back.
- Repeat this for all other fragments.
To add audio to the clip, here’s how you do it.
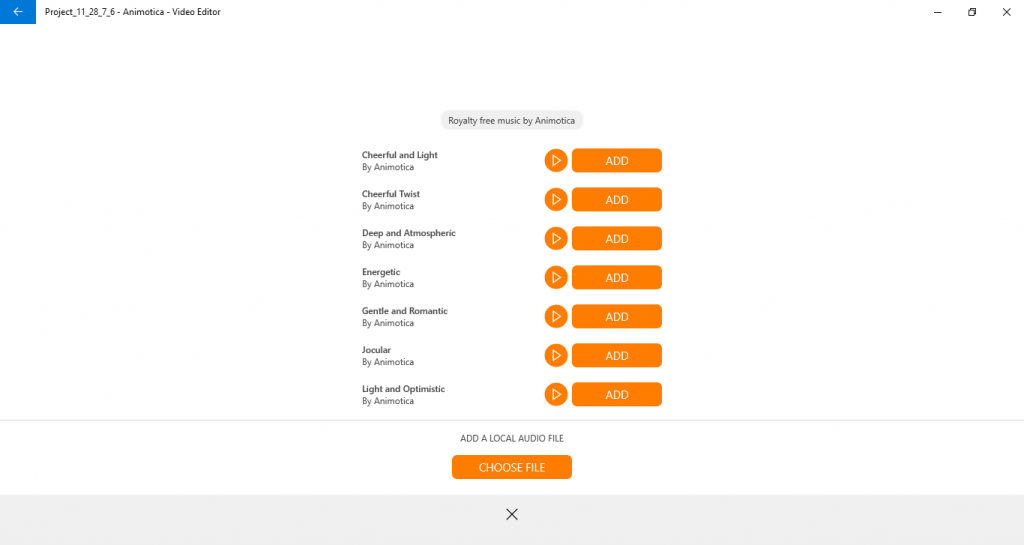
- Click on Audio
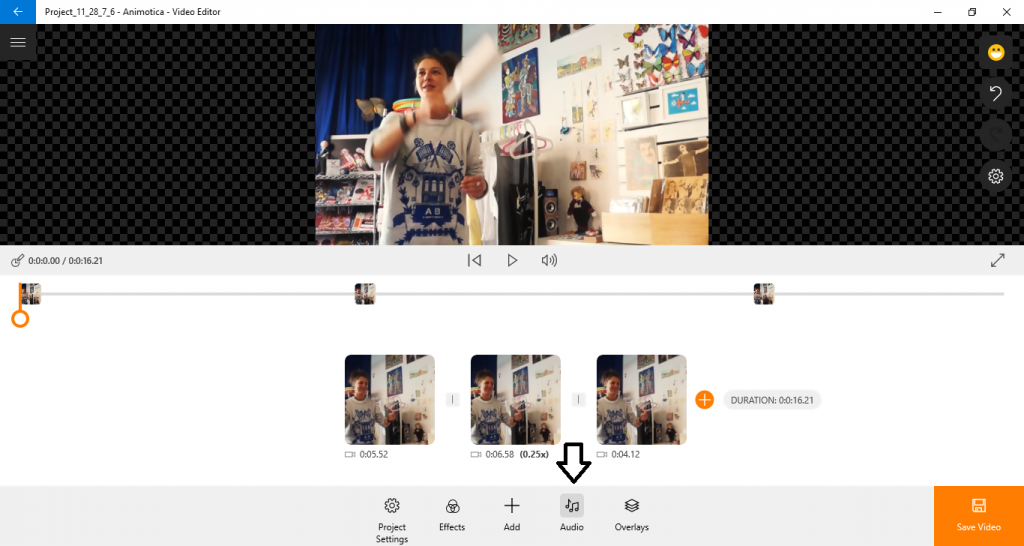
- On the next page hit Add Audio. This shows you a bunch of free audio tracks from Animotica’s library. Feel free to use them. If you, however, have a particular track in mind, you can click on Choose File to navigate to your computer’s storage area. Once you locate the track, just select and hit Open.
Also, ask questions if you’re confused. But this should be pretty easy.
Pro Tip:
You can make your audio a lot more natural by using the fade-out effect, so it does not sound choppy at the end. To do this:
- Simply click on Audio, on the new window, click on the orange horizontal bar that has your music title to reveal its editing options.
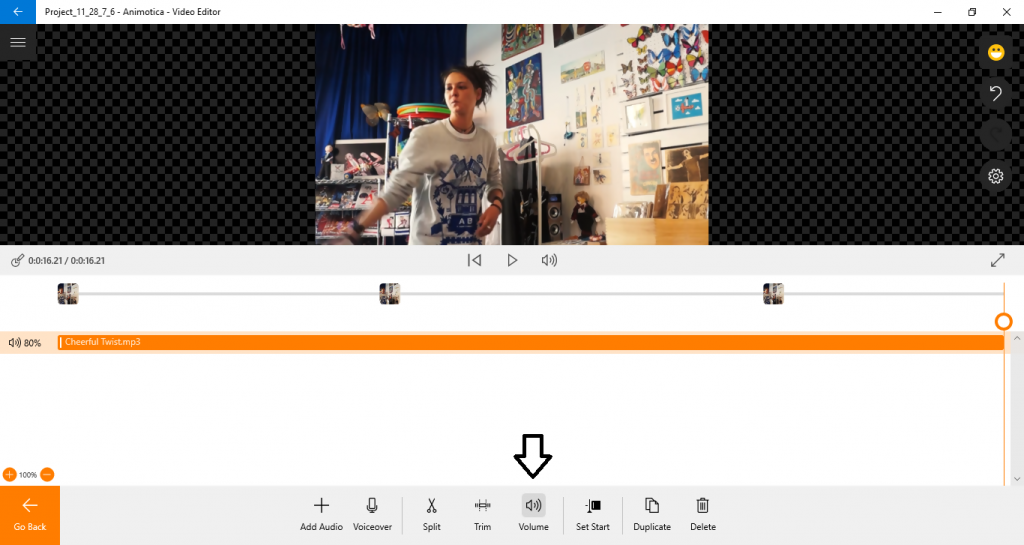
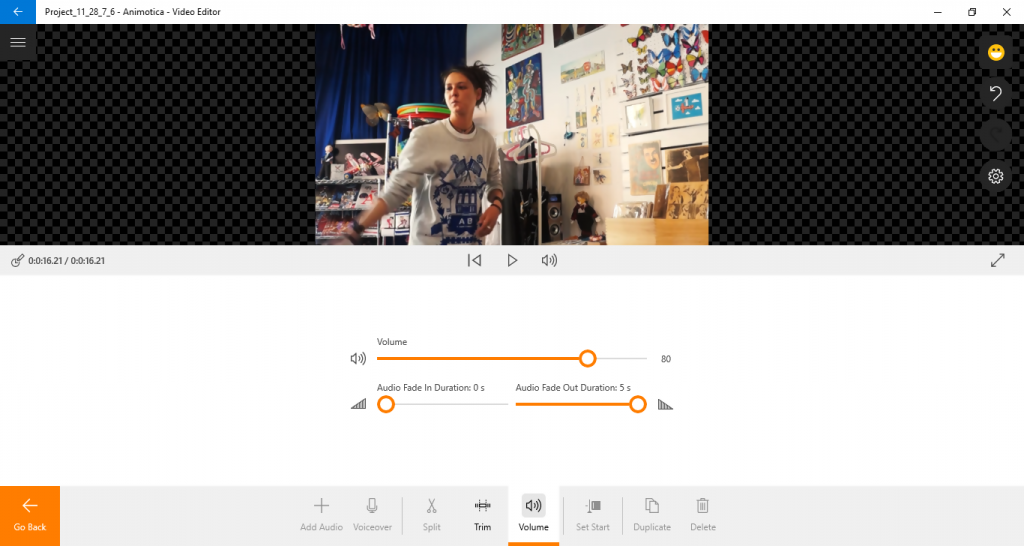
- Click on Volume. On the pop-up, you should see Fade In and Fade Out. Drag the Fade Out to your desired duration. I usually apply it at 5 Seconds.
Pro Tip 2:
To ensure that your fade works, trim your audio to align with the length of your video. To trim your audio:
- Click on Audio, and then on the orange horizontal bar to reveal editing options.
- Hit Trim. At this point, just drag the bar down from the right, paying attention to the time indicator until you get close enough to the exact duration of your video clip. It could be a few seconds higher, but it should never be lower than the duration of the video clip. Once you’re done, hit back.
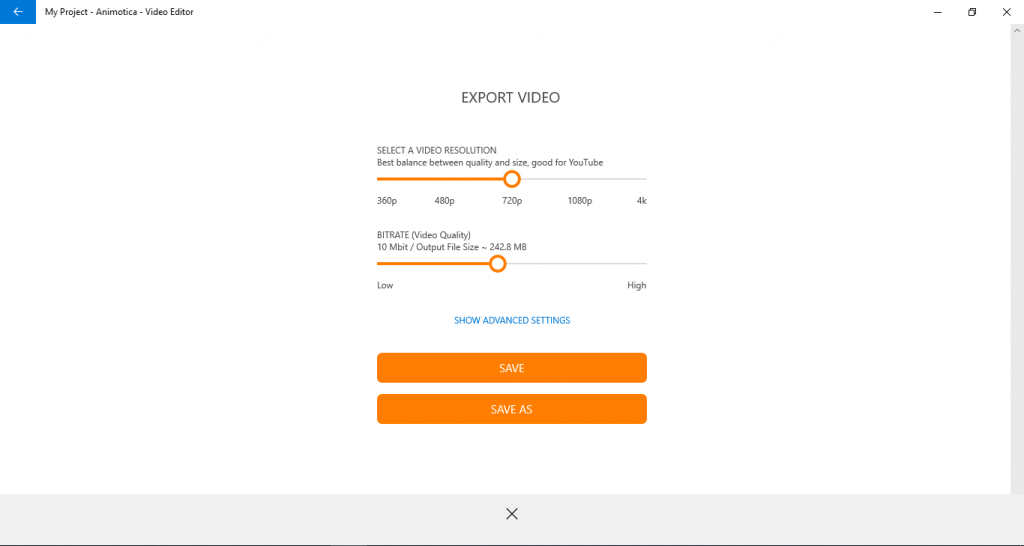
Saving your Work
Preview your work to ensure everything is set. If you’re satisfied, hit Save. On the new window, hit Save As.
It is usually best to leave the resolution and bitrate at the default setting.
However, increasing these would result in higher quality but larger size and slower rendering time.
Once you hit Save As, go on and save it with your desired name. Hit Enter.
Done? You can now take a chill pill. Let Animotica take it from here!
Last Words
I hope you had some fun making a slow-mo video like I did with Animotica. What ideas do you have? Any questions? Pour it all in the comments!
Don’t forget to keep coming back for some more awesome tutorials. With time you, I’m pretty sure will be the Gandalf of video editing!
Cheers!


2 Comments
So I ended up with three video sections, slo mo applied to one section. How do I combine them all back into one video?
Thanks…………………./John
Hi! To get a proper assistance please write an email to support@animotica.com