
You are amazing. That’s a given. Unfortunately, the world will often fail to meet the highest standard, so your presence will often outshine the background of the video you are shooting.
That said, you can always change the background color of a video or replace it entirely (with the right tools). Sure, the task seems challenging, and many content creators – even professional YouTubers – often fear working with professional movie-making software. Luckily, Animotica can help change the video background on Windows with just a handful of simple clicks. If you are interested in green screen effects, you might want to check out this list of the best green screen software for Windows.
Contents
How to Remove a Background in a Video on Windows
More often than not, people edit their videos to fit a particular screen size. If, for example, you have shot a vertical video but feel like it would be an excellent fit for a wide-screen platform, such as YouTube, you can easily add blur and another effect instead of making an upload with the dreaded black frame.
Start downloading Animotica from the Microsoft Store if you are on Windows. The app is free and super lightweight. We will briefly discuss the alternatives to other operating systems, but let’s focus on a single interface. Click on the button to download or launch it if you already have it.

Step 1: Create a New Project and Upload Your Files
Install the application, double-click on the icon, and choose to create a new project.
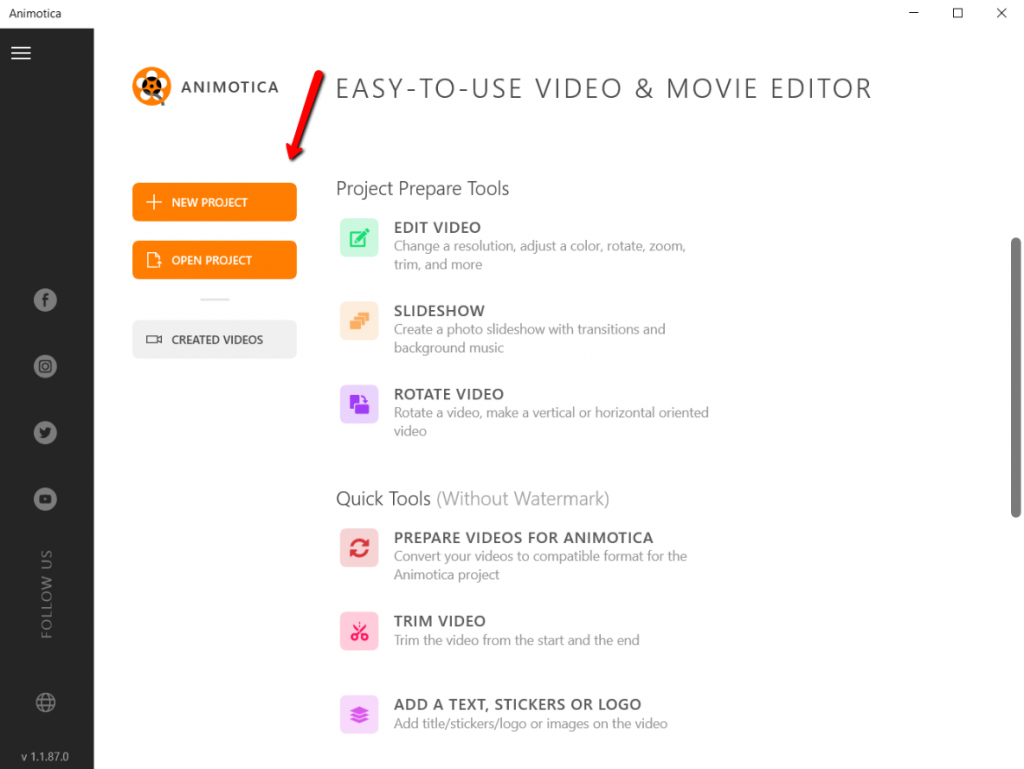
Then, upload the video where you’d like to change the background.
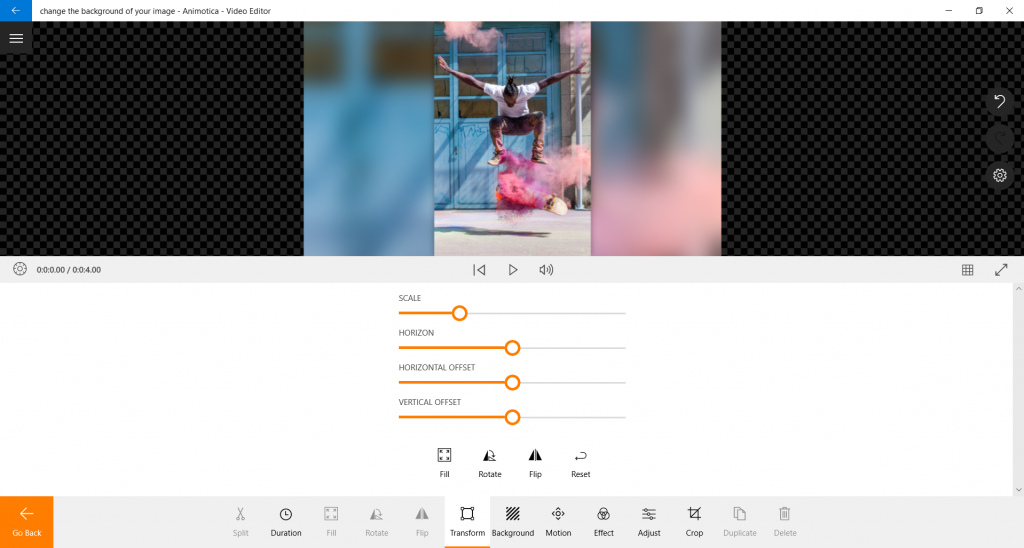
Step 2: Adjust the Background
Click on the video you have uploaded and then choose the “Transform” option from the menu below.
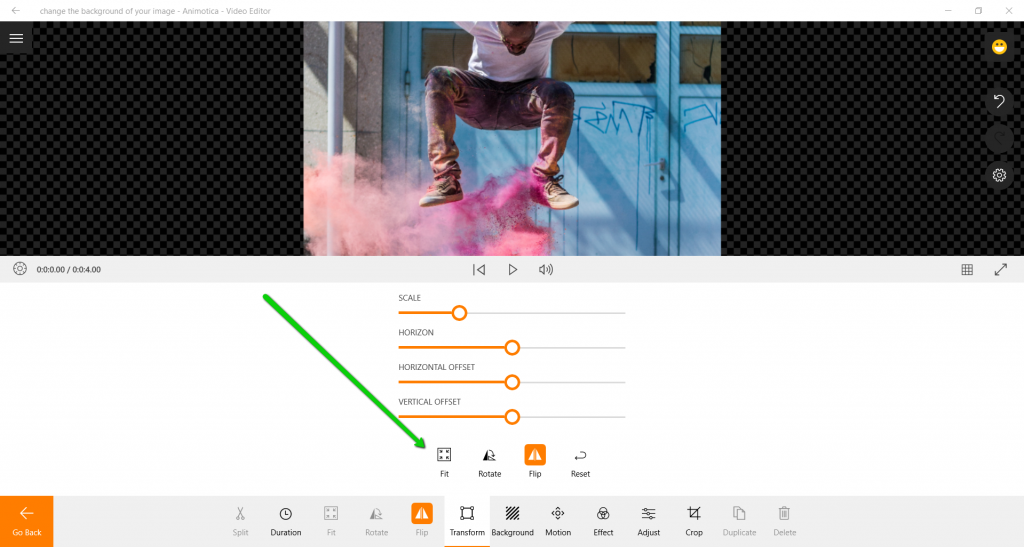
If the original dimensions of your video are different from the final video frame dimensions you expect to get, and you want your original video to be fully visible on the screen, select the ‘Fit’ option.
Select the’ Fill’ option if you don’t want the background to be seen and your image or video to feel full screen.
Step 3: Scale, Apply Offset or Horizon
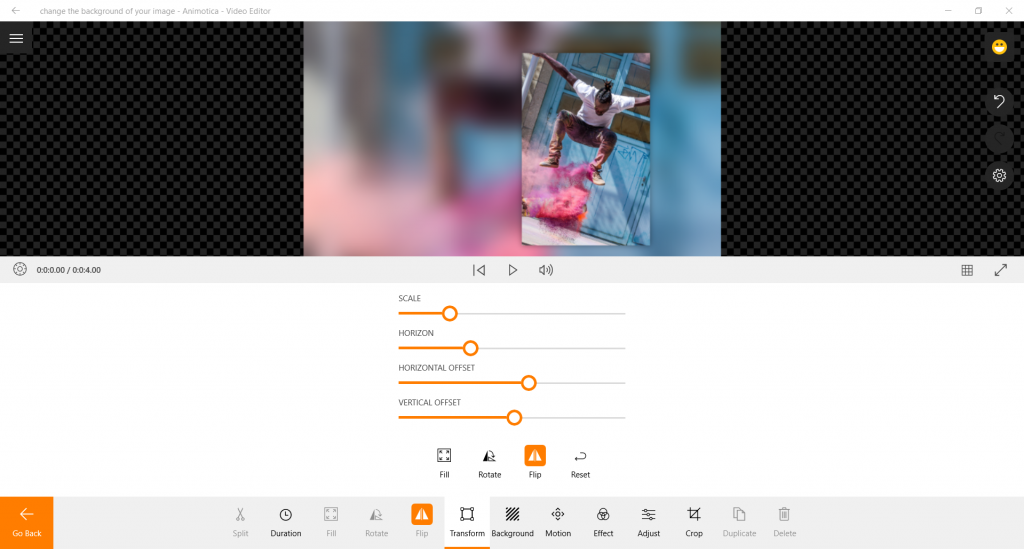
You will see a new menu with four slide bars. Typically, you will use the scale slider, but feel free to play around with the remaining three for some eye-catching effects.
Once you are done, click the Go Back button at the bottom corner of your screen. Then click on the project settings button and the Fill/Fit button. You’ll see a wide selection of fantastic effects to enhance the background of your video. Note that you can add blur or color to your video background.
Step 4: Save Your Video to Your PC or YouTube Directly
After you have finished editing your video, click ‘Save Video.’ It might take a few minutes to render it. After that, you can share your video directly to YouTube using your Google account.
How to Change the Background of a Video with a Green Screen
Animotica lets you create amazing green screen-based videos with its built-in Chroma Key feature if you want something going outside the box of blur and colors.
We already have a detailed guide on using Chroma Key on our blog, but here is a quick example.
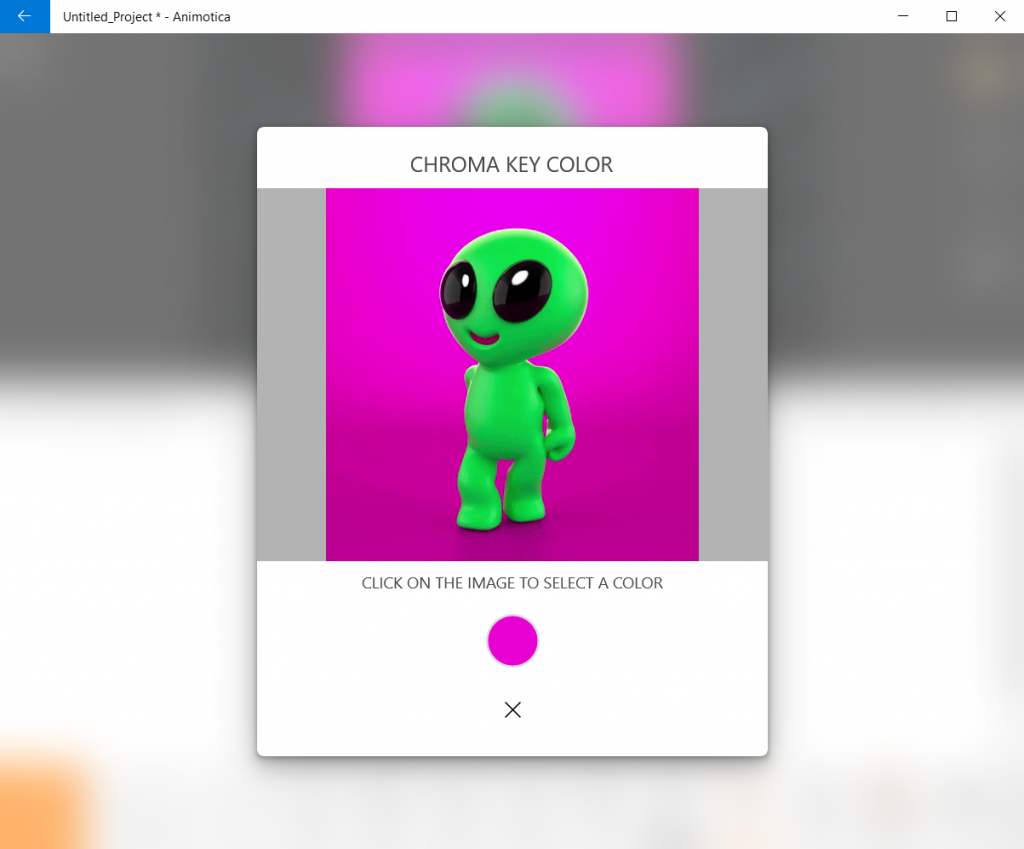
Note: You can use the Chroma Key feature on any background color (blue, red, pink, etc.) if you don’t have a green screen. Try to ensure the background has just one uniform color as much as possible.
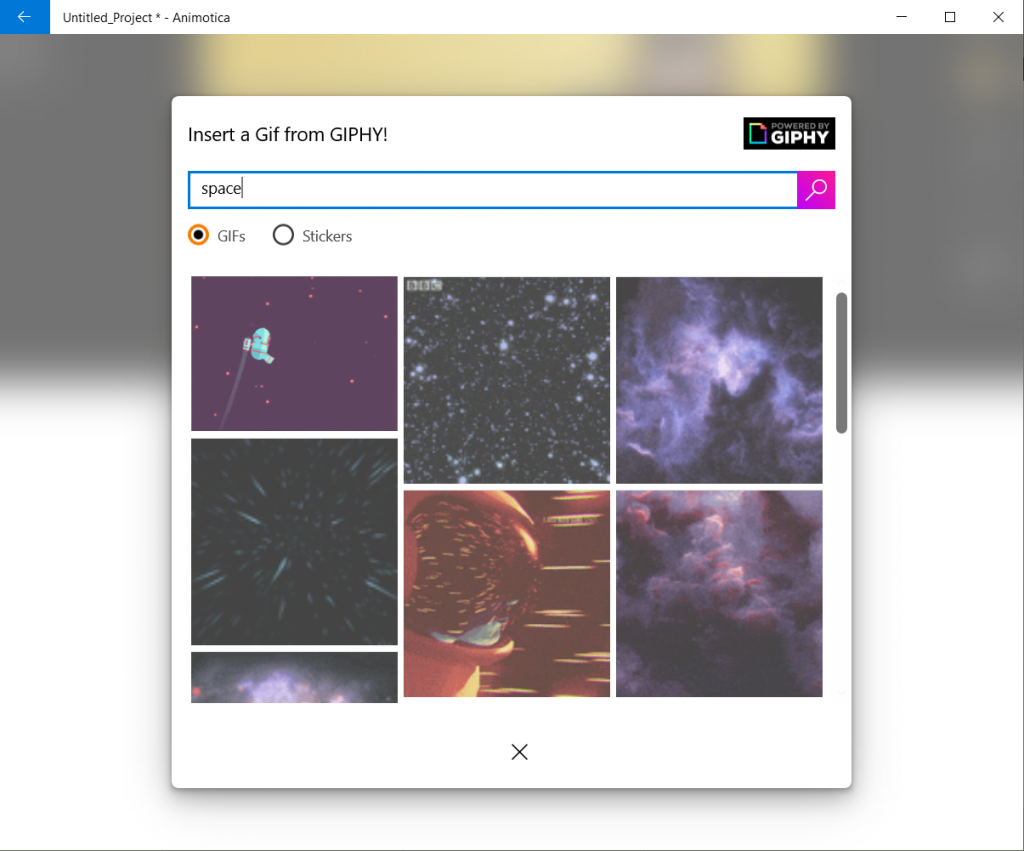
Step 1: Upload Your Background Video
Upload a video you’d like to use as a background.

For the sake of the example, we’ll be using the GIPHY library of animated images.
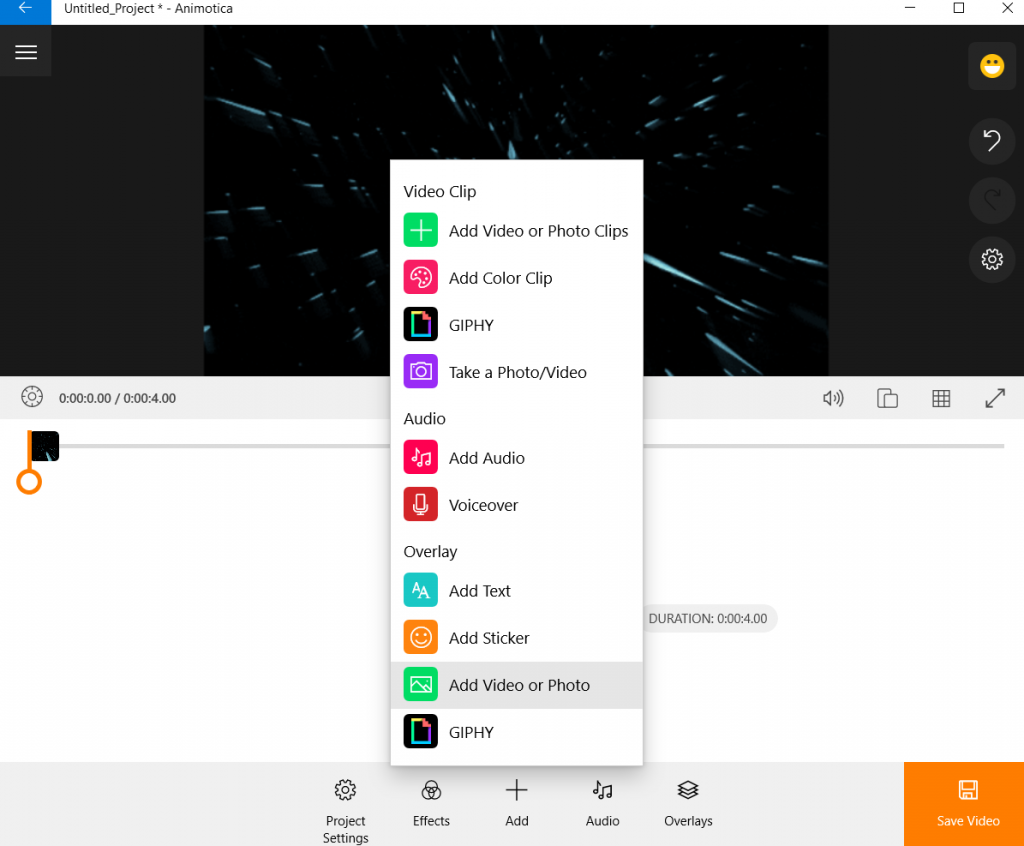
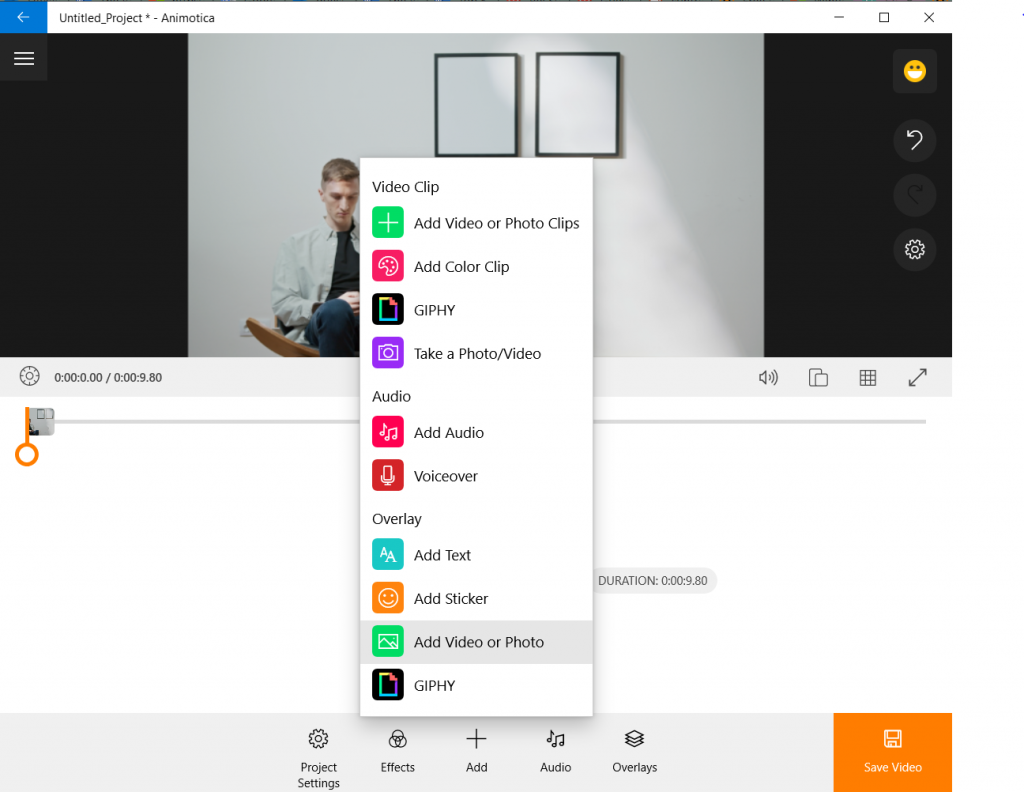
Step 2: Add a Video Overlay
Click ‘+’ and select one of the overlay options. After that, choose the video that will be overlaying our background. Classically, a green screen background is used with the Chroma Key feature for videos meant to be edited. That is because the contrast aspect makes the green color easier to delete
In Animotica, you can remove any background color.
Pro-tip. Make sure the background of your video is a contrasting color compared to the other colors of your video. Otherwise, you might get more pieces of the video deleted than you want if the contrast is terrible.
Step 3: Adjust the Size and Apply the Chroma Key Effect
Upload your video with the green screen (or any other color), which will be the main video of your masterpiece.
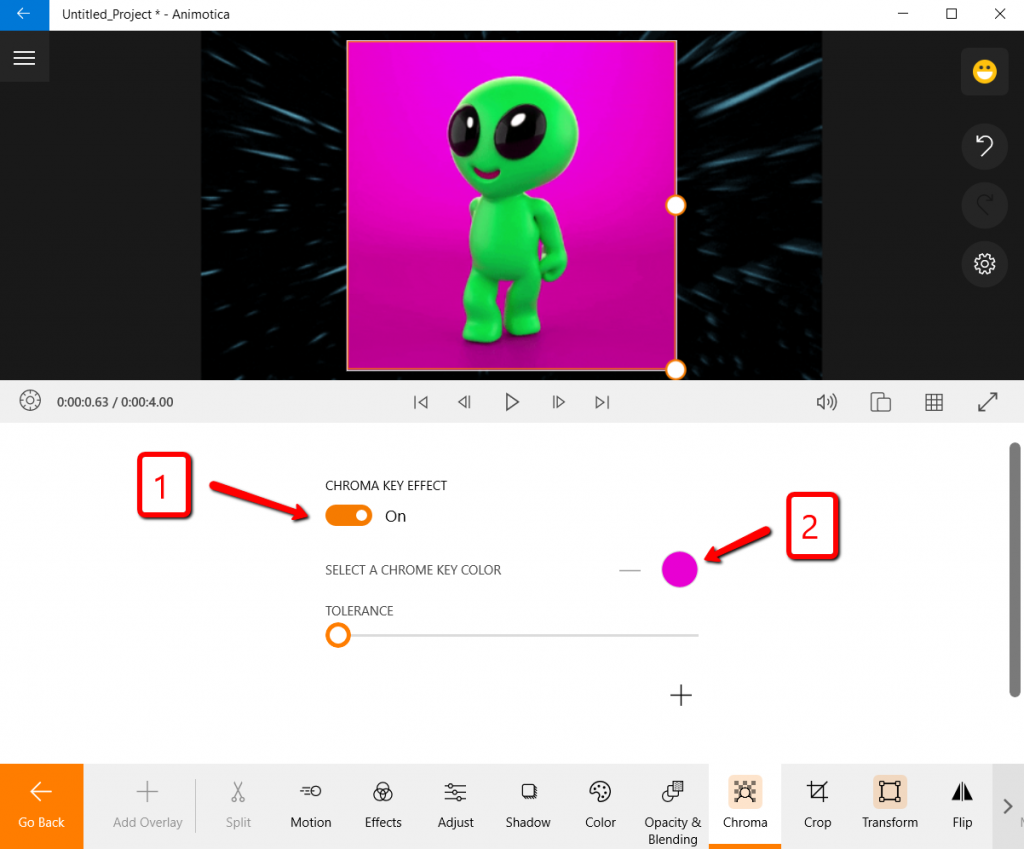
Click ‘Chroma’ to proceed to the Chroma Key feature.
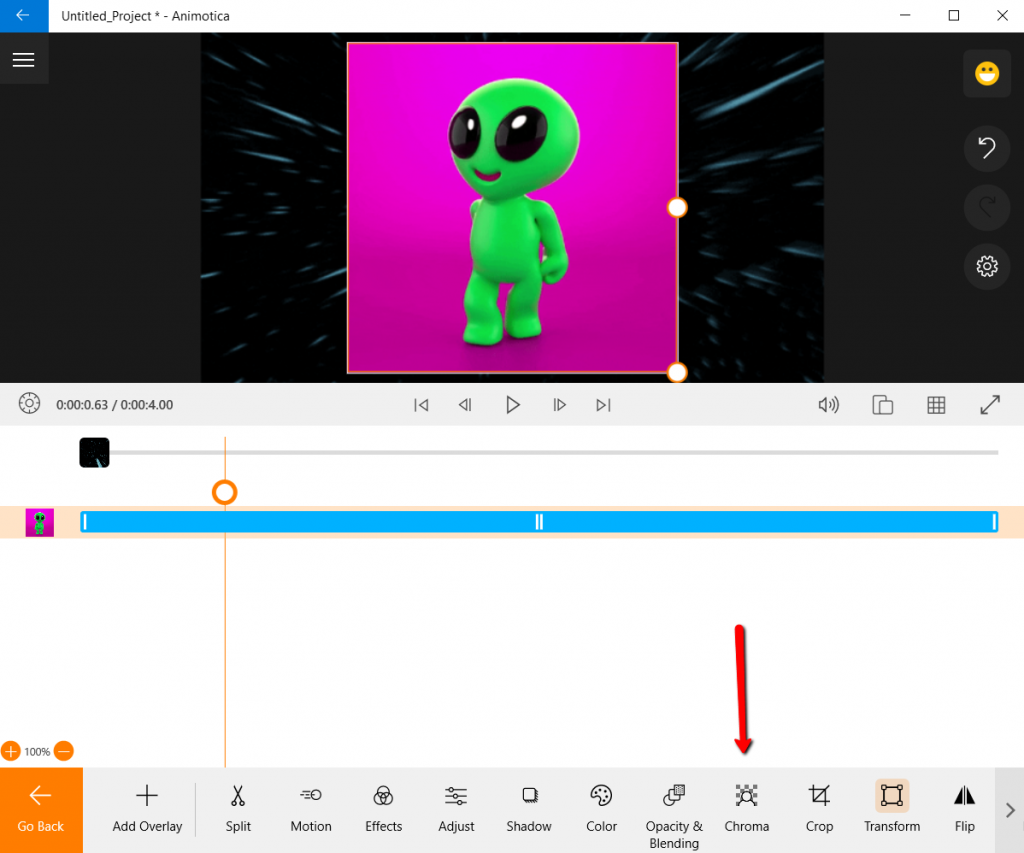
Turn on the Chroma Key and adjust the tolerance.
Step 4: Export Your Video or Upload It to YouTube.
Here is the result we got from this video. Your background space video and a funny walking alien are the main videos.
How to Add Another Video as a Background to Your Video
Step 1: Upload the Video that You Want to Use as a Background
For this example, we selected free videos from pexels.com.
Step 2: Add a Video Overlay
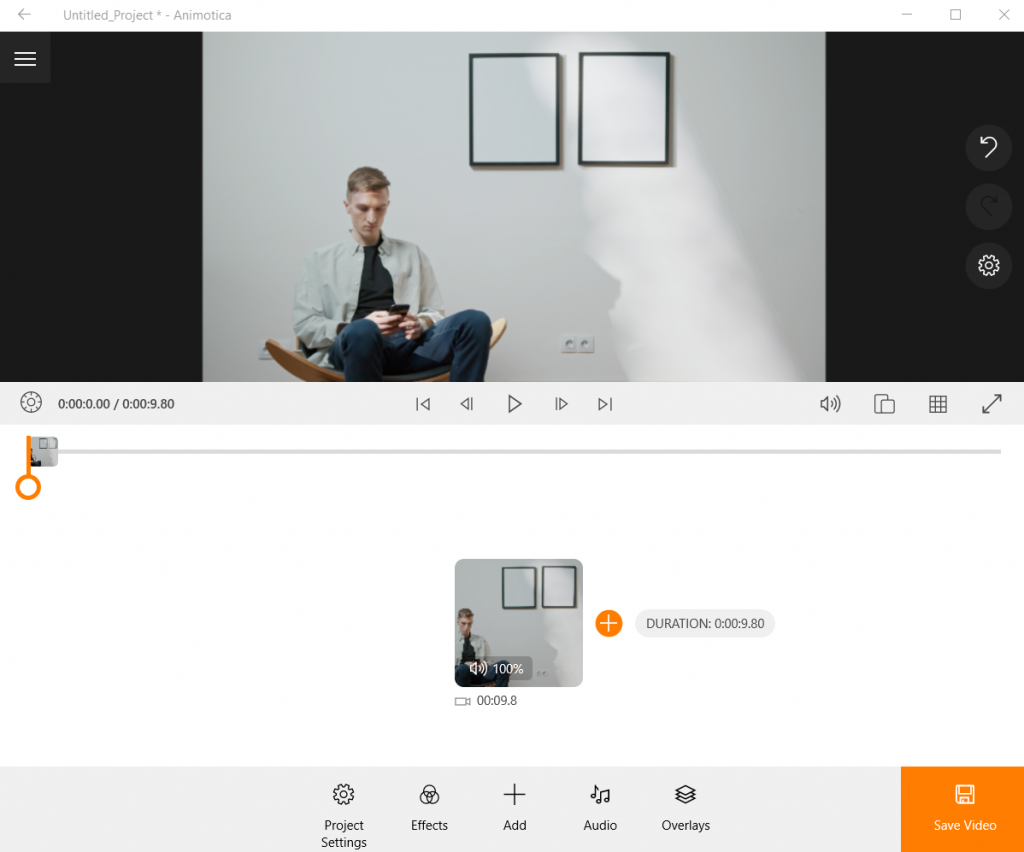
Upload the video overlays that you want to be on top of your background video. In our case, we will use two videos, one per frame on the wall.
Step 3: Adjust and Crop if Needed
Use the ‘Transform’ feature to place your videos on the background video properly.
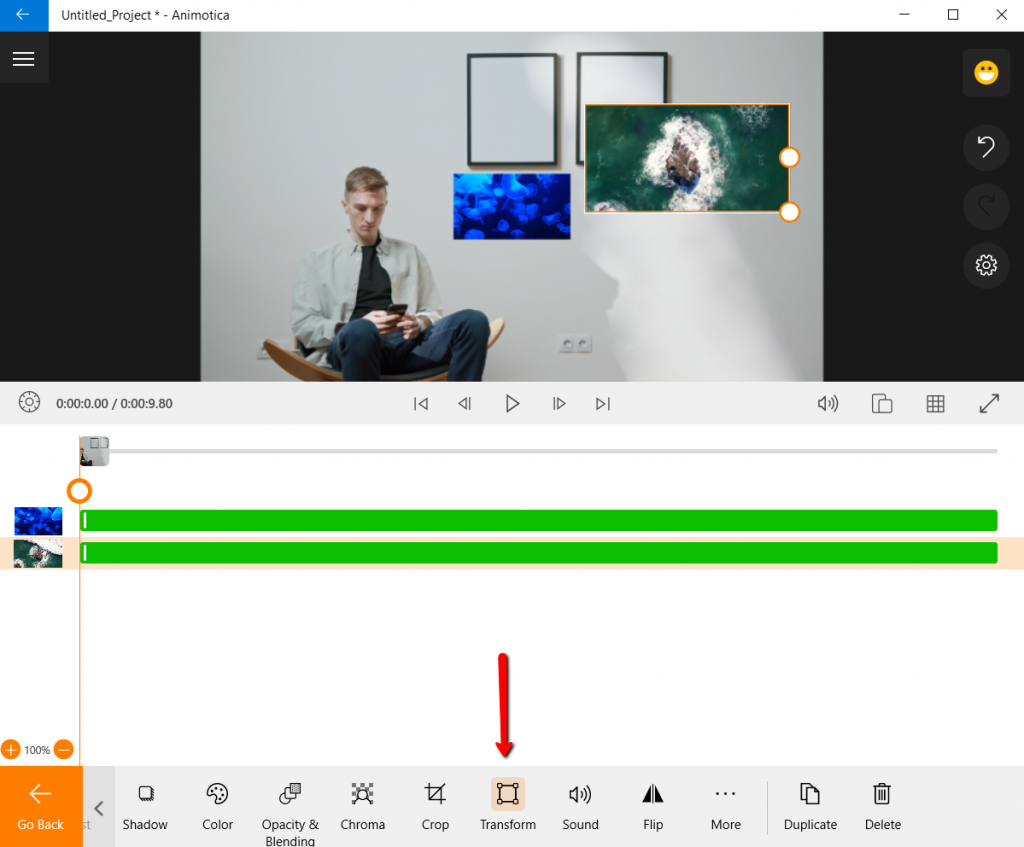
Use the ‘Crop‘ feature to delete some parts of your video if needed. In our case, we want to ensure these two video overlays fit the frames on the wall.

In this step, you can also adjust the color of your background video, add some text to it, change the aspect ratio, and more. Check the bottom menu to see all the features.
Step 4: Save or Share Your Video to YouTube.
Once you’re done with your video, click ‘Save’.
You will also see an option to share it directly to your YouTube channel.
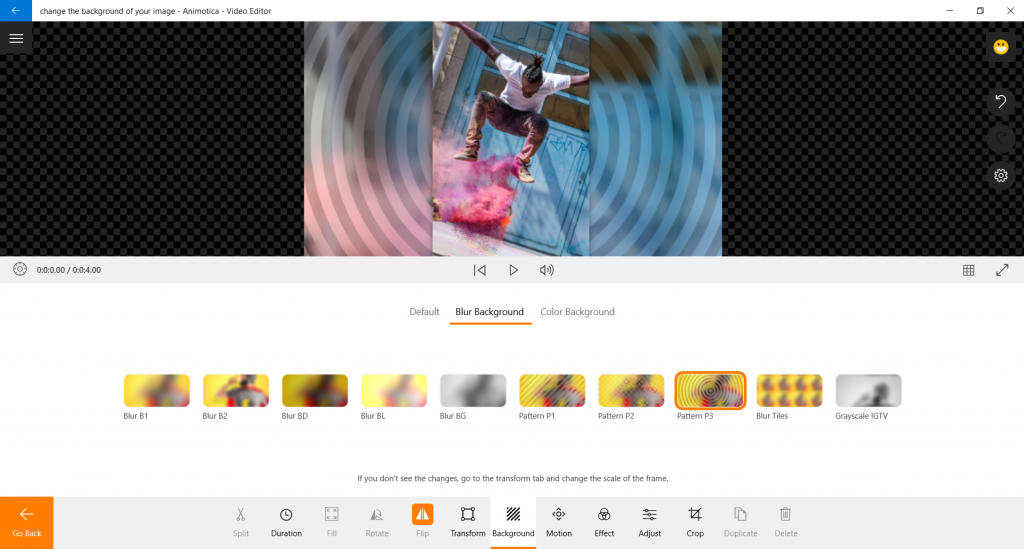
How to Blur a Video Background
If you want to Blur the background, click on the ‘Background’ tab in the menu and select one of the ‘Blur Background’ options available in Animotica.
That’s it, you are done. Some even say that this simplicity in a moderately impactful feature makes Animotica one of the best apps on the market to add blur effects.
Important! If you don’t see the changes in the background, go to the ‘Transform’ tab and try to change the scale of your video/photo frame.
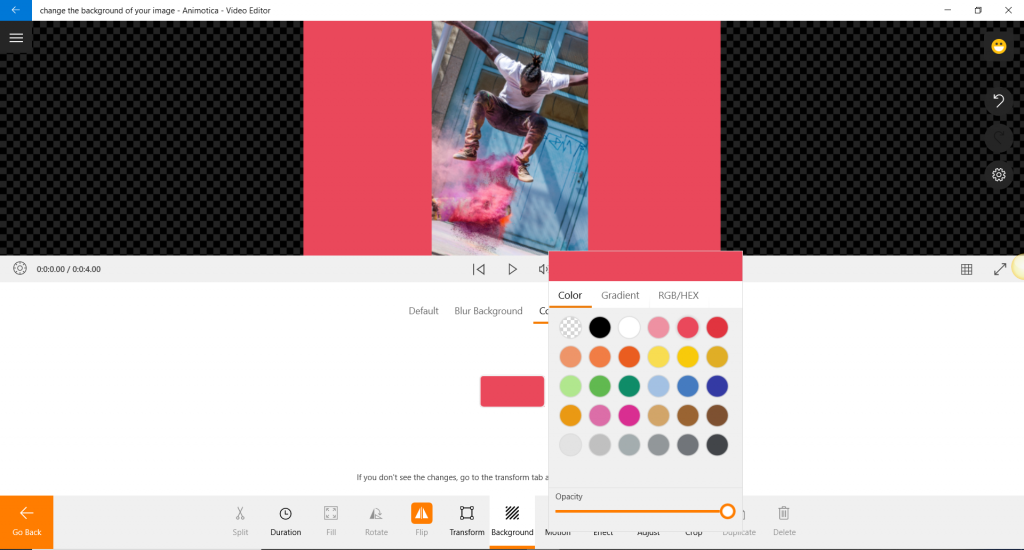
How to Change the Color of the Video Background
How to Change Video Backgrounds on Mobile Devices
While Animotica is primarily a Windows product, many viable alternatives exist for Android and iOS users.
- iOS: Erase & Change Video Background
- Android: Video Background Changer
Ready to change the background of your video? Launch Animotica and create your next masterpiece!


4 Comments
thank you so much. it was very helpful
i don’t know how to blur a face
Hello! You can submit your idea here.
Pingback: 10 Best Free & Paid Video Game Recorders in 2021