
Have you ever watched a video and marveled at how professionally crafted voice-over added a layer of depth to the content? You’re in luck if you’re using a Windows 10 or 11 system! Adding a voice-over to your video clips isn’t as complex as you might think. Numerous applications come pre-installed with this feature, making your video creation process smoother. This feature allows you to personalize your content and showcase your unique style, enhancing the overall viewer’s experience of your video.
Contents
Why Add a Voice-over to Your Video?
Add a voice-over to your video for a variety of reasons. This can turn your ordinary video into a powerful presentation that grabs your audience’s attention all the way through. Here are some key reasons to consider adding a voice-over to your video:
- Engagement: With a distinct voice-over, you’ll be able to engage your audience and hold their attention for longer.
- Explanation: A voice-over allows you to offer additional context or explanations. This is particularly useful for tutorial or explainer videos where you need to provide step-by-step guidance.
- Accessibility: Adding voice-overs makes your content more accessible. For those with visual impairments, hearing the content helps ensure they understand and can fully experience the video.
- Professionalism: A crisp, clear voice-over can lend a sense of professionalism to your video, enhancing the overall quality and perception.
When it comes to improving the effectiveness and accessibility of your video content, adding a voice-over can be an invaluable tool. So whether you’re creating product demonstrations, educational content, or simply sharing a story, a good voice-over can amplify your message and impact.
How to Add My Voice to a Video on Windows
Navigating the voice-over process can be challenging, especially if you’re new to it. No worries, though; you’ll learn an easy way to add voice to your Windows 10 and 11 videos. Whether you’re creating an engaging vlog, an instructional video, or a personal project – we’ll guide you through these simple steps. Let’s begin.
Step 1: Prepare Your Video and Tools
Video Editing Software
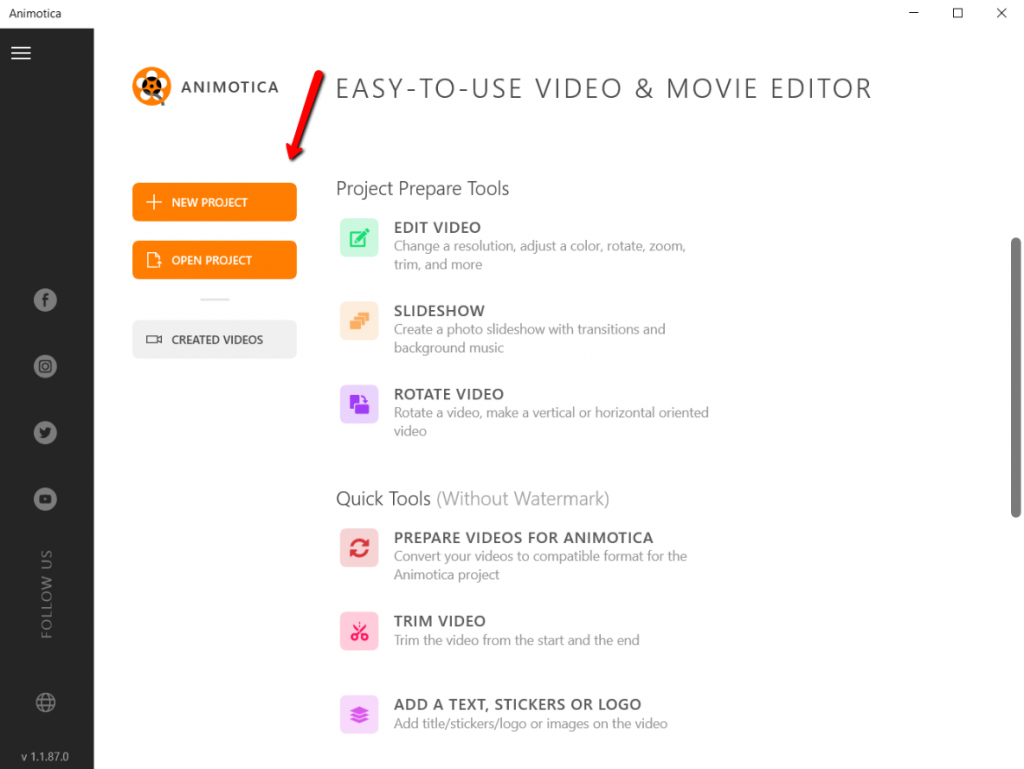
Take Animotica, one of the best-reviewed video editing applications on the Microsoft Store, as an example. It allows you to add a voice-over in as little as four super-simple steps.
You’ll need to download and install the app.

Launch the app, create your first project, and add video or photo files to which you want to add a voice-over.
Microphone
Selecting the perfect microphone for voice-over work may seem daunting. Still, by understanding the differences between condenser and dynamic microphones, you can choose the one that best suits your situation.
Primarily, condenser microphones are excellent for studio voice-over work as they capture a wide frequency range and deliver crisp, detailed audio. However, they are sensitive and may pick up background noise, thus requiring a quiet recording environment.
Contrarily, dynamic microphones are sturdy and less sensitive, making them ideal for noisier environments. They focus on the sound directly in front, minimizing background noise. On the downside, they may not capture the detailed nuances of your voice like their condenser counterparts.
When choosing a microphone, consider your recording environment and the sound quality you desire. A condenser microphone would work wonderfully in a controlled, quiet atmosphere, while a dynamic microphone might be best for noisy environments due to its noise-repelling abilities.
It’s worth noting that less expensive dynamic mics may require you to lean in closer during recording, and they might pick up the sound of your breath. Combining an average microphone with a suitable pop filter and reliable recording software can tackle most recording challenges. If necessary, refer to this guide for additional help.
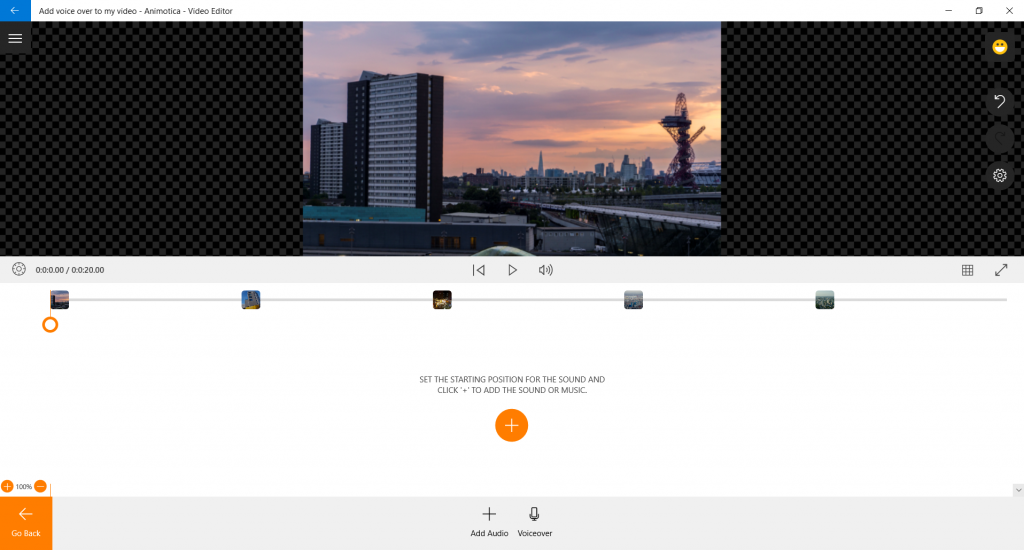
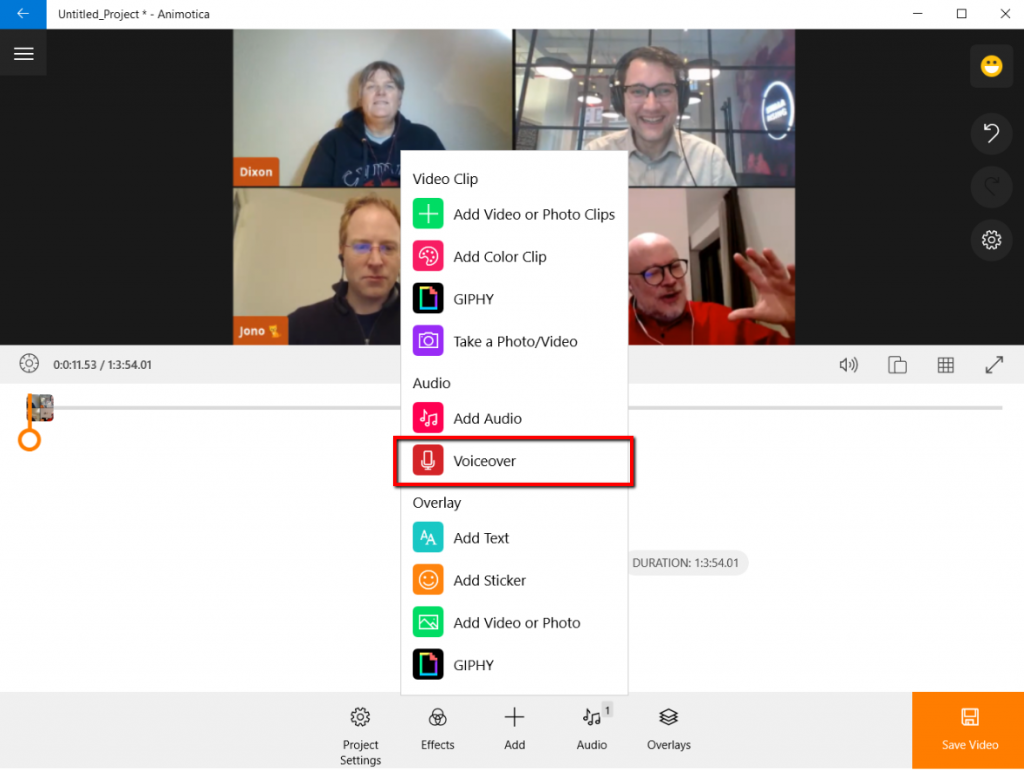
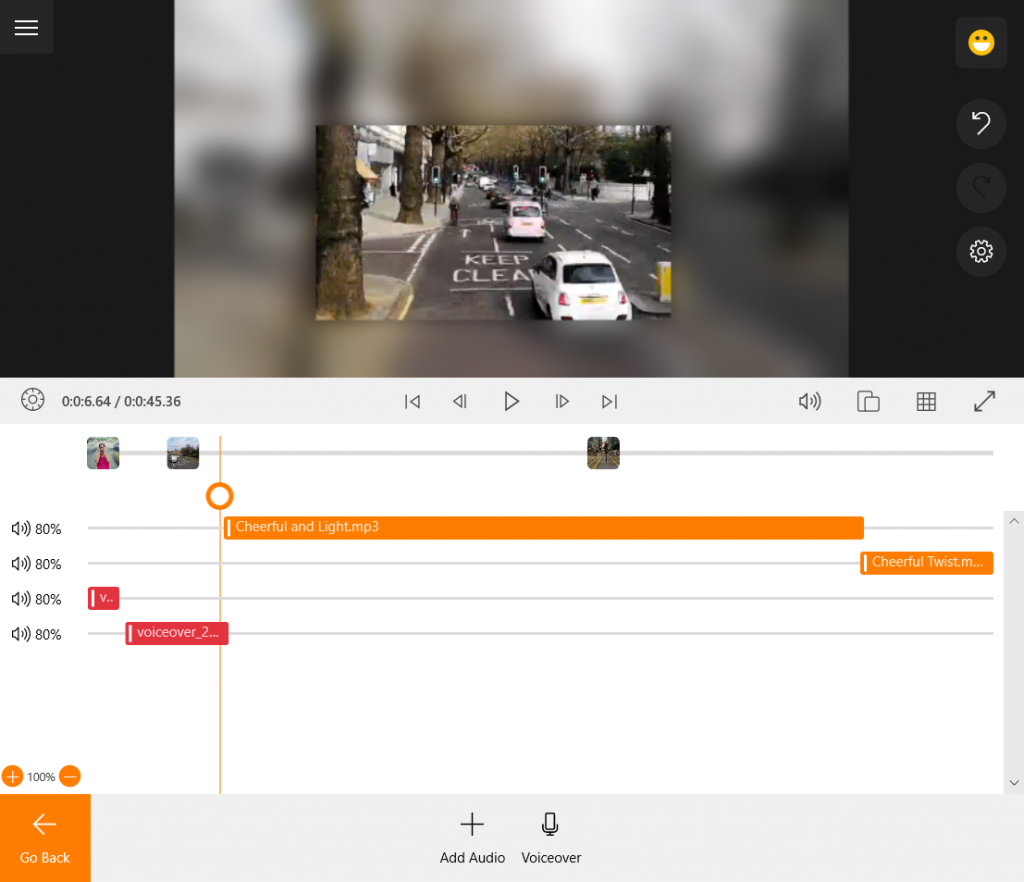
Step 2: Click on the Voice-Over Button
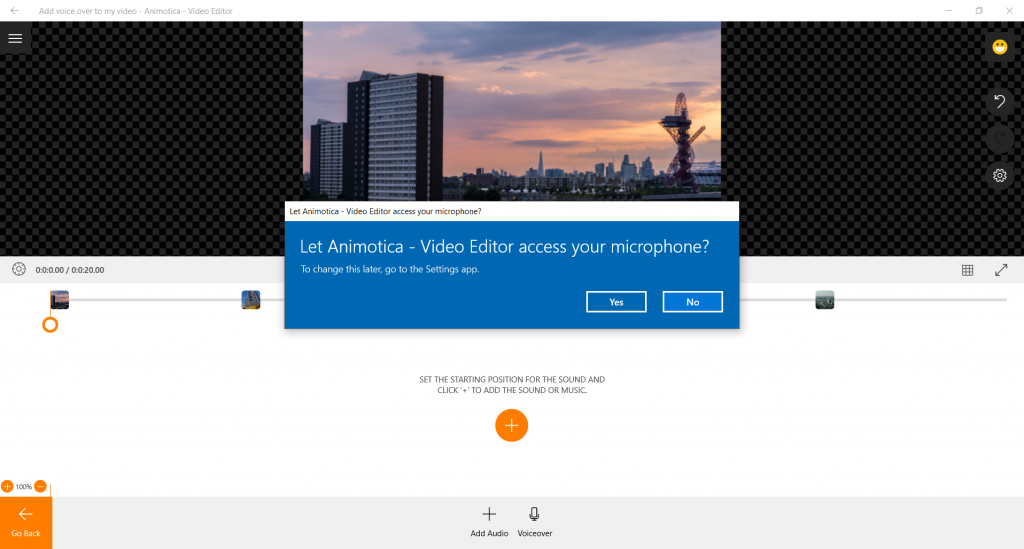
Ensure that Animotica is granted access to your microphone.
Step 3: Start Recording a Voice-Over
An automatic countdown will give you 3 seconds to make final preparations before recording starts.
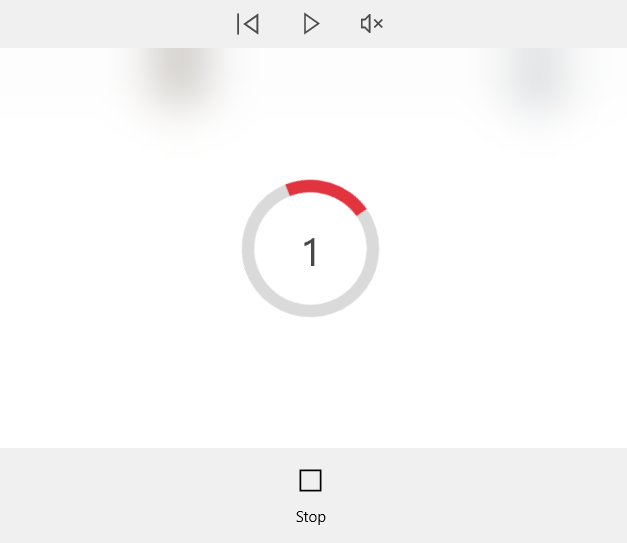
The app will pick up your mic by default, so all you have left to do is let your voice rip!
Step 4: Finish Recording a Voice-Over
You can use the ‘Stop’ button to stop recording. Otherwise, it will stop automatically once you reach the duration of your video.

If you wish to make a voice-over longer, you need to increase the duration of a whole video or any particular frame.
In the first case, from the main project screen, navigate to Project settings -> Photo and set up the duration for the slides (it will be the same for each).
In the second case, select a clip you want to change speed and click ‘Duration’ to set up the one you need.
You might also need to split your video into a few frames to record a separate voice-over for each.
If you’re all set, click ‘Save,’ select the video settings, and wait a few moments to finish video rendering.
Voila! You are now a YouTube/Instagram star! All thanks to a handy video voice-over app.
That said, achieving the professional quality of sound expected from up-to-date videos is a bit more complicated. And no, it’s not about the mic. At least not entirely…
How to Record Voice-Over Audio in Your Video
Step 1: Create a New Project and Upload Your Files
Create a new project in Animotica and upload the video file to which you want to add a voice-over.
Step 2: Mute Audio of Your Video
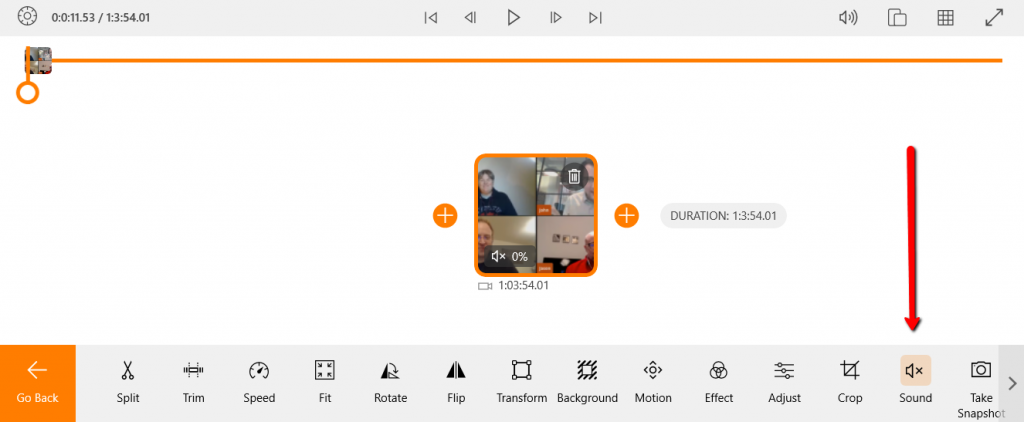
Click on your clip and select ‘Sound’ from the bottom menu of the screen.
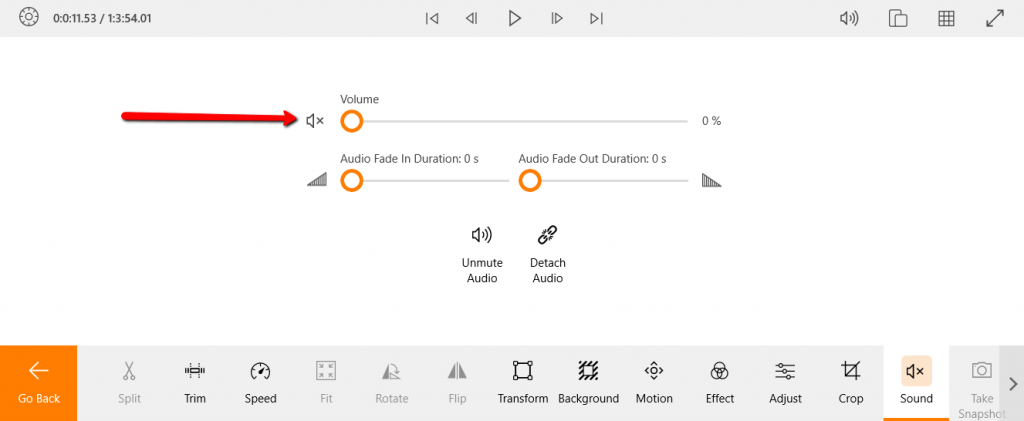
Put the volume of your video to zero.
Step 3: Record a Voice-Over
Now, you can start recording your voice-over muted video.
For more details, navigate to the first section of this guide.
Done!
How to Record a Voice-Over on PC [Video Tutorial]
If you prefer learning visually, don’t worry! We have a detailed video tutorial to help you add a voice-over to your video. This guide shows each step clearly and engagingly, ensuring the process is straightforward and enjoyable!
How to Nail the Composition While Recording a Voice-Over
Your audio track needs to follow specific rules of composition, exposition, and pacing if you wish to match the tone and voice of the visuals on the screen.
Adding a professional-quality voice-over to your video can significantly enhance its impact. Here’s how it can be done:
- Understand your video: Study your video content thoroughly and align your voice-over style with the video’s mood.
- Prepare a script: Craft a script that reflects the visuals and enriches the viewers’ experience. A well-drafted script leads to smooth narration and evokes desired emotions in your audience.
- Consistency is key: Ensure your voice’s tone is uniform throughout the video to maintain a steady viewing experience.
- Match your speed: Align your speaking tempo with the pace of your visuals. Quick-paced visuals may call for fast speech, while slower visuals require a relaxed tone.
- Practice makes perfect: Rehearsing before the recording will help fine-tune your timing and tone.
- Utilize your tone: Your voice-over can substantially uplift your video’s feel. Choose a tone that complements the visuals and enhances their emotional appeal.
Following these guidelines will help you match your voice to the tone and pace of your visuals, which will help you craft visually appealing and audibly captivating videos.
4 Tips for Preparing Yourself for Recording a Voice-Over
- Watch out for your surroundings: Finding a quiet place to work when trying to add voice to a video is as essential as meditating in silence. Your mic probably won’t pick up the noise, but your ears will. Not only will you fail to concentrate, but you’ll also twitch and move in undesirable ways. Your voice will reflect every movement going higher or lower than intended.
- Be clear and adequately toned: Why are some channels flying off the ground at light speeds while others gather dust while producing equally good content? In 9 cases out of 10, the reason hides in the voice of a YouTuber. Some are much more pleasant to hear than others. This doesn’t mean that they have a superior voice, though. What they do have is a way of communicating clearly, in their own words and tone. You can do the same if you stop and consider which intonation fits the frame.
- There’s no rush: What’s the most essential element of the story? It’s pacing. Nuff’ said.
- Words are hard. Make them sound simpler: What can we say other than you should think about reading the script aloud in front of a mirror a few times before recording your voice-over? This way, you’ll settle on both pronunciation and diction.
P.S. There’s more shame in proceeding with an awful scene in a clip than in reshooting it or re-recording the voice-over. Just saying.
Final Thoughts
Adding professional-quality voice-overs to your videos is a fantastic way to enhance your content and provide viewers with an engaging multimedia experience. Whether you are an aspiring YouTuber, a budding filmmaker, or a content creator looking to take your videos to the next level, mastering the art of adding a voice-over on Windows 10 and 11 is invaluable.
Remember, creating great voice-overs is more than just reading a script. It’s about understanding your audience, accurately conveying the message of your content, and delivering that message with appropriate emotion and intensity. So, take some time to practice before you begin recording your final version.
Lastly, don’t be too hard on yourself. Creating quality voice-overs will take time and practice like any other skill. But with the steps outlined in this guide, we’re confident you’ll be well on your way to creating engaging, professional voice-overs for your videos.
“The only way to do great work is to love what you do.” – Steve Jobs
So, put your heart into it, whether it’s for professional use, educational content, or simply a creative outlet. Don’t be afraid to practice, make mistakes, and experiment; you’ll create voice-overs that resonate with your viewers and elevate your videos. Keep creating, keep enhancing, and happy voicing-over!
Frequently Asked Questions
Can I Do Multi-Recording in Animotica?
Yes, you can. Do your voice-over and repeat the process.
So, what will it be? Are you ready to conquer the realm of professional video content creators with your super slick-sounding videos?
Please give us a shout-out on social media and share your experience so far!


3 Comments
Great tool fun and easy to use
I can’t record voice over. Sometimes it records sometimes not. Am I supposed to have mute turned on or not? I do exactly what u guys say to do a red line saying voiceover is on but then I press stop and play and it is silent.
Why?
Hello! You can report your issue and receive help here.